by hankinslawrenceimages | Dec 16, 2019 | Christmas
It’s my favorite time of the year – Christmas at Longwood Gardens in Kennett Square, Pennsylvania! Every year I’m amazed and in awe of the incredible job the staff does decorating the Conservatory, the DuPont house and the grounds. I usually make several visits to Longwood during the Christmas season, just so I can capture some of the magic to share.
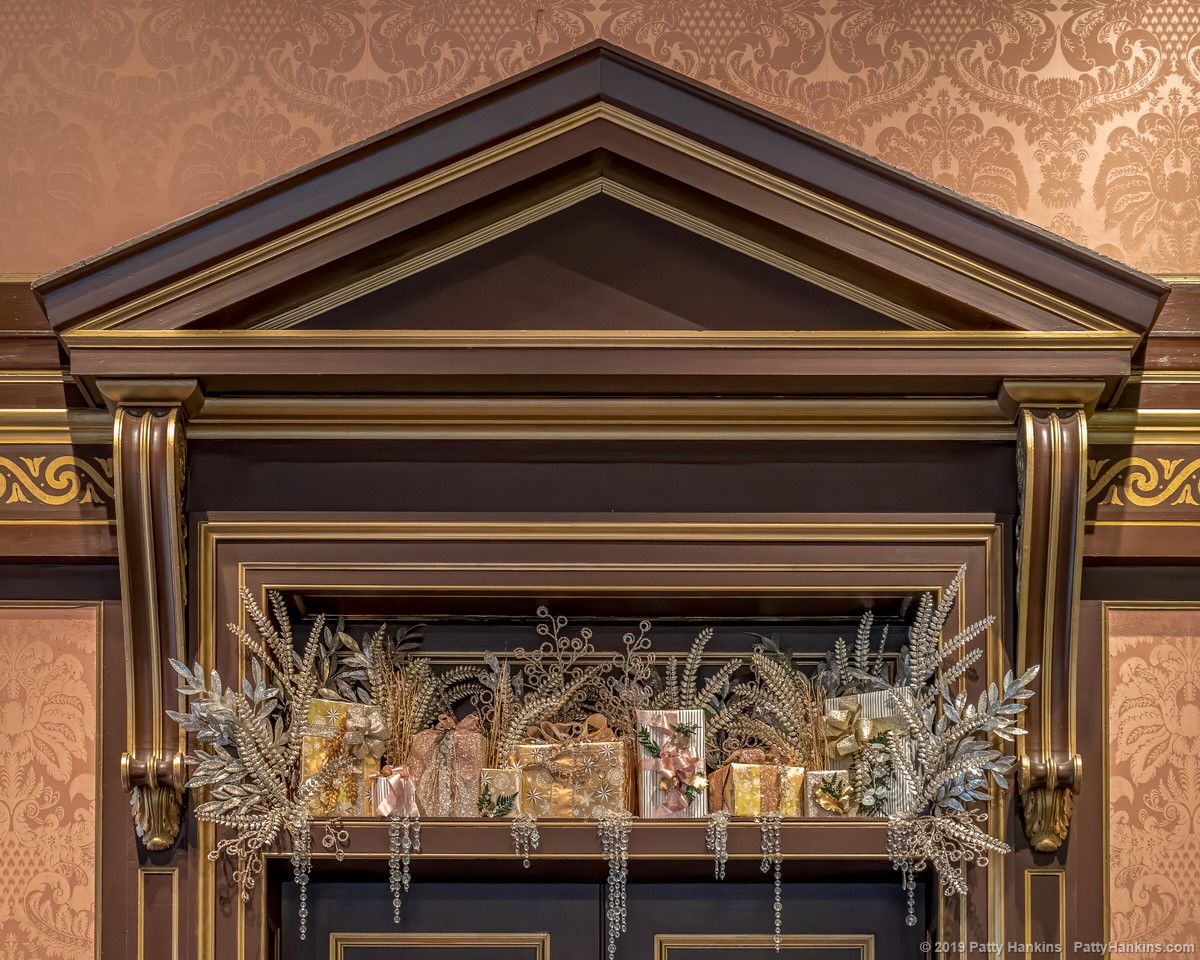
Here are some of my photos taken in the Organ Room. The decorations in this room always have an elegant feel to them

Christmas at Longwood Gardens – In the Organ Room © 2019 Patty Hankins

Christmas at Longwood Gardens – In the Organ Room © 2019 Patty Hankins

Christmas at Longwood Gardens – In the Organ Room © 2019 Patty Hankins

Christmas at Longwood Gardens – In the Organ Room © 2019 Patty Hankins

Christmas at Longwood Gardens – In the Organ Room © 2019 Patty Hankins

Christmas at Longwood Gardens – In the Organ Room © 2019 Patty Hankins

by hankinslawrenceimages | Dec 13, 2019 | Workshops
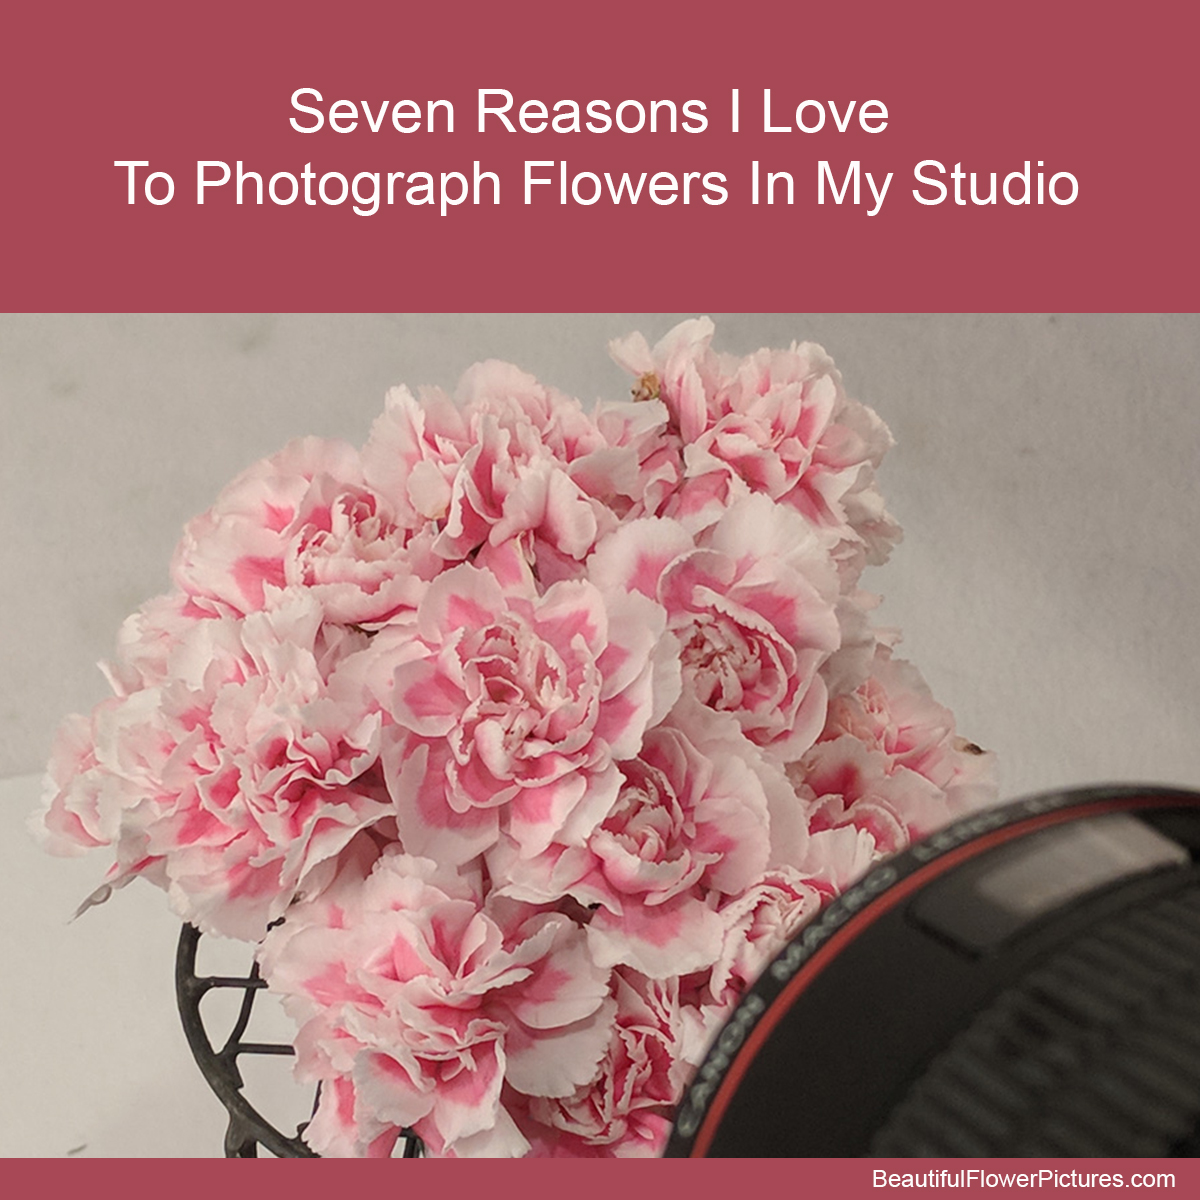
If you’ve been following me for a while, you’ve probably noticed that my photography has shifted over the past few years from originally being flowers photographed outdoors in gardens and parks to many of my photographs being created in my studio. I thought I’d share some of my reasons for photographing more in my studio with you today.
When I’m photographing in my studio, I get to choose the flowers I want to photograph. In the spring and summer, I just head to my local farmer’s market and see what flowers are available from local flower farms. There are several flower farms who have stands at local markets, so I’m able to get flowers that were still growing in the fields the day before I buy them.
I can photograph in my studio any time I want to. We keep my studio lights set up in the family room most of the time. So,. I don’t have to check the weather, or wonder how the light will be at a botanical garden.I can just head into the family room, turn on the lights and create the light I want to use for photographing the flowers.
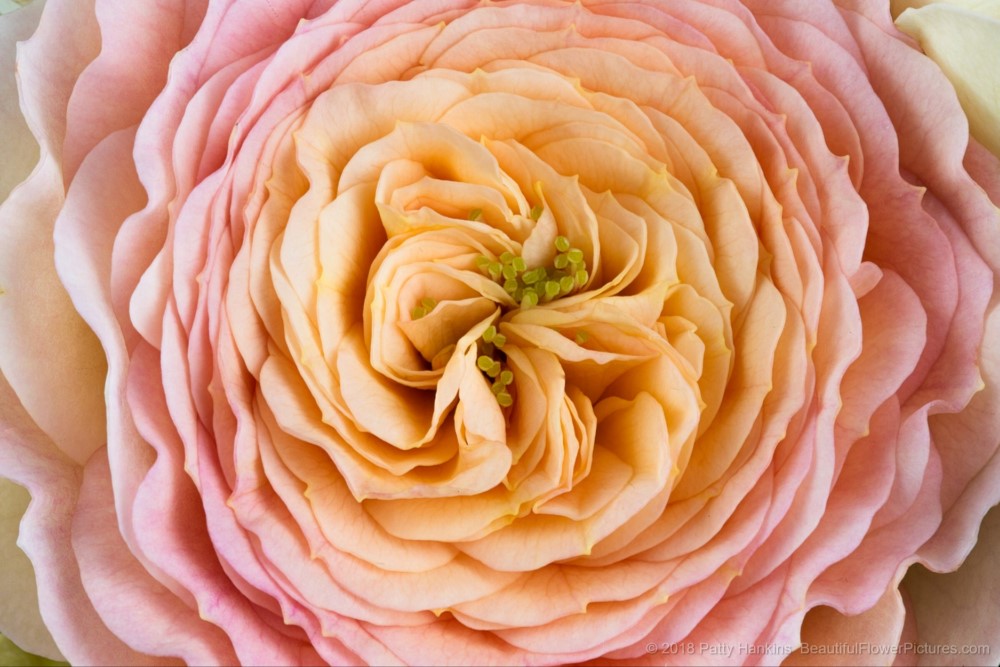
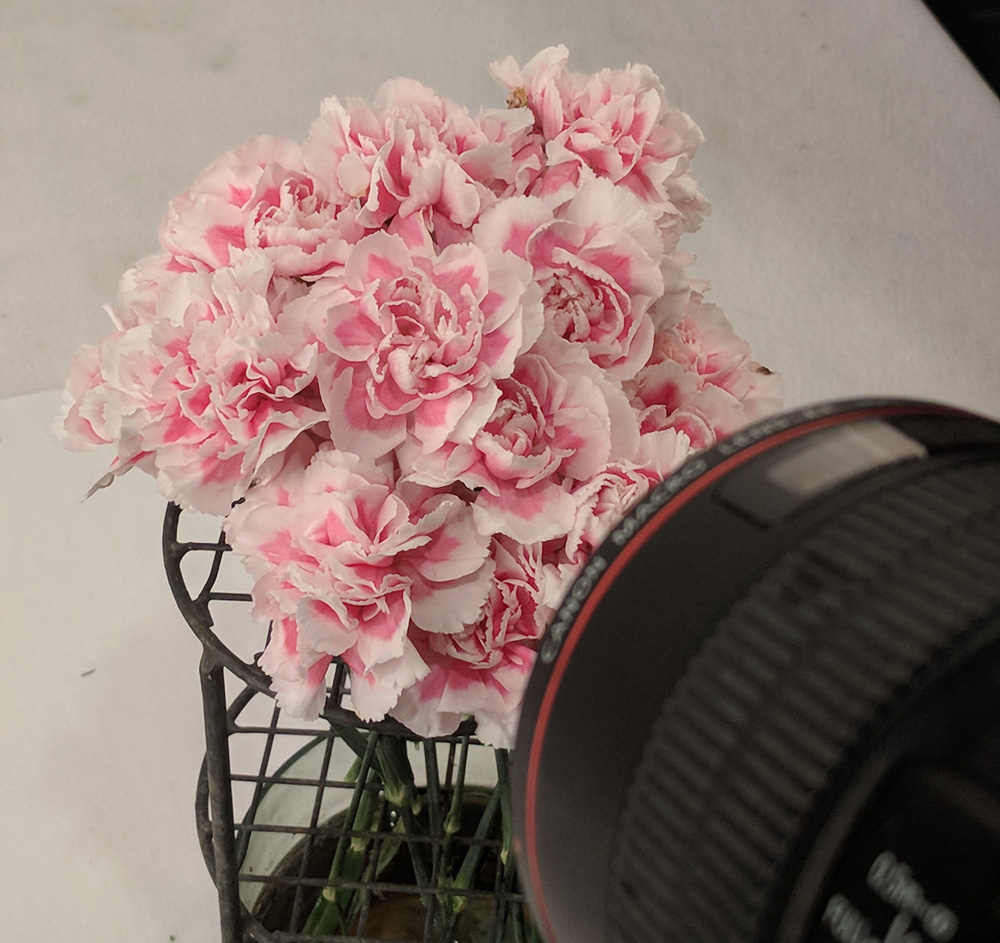
I can get as close to the flowers as I want to. In my studio I can put my tripod right up against the table and use multiple extension tubes to get within inches of the flowers I’m photographing. At a garden, I’m limited by where the flowers are in the beds. This spray rose was about 2 inches across when fully open. In my studio I was able to get close enough to fill the frame of my camera with it to capture this image.

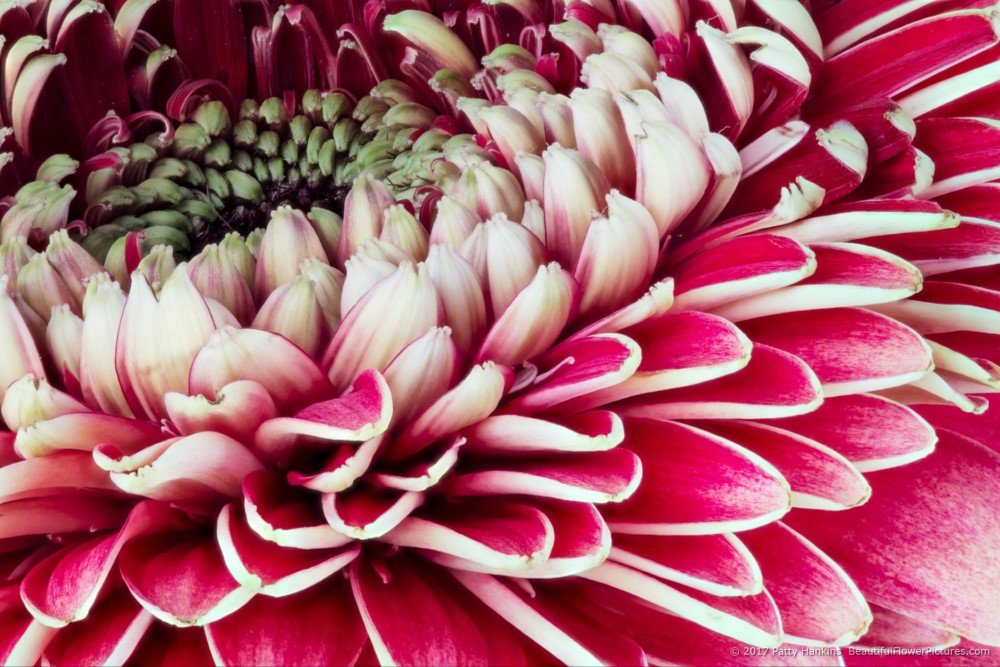
I can use focus stacking to increase the depth of field in my image. When I’m photographing in a garden, I have to be concerned about the flowers moving. I have to make sure my shutter speed is fast enough to stop any motion caused by the wind, while at the same time hopefully having enough depth of field to capture the image I want. In the studio, I don’t have to worry about shutter speed, so I can use the greatest depth of field I can get with my lens. And if that isn’t enough depth of field, I can take multiple images of the same flower at different focal points and then stack them in software to get the depth of field I want for the final image. For this photo of a teddy bear gerbera daisy, I combined 19 images to create my final photo.

I can arrange the flowers however I want to. One of my favorite ways to photograph flowers is to bring a bunch of blossoms close to each other and look for patterns and textures in the petals. In my studio, I can arrange the flowers exactly how I want to – removing leaves or blossoms that aren’t in the right place. At the gardens, I’m not able to move the flowers into arrangements I want to photograph.

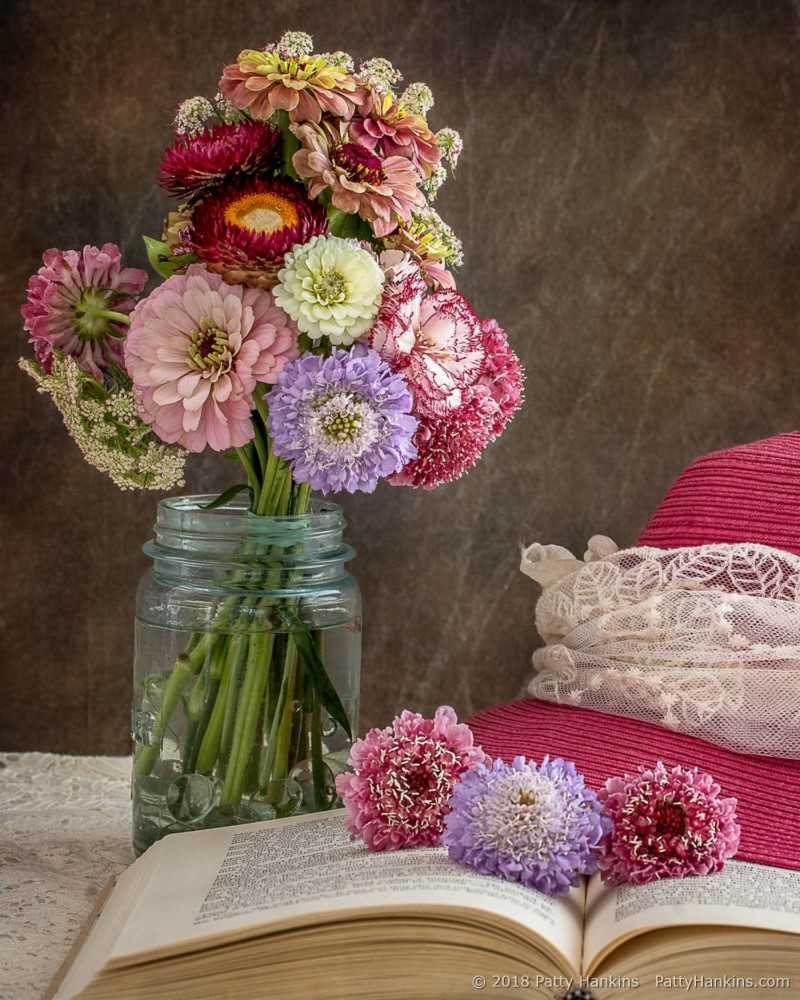
I can include other objects in my photographs. I’ve been exploring creating and photographing still lifes in my studio for the past several months. I love incorporating local flowers into photographs with vintage finds from antique stores and ebay.

And only in my studio do I get the help of my studio assistants, Dusty, Jackson, Ansel, and CJ. Dusty loves to curl up in her own personal sunbeam under the lights. While Jackson and Ansel always try to take time to stop and taste the flowers. CJ likes to make sure the flowers are in just the right place for my photos.

If you would like to learn to photograph flowers in a studio (and maybe get to work with my assistants), join me on January 25 for my Photographing Flowers in my Studio workshop. You’ll get a chance to work with my strobes, my continuous lights, the various modifiers, and backgrounds I use in my studio.
You can learn more about the workshop at https://beautifulflowerpictures.com/store/photographing-flowers-in-the-studio-workshop-jan-25-2020/

by hankinslawrenceimages | Dec 11, 2019 | Christmas
It’s my favorite time of the year – Christmas at Longwood Gardens in Kennett Square, Pennsylvania! Every year I’m amazed and in awe of the incredible job the staff does decorating the Conservatory, the DuPont house and the grounds. I usually make several visits to Longwood during the Christmas season, just so I can capture some of the magic to share.
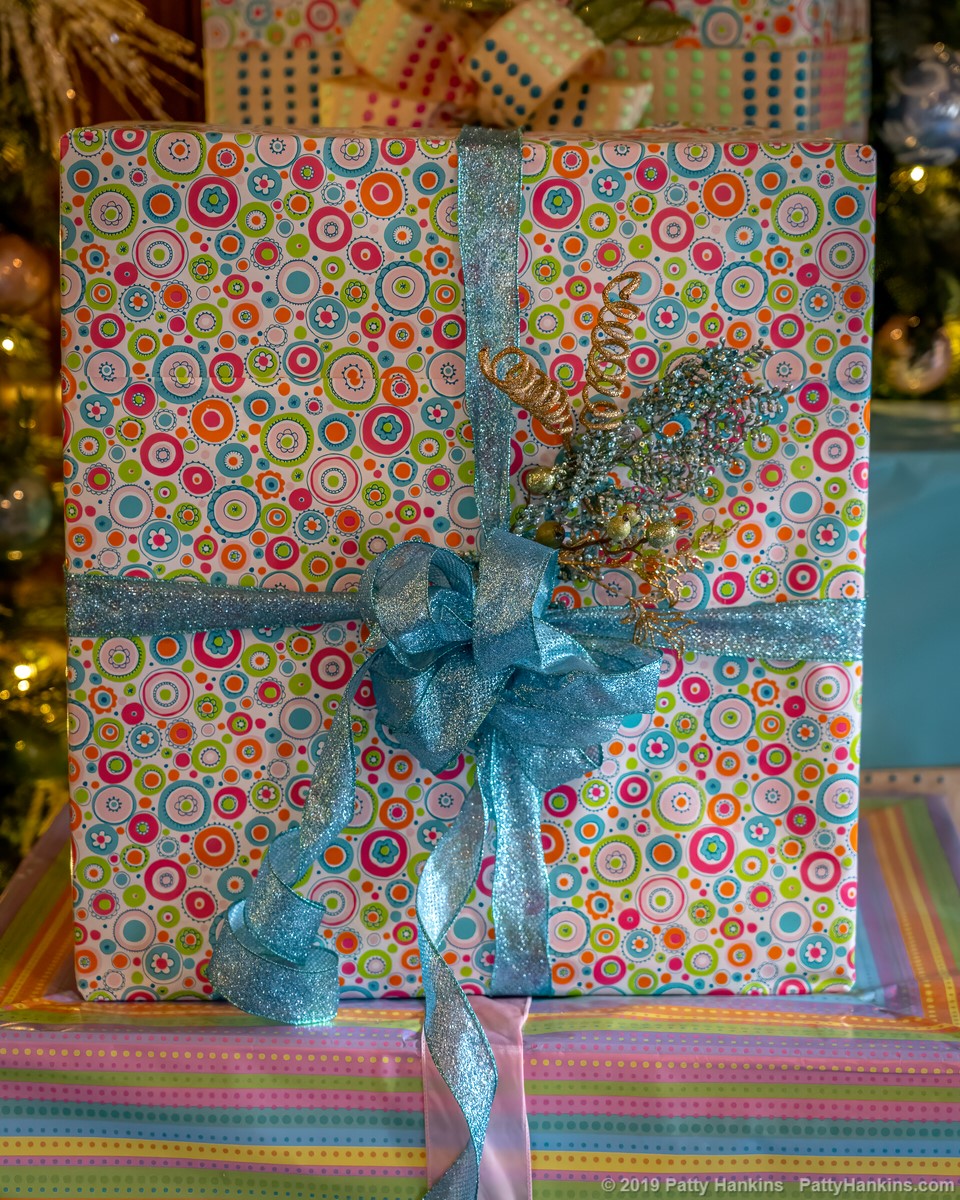
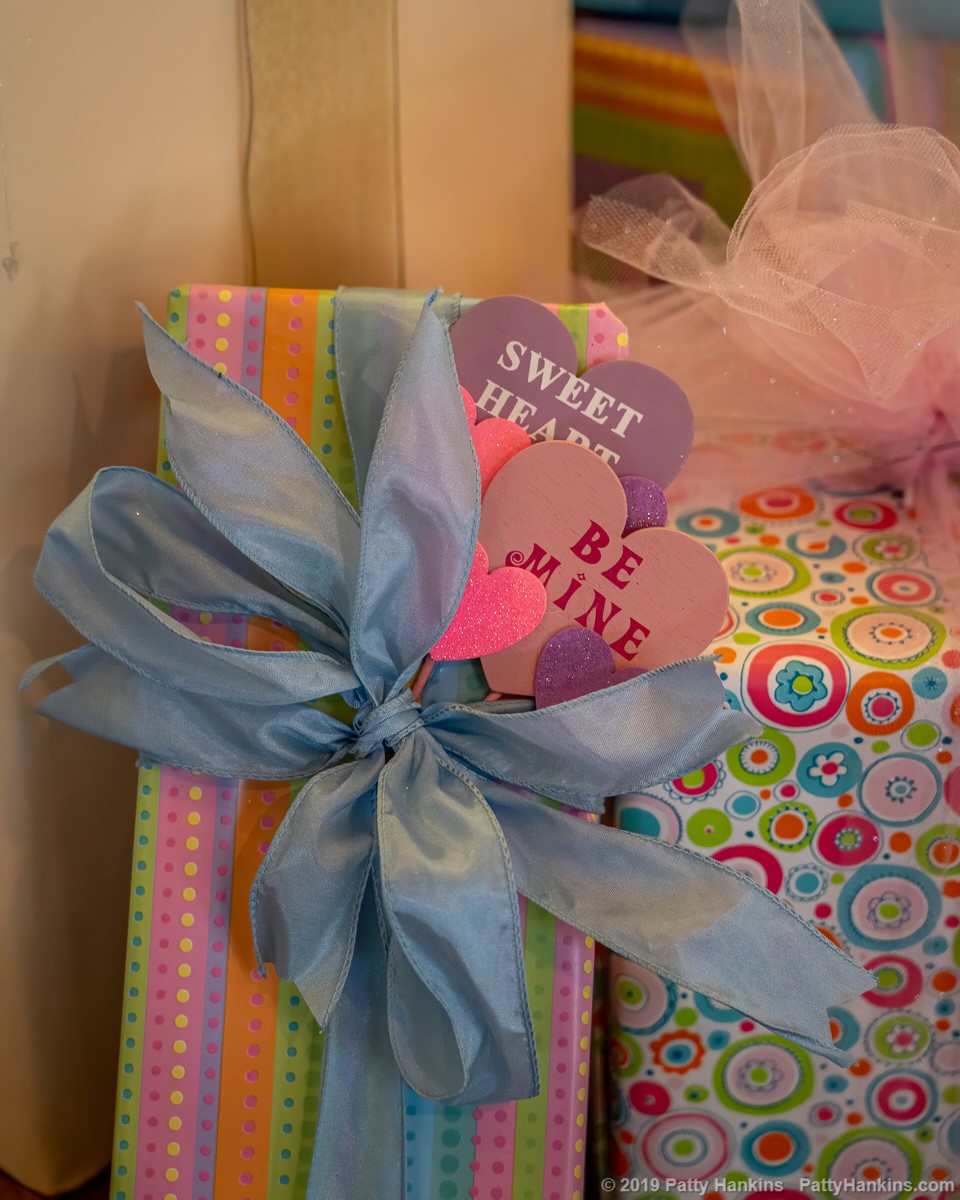
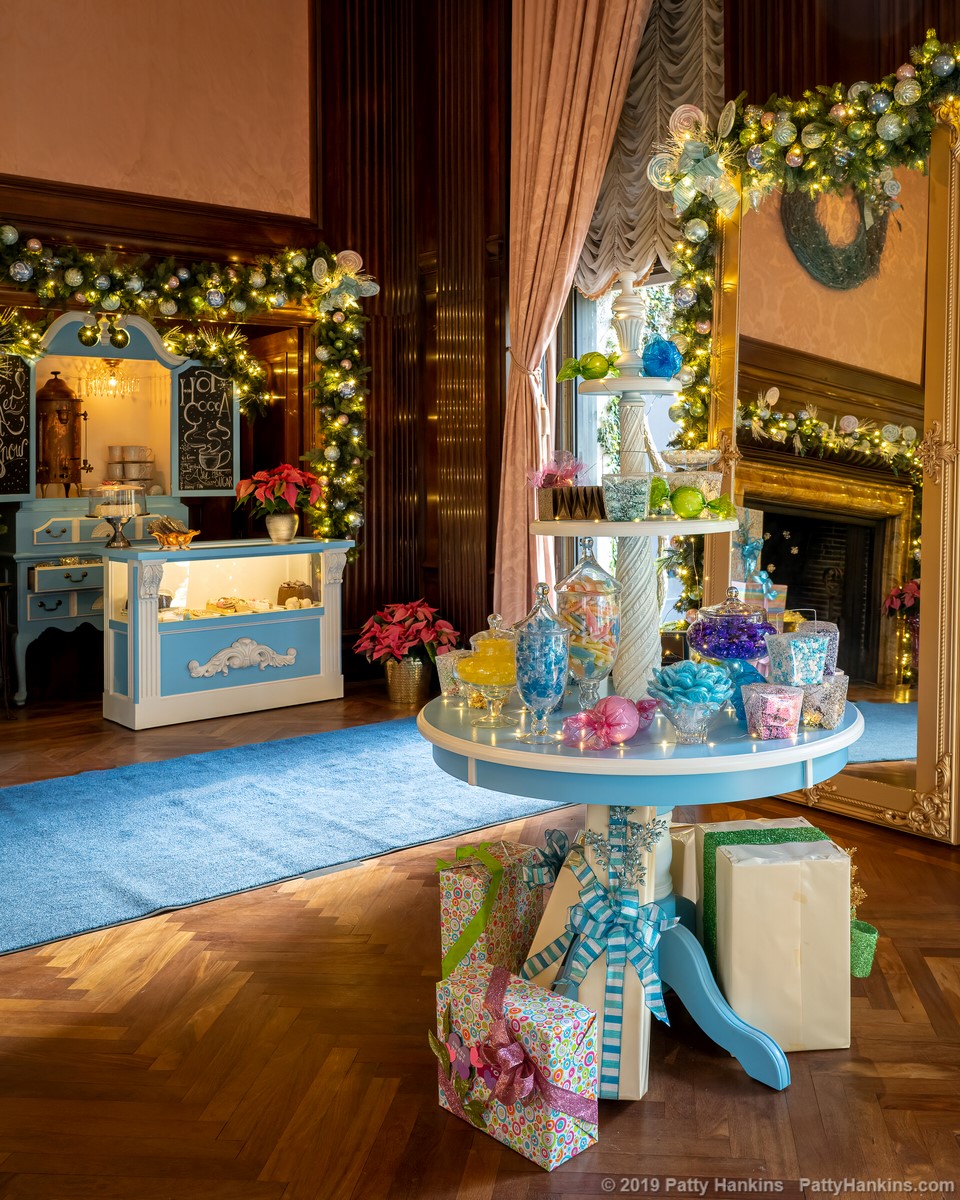
On my second trip to Longwood this season I spent time capturing some of the wonderful details that make Christmas at Longwood Gardens so special. The theme in the Music Room this year is a Candy Store – so the presents in the room have wonderful candy themes.

Christmas at Longwood Gardens 2019 – In the Music Room © 2019 Patty Hankins

Christmas at Longwood Gardens 2019 – In the Music Room © 2019 Patty Hankins

Christmas at Longwood Gardens 2019 – In the Music Room © 2019 Patty Hankins

Christmas at Longwood Gardens 2019 – In the Music Room © 2019 Patty Hankins

Christmas at Longwood Gardens 2019 – In the Music Room © 2019 Patty Hankins

Christmas at Longwood Gardens 2019 – In the Music Room © 2019 Patty Hankins

Christmas at Longwood Gardens 2019 – In the Music Room © 2019 Patty Hankins

Christmas at Longwood Gardens 2019 – In the Music Room © 2019 Patty Hankins

Christmas at Longwood Gardens 2019 – In the Music Room © 2019 Patty Hankins

by hankinslawrenceimages | Dec 9, 2019 | Still Life
Continuing my exploration of creating and photographing still life scenes

At the End of a Stressful Day © 2019 Patty Hankins
Meet the Hankins Family!
My great grandparents William Lucas Hankins and Mary Jane Kellam are on the left, my great great grandparents Lucas Wurtz Hankins and Mary Ellen Ross are on the right and my great great great grandparent – John Hankins and Susan Thomas are the silhouettes in the middle. The postcards around the frame are from Hankins, NY where John and Susan lived, Equinunk, PA where Lucas and Mary Ellen lived, and Auburn where William and Mary Jane lived

The Hankins Family © 2019 Patty Hankins

By the Bedside © 2019 Patty Hankins

One Enchanted Evening Still Life © 2019 Patty Hankins

Missing You Still Life © 2019 Patty Hankins

For Her Hope Chest Still Life © 2019 Patty Hankins

Dearest Friend Still Life © 2019 Patty Hankins

Grandmother’s Garden Still Life © 2019 Patty Hankins

by hankinslawrenceimages | Dec 4, 2019 | Christmas
It’s my favorite time of the year – Christmas at Longwood Gardens in Kennett Square, Pennsylvania! Every year I’m amazed and in awe of the incredible job the staff does decorating the Conservatory, the DuPont house and the grounds. I usually make several visits to Longwood during the Christmas season, just so I can capture some of the magic to share.
Here are some of my photos taken in the Music Room. This year, the Music Room is decorated as an old-fashioned Candy Store

Christmas at Longwood Gardens 2019 – In the Music Room © 2019 Patty Hankins

Christmas at Longwood Gardens 2019 – In the Music Room © 2019 Patty Hankins

Christmas at Longwood Gardens 2019 – In the Music Room © 2019 Patty Hankins

Christmas at Longwood Gardens 2019 – In the Music Room © 2019 Patty Hankins

Christmas at Longwood Gardens 2019 – In the Music Room © 2019 Patty Hankins

Christmas at Longwood Gardens 2019 – In the Music Room © 2019 Patty Hankins

Christmas at Longwood Gardens 2019 – In the Music Room © 2019 Patty Hankins

Christmas at Longwood Gardens 2019 – In the Music Room © 2019 Patty Hankins

Christmas at Longwood Gardens 2019 – In the Music Room © 2019 Patty Hankins

Christmas at Longwood Gardens 2019 – In the Music Room © 2019 Patty Hankins

Christmas at Longwood Gardens 2019 – In the Music Room © 2019 Patty Hankins

Christmas at Longwood Gardens 2019 – In the Music Room © 2019 Patty Hankins
I’ll be sharing more photos soon. My plan is to share a post as soon as I have several photos on a theme. So depending on what I photograph on each trip will determine how often posts go up.
