by hankinslawrenceimages | Sep 2, 2019 | Ranunculaceae Family
The more I photograph flowers, the more I learn about them and the families they belong to. The Ranunculus or buttercup family is one that I’ve discovered I like an awful lot of flowers that are members of the family! So often I photograph a flower at a garden and then come home to learn that it too is a member of the Ranculus family. Here are a few more photos of flowers in this wonderful family.
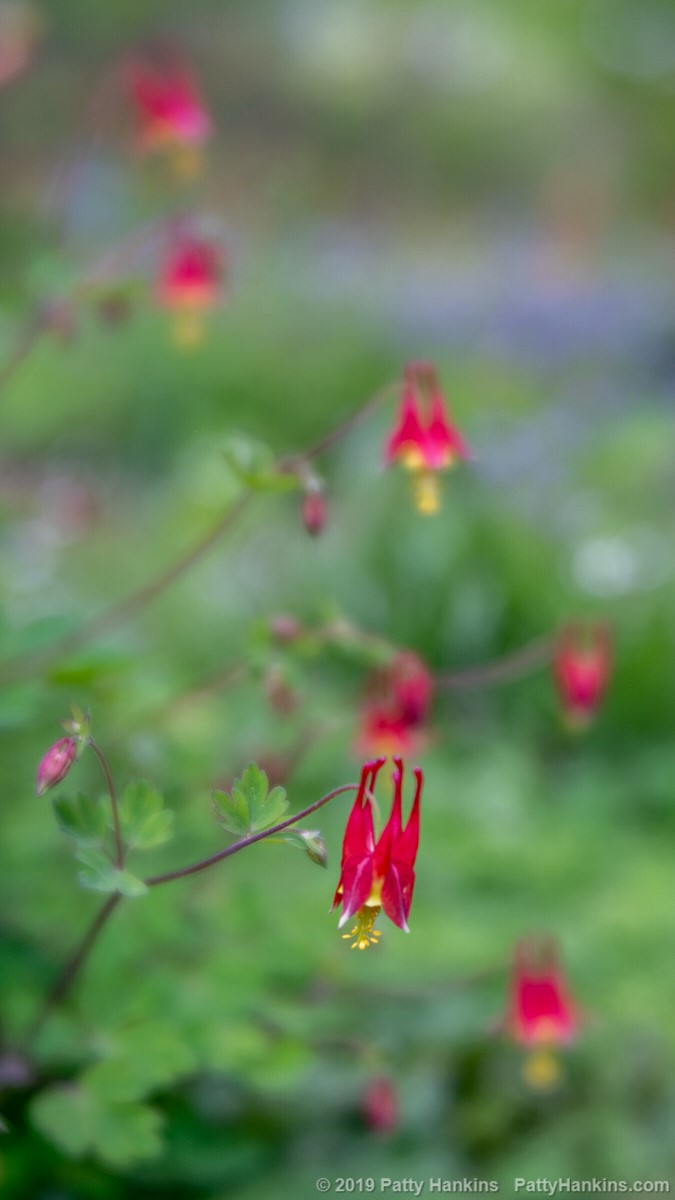
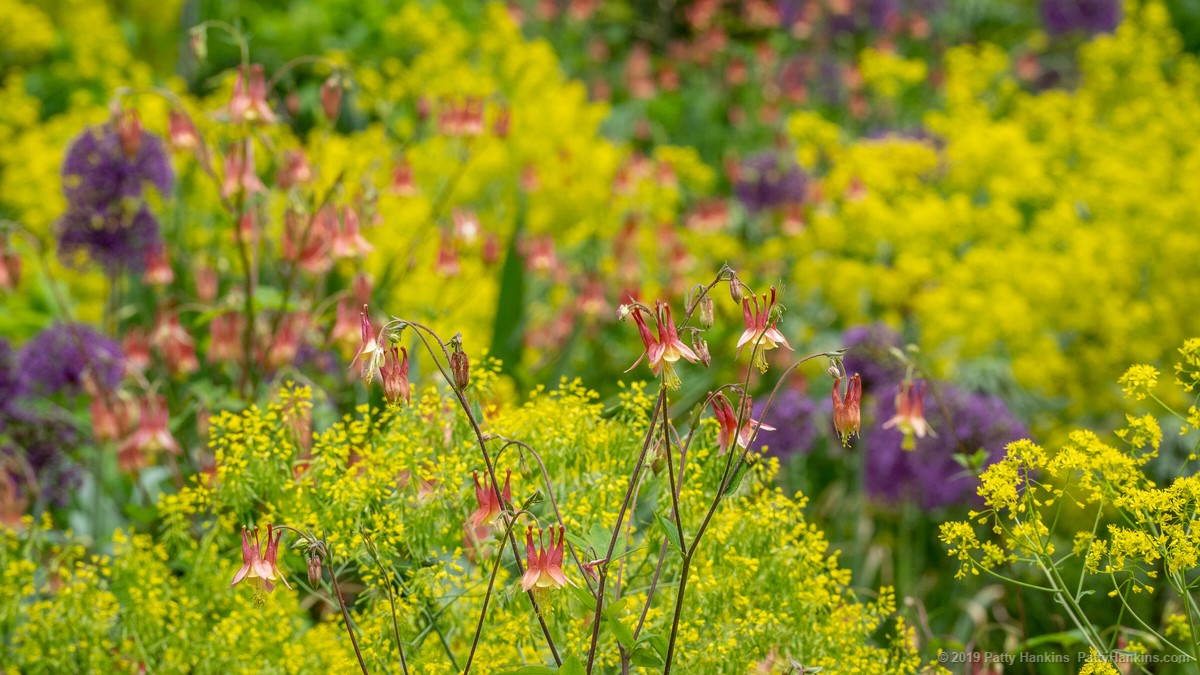
Eastern Red Columbine (Aquilegia canadensis) at Mt Cuba Center

American Columbine © 2019 Patty Hankins

American Columbine © 2019 Patty Hankins
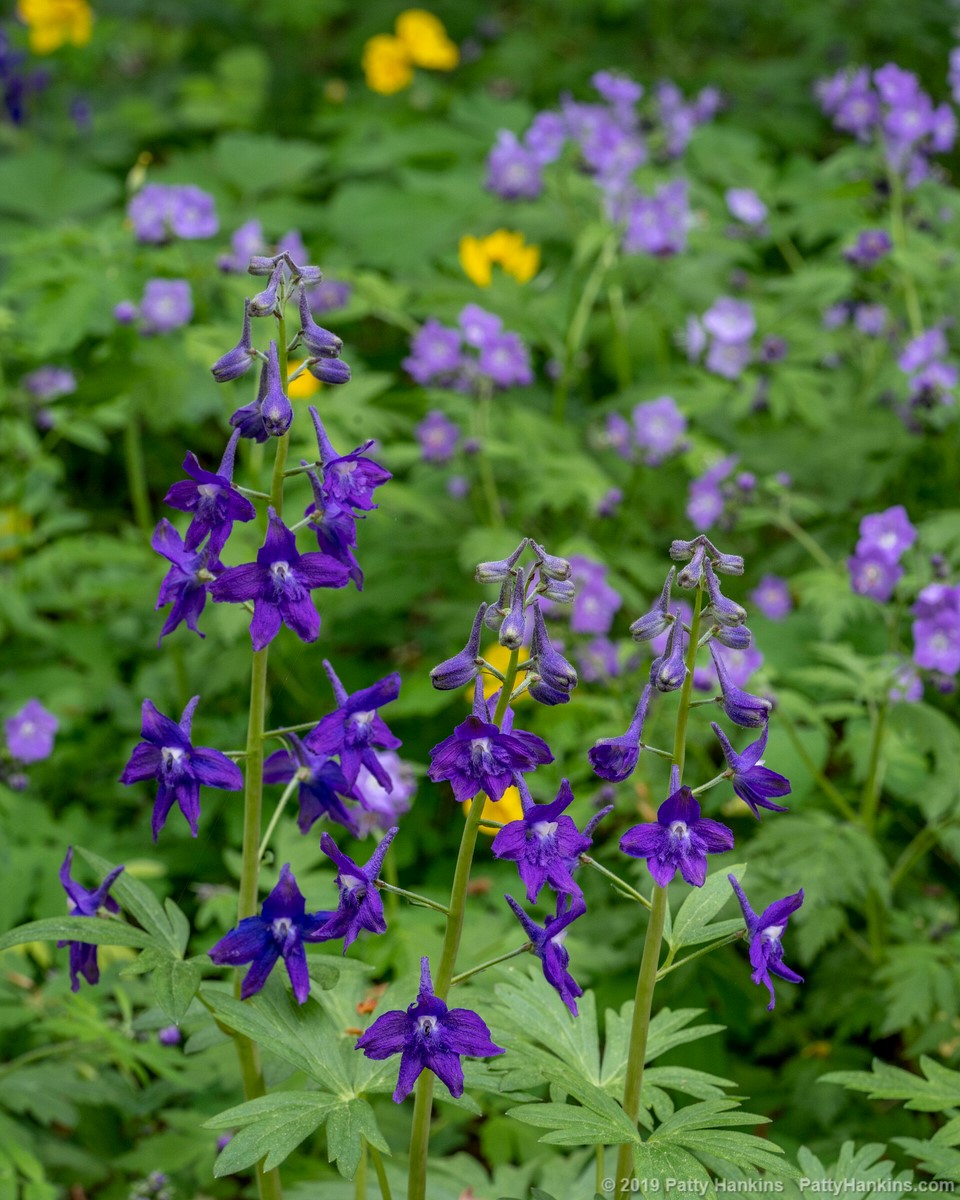
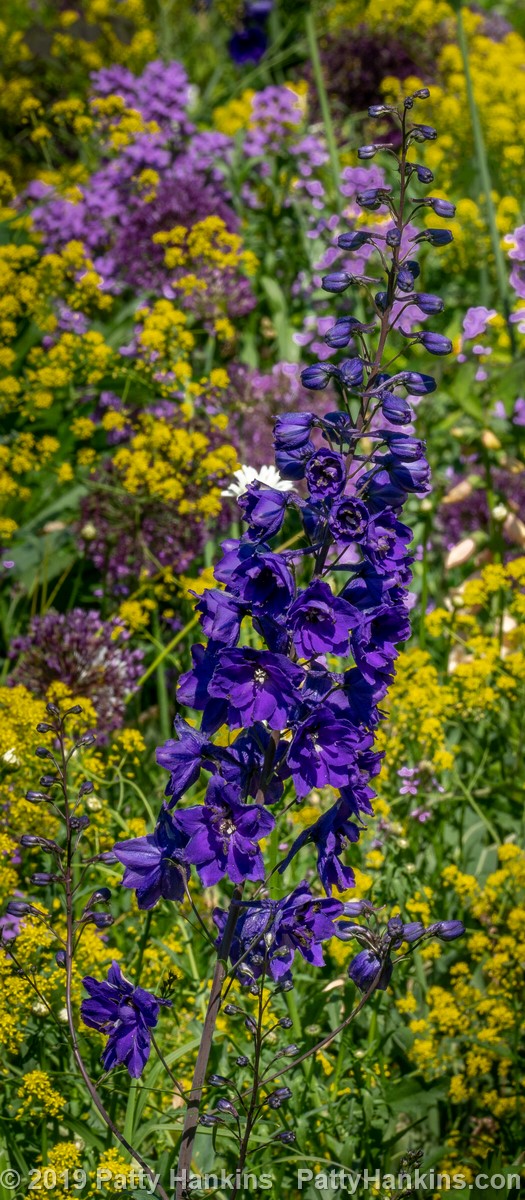
Dwarf Larkspur (Delphinium tricorne) at Mt Cuba Center

Dwarf Larkspur © 2019 Patty Hankins

Dwarf Larkspur © 2019 Patty Hankins
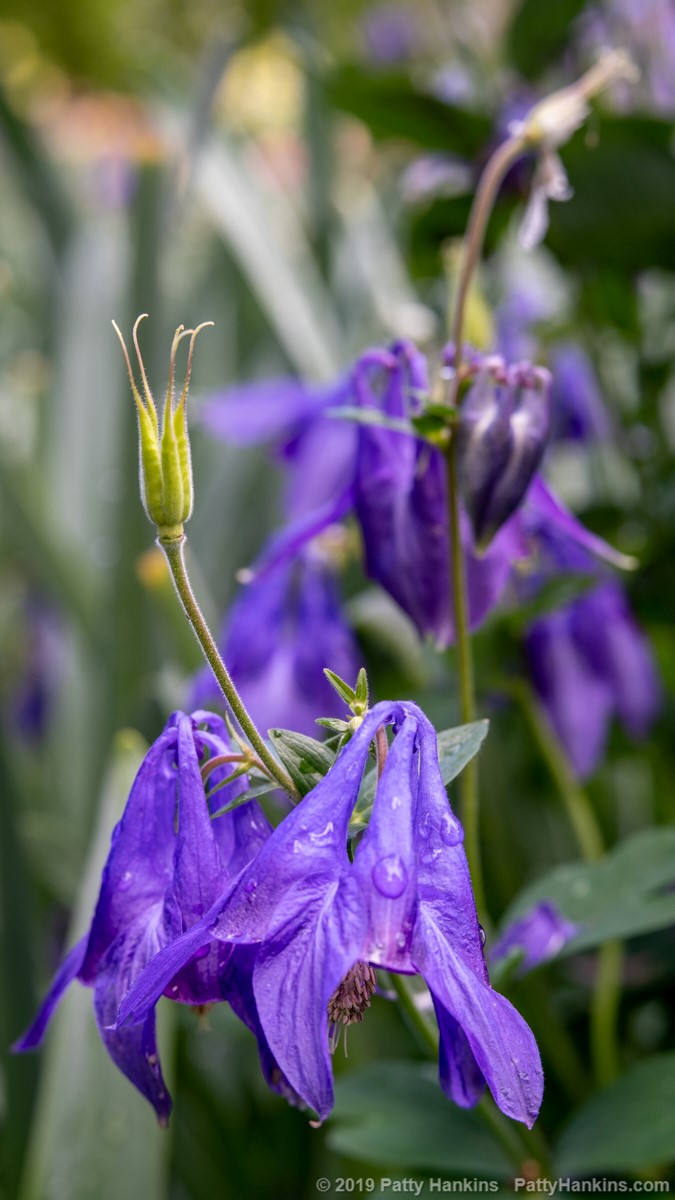
Purple Columbine at Longwood Gardens

Purple Columbine © 2019 Patty Hankins
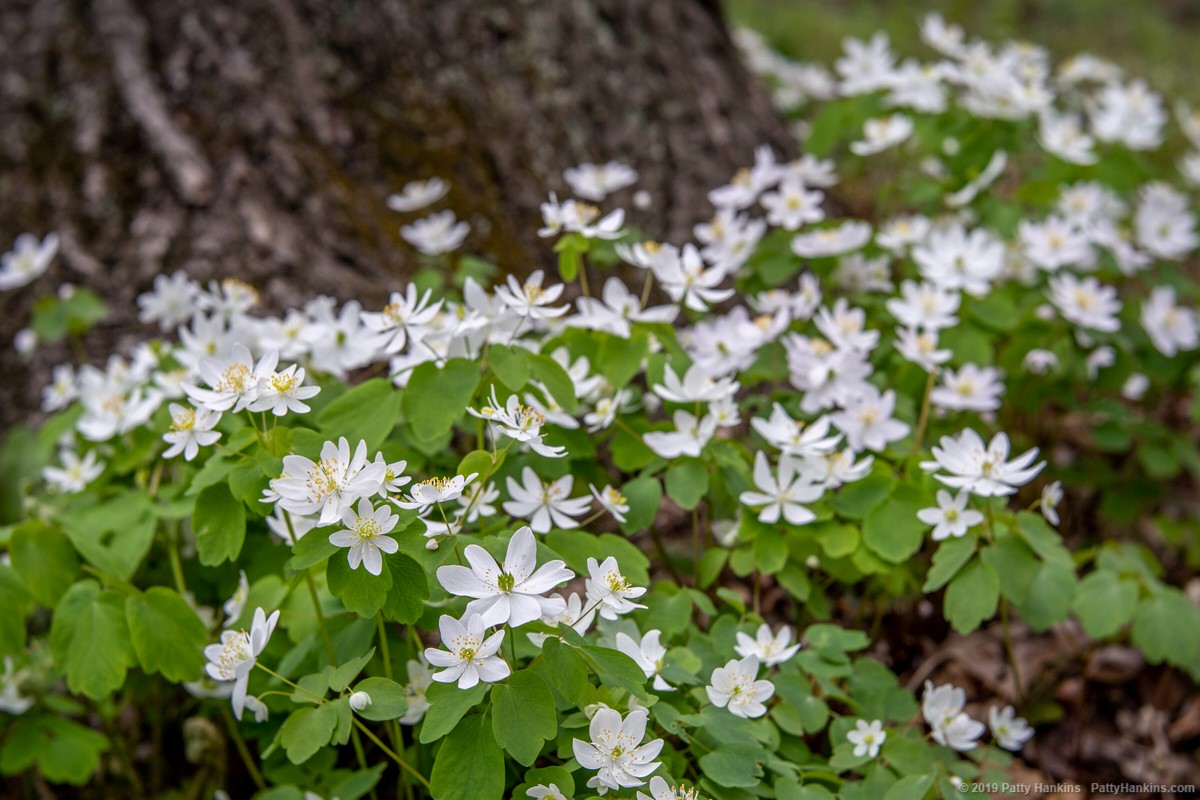
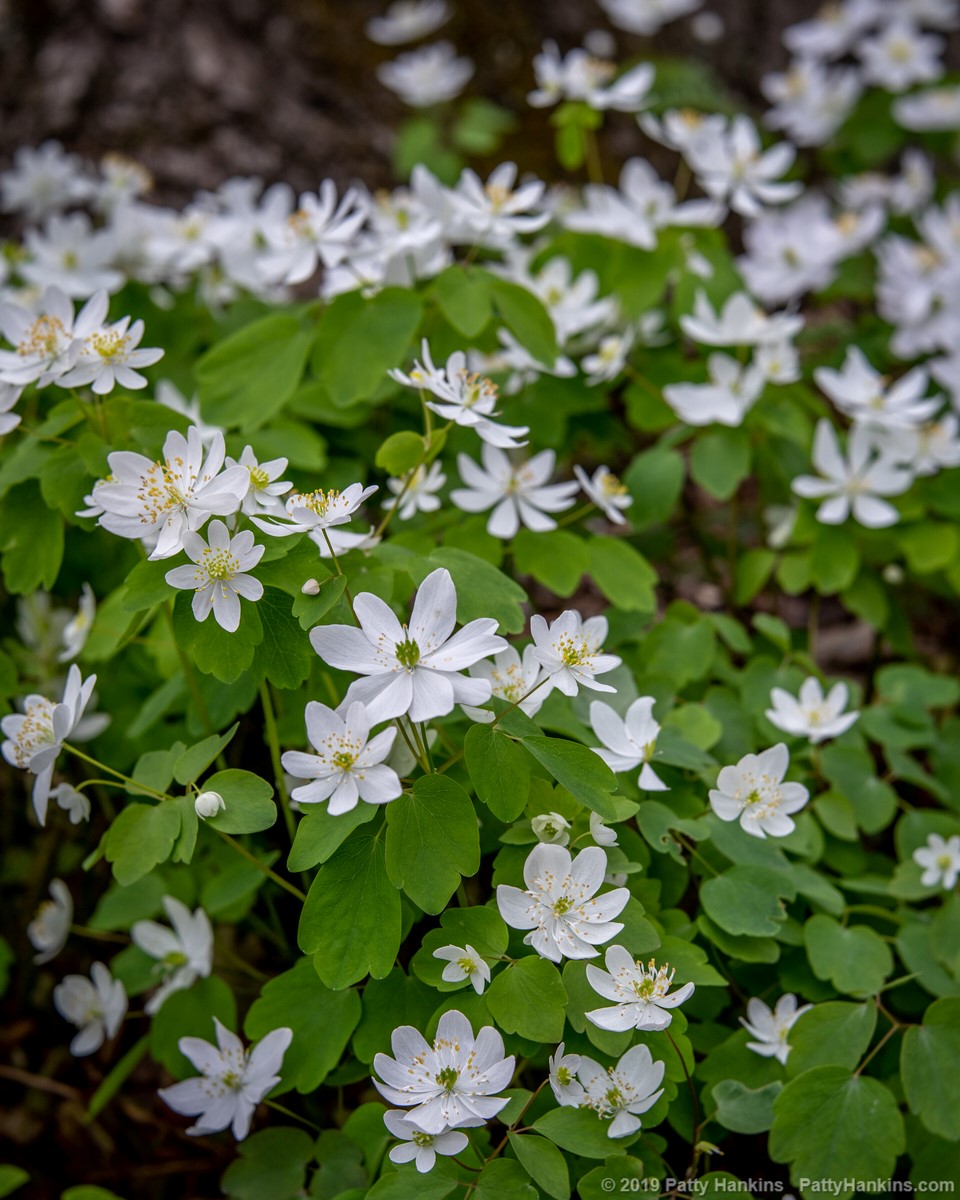
Rue Anemone – Thalictrum thalictroides – Longwood Gardens

Rue Anemone – Thalictrum thalictroides © 2019 Patty Hankins

Rue Anemone – Thalictrum thalictroides © 2019 Patty Hankins

by hankinslawrenceimages | Aug 28, 2019 | Flowers, Uncategorized
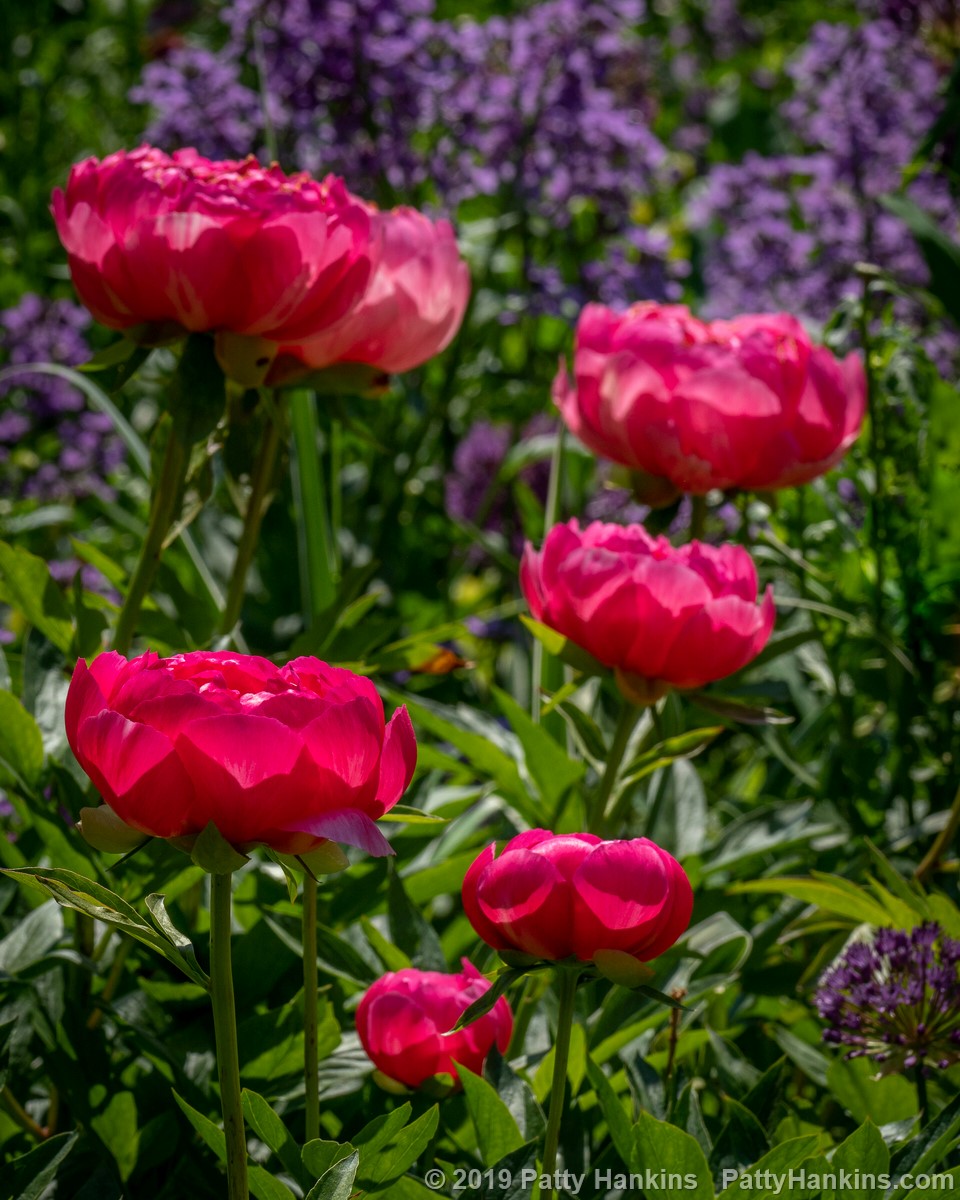
One of the wonderful things about photographing at botanical gardens is seeing all the combinations of flowers that the gardeners plant near each other. There are always amazing combinations of colors, and textures to be found. Here are a few of the ones I’ve photographed recently.

In the Cutting Garden, Chanticleer Gardens © 2019 Patty Hankins

In the Cutting Garden, Chanticleer Gardens © 2019 Patty Hankins

In the Cutting Garden, Chanticleer Gardens © 2019 Patty Hankins

In the Cutting Garden, Chanticleer Gardens © 2019 Patty Hankins

Columbine & Allium at Chanticleer Garden © 2019 Patty Hankins

Dahlia & Gomphrena at Brookside Gardens © 2019 Patty Hankins

by hankinslawrenceimages | Aug 26, 2019 | Papaveraceae Family, Wildflowers
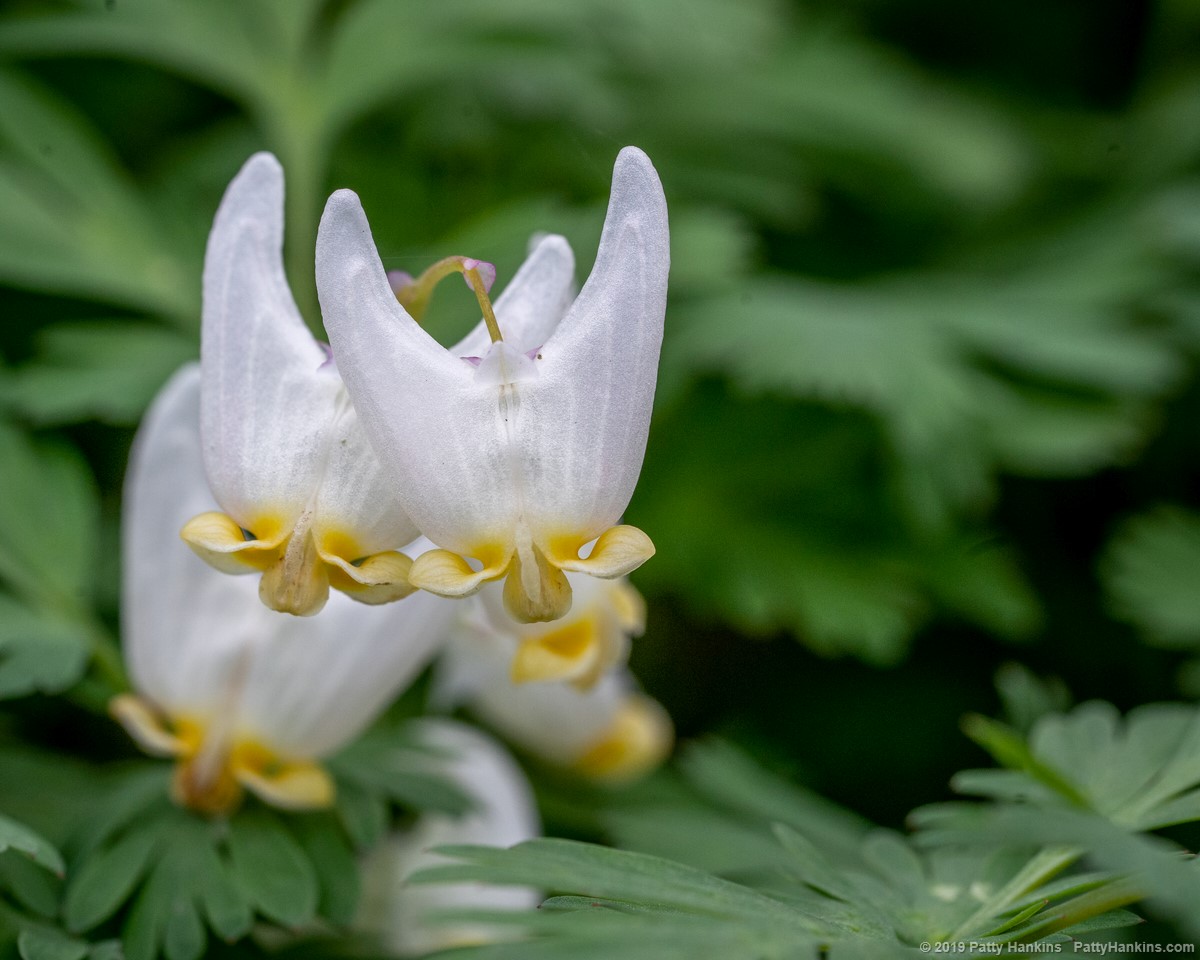
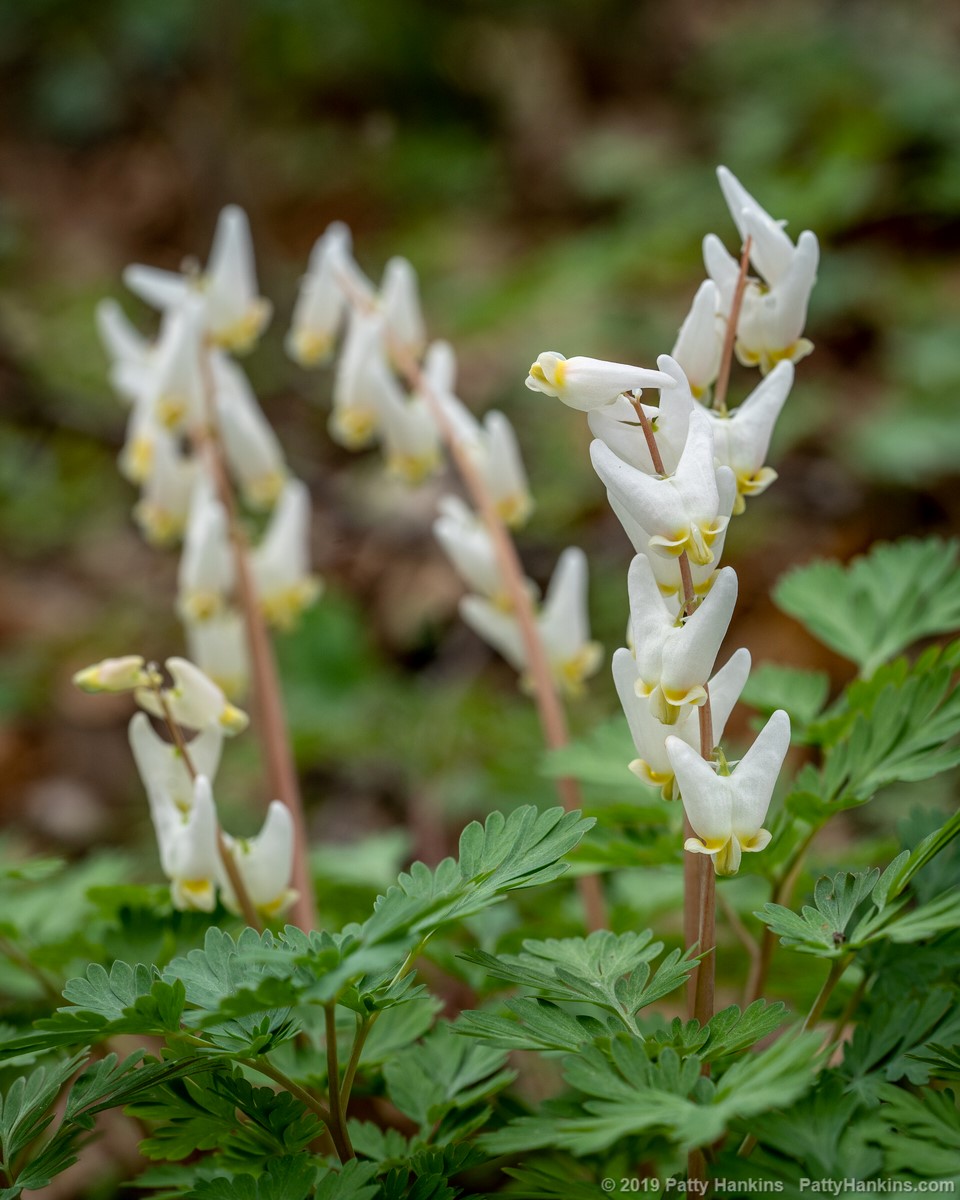
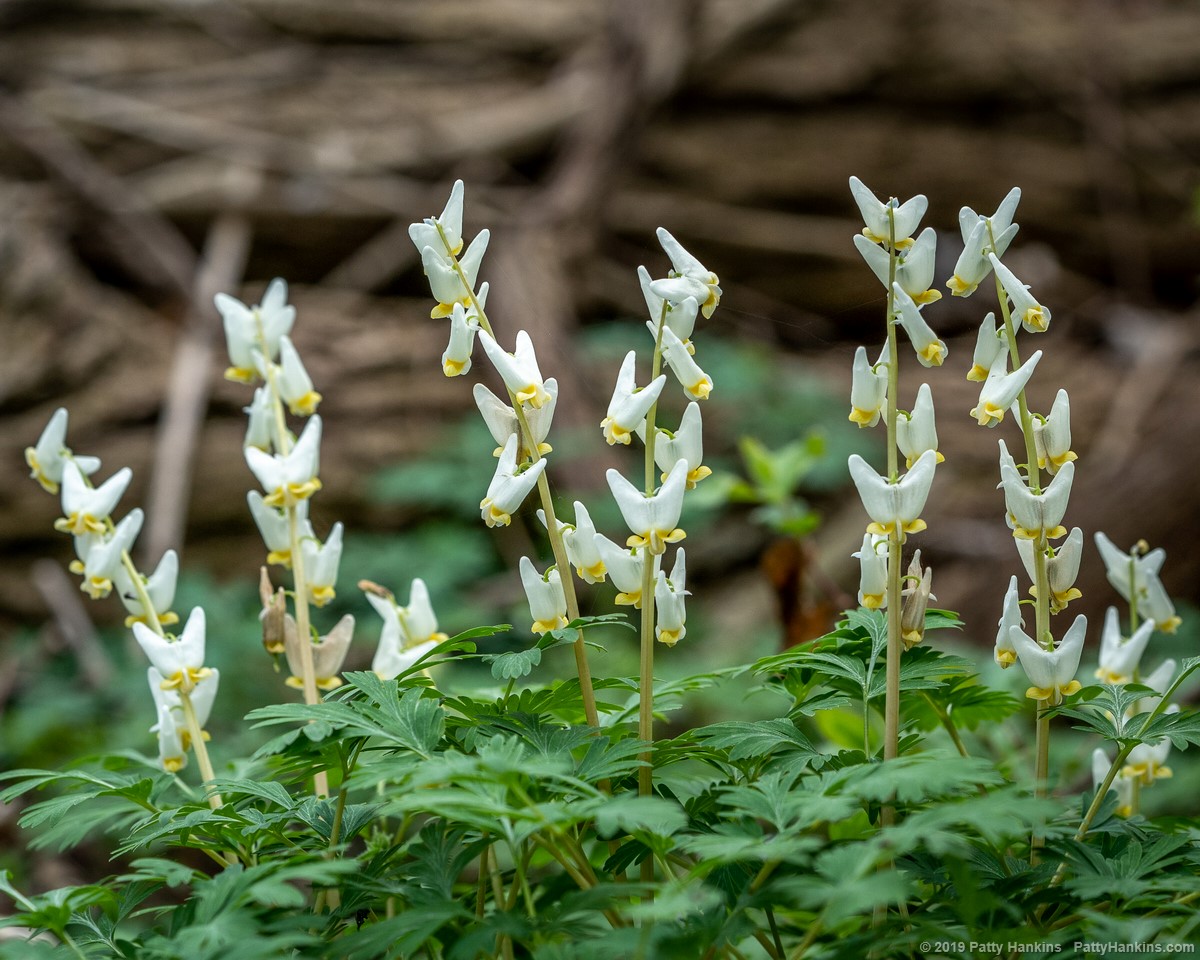
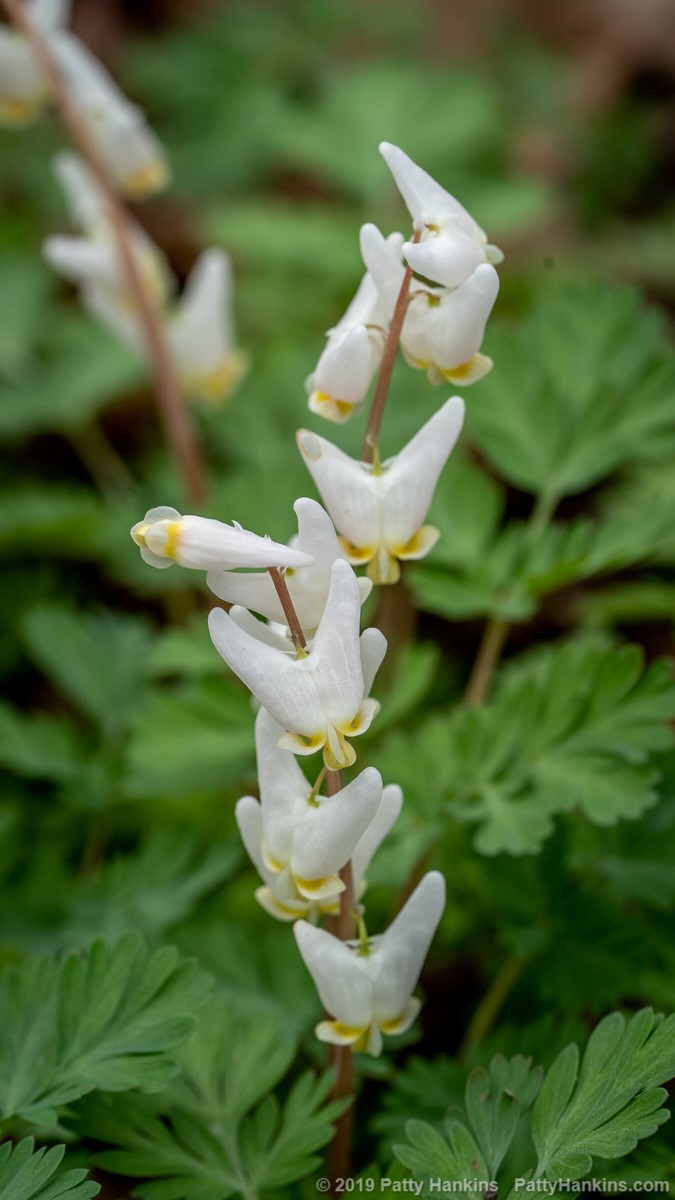
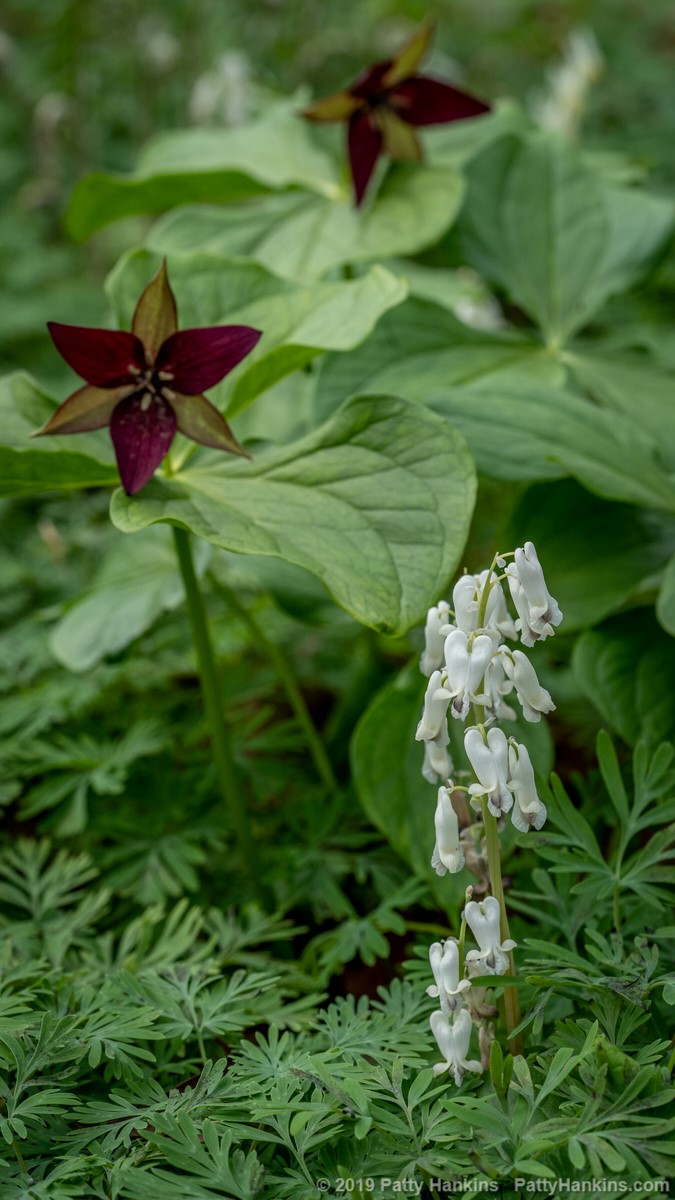
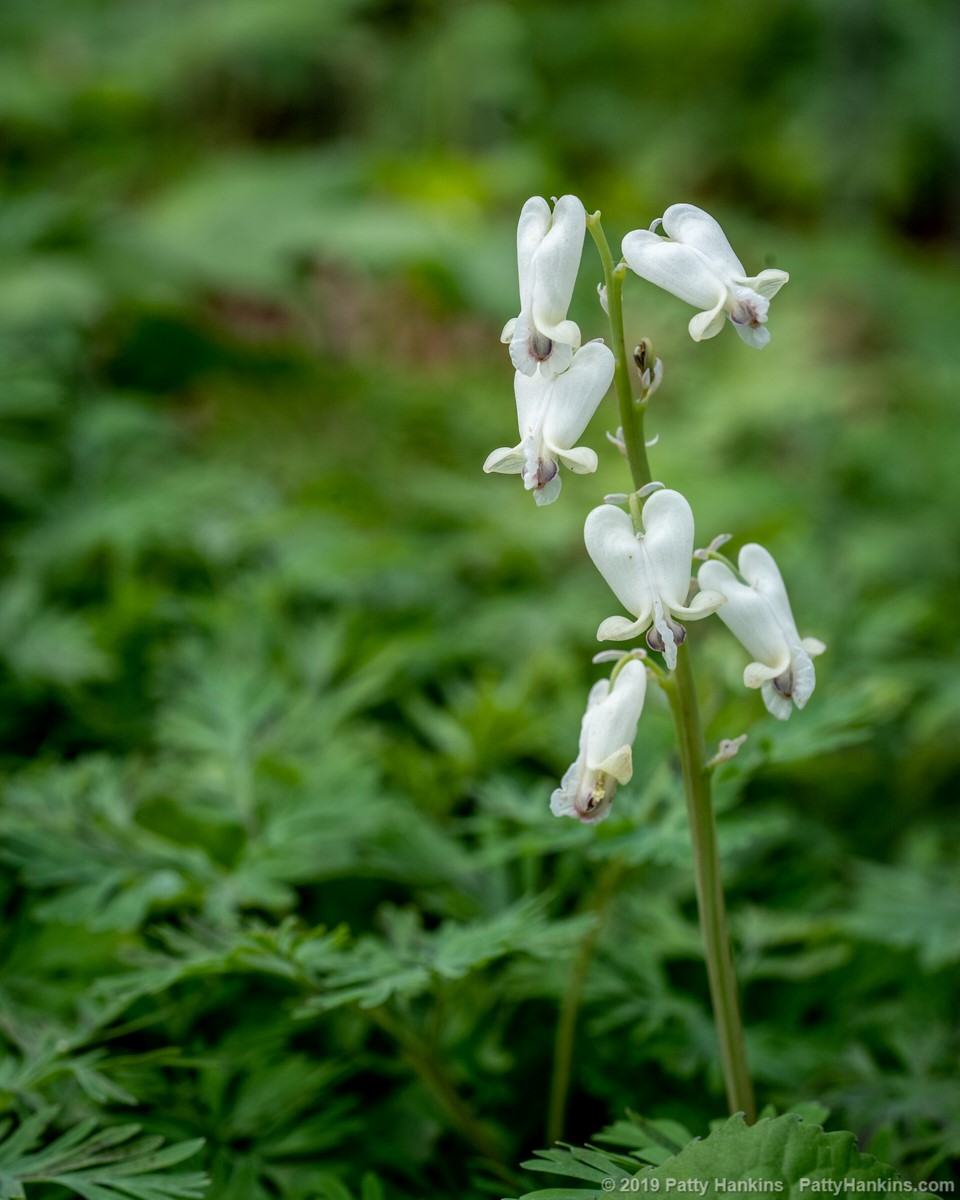
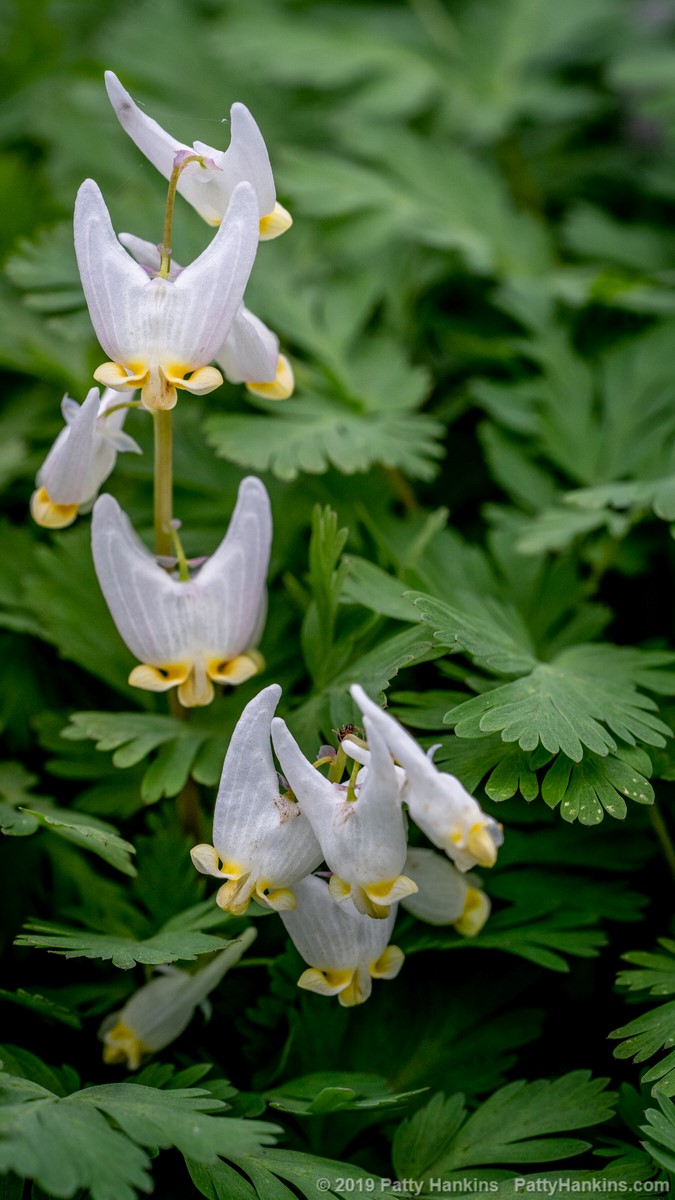
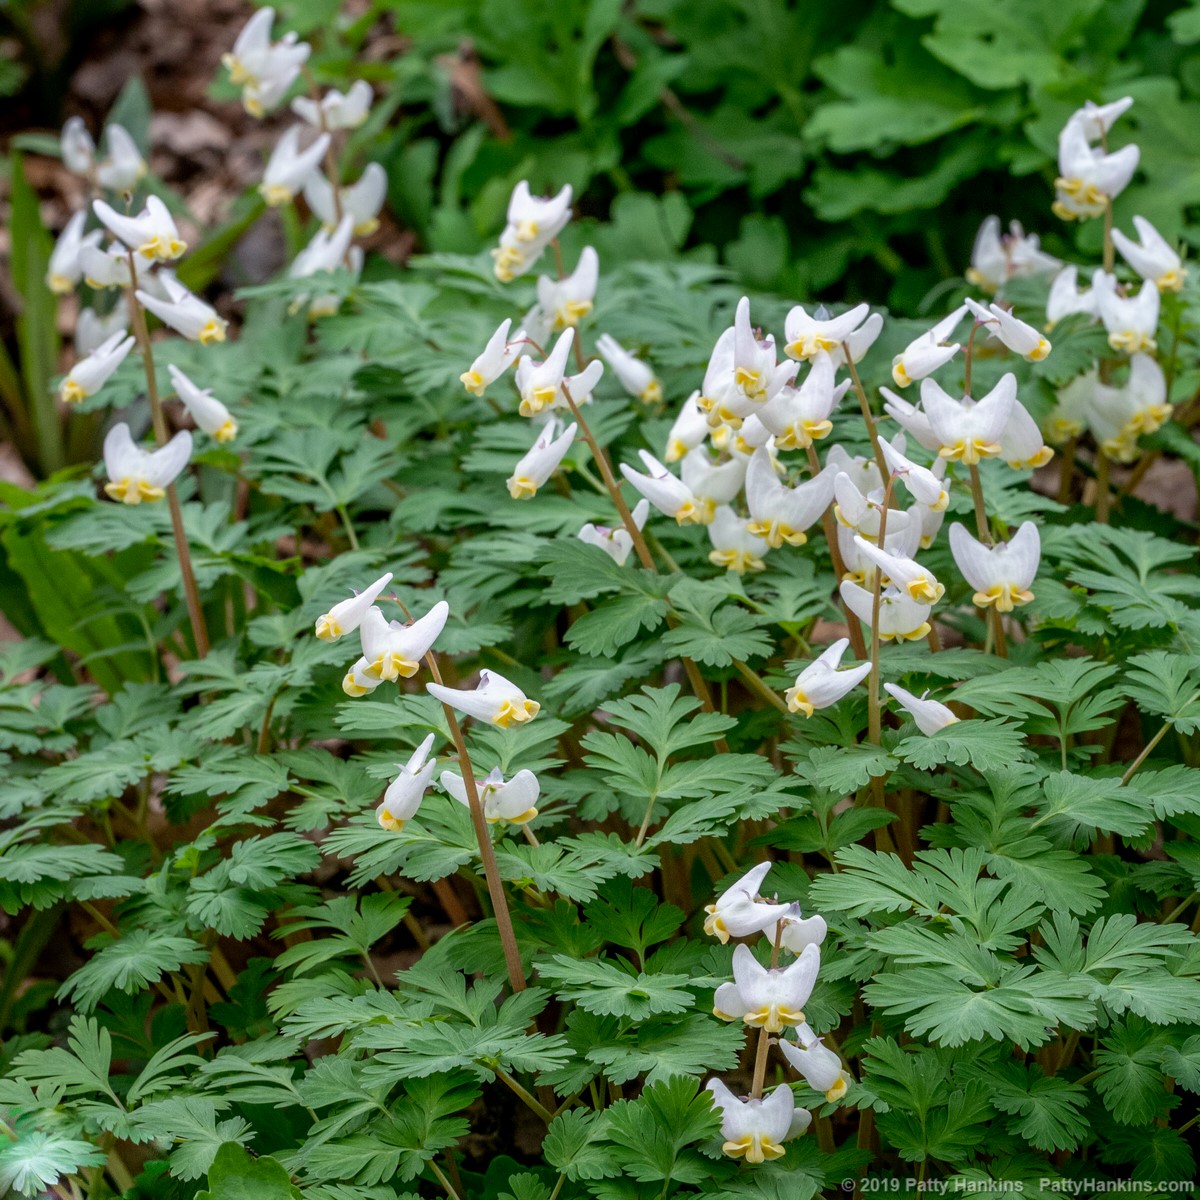
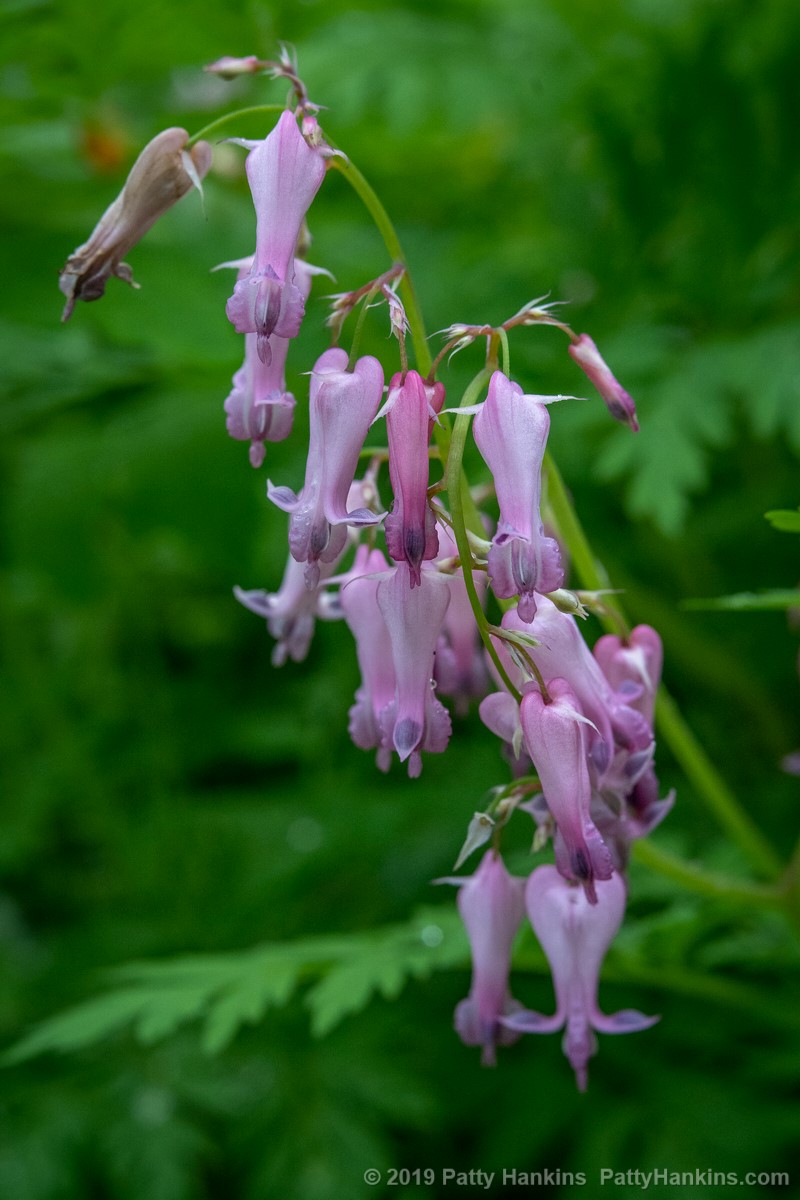
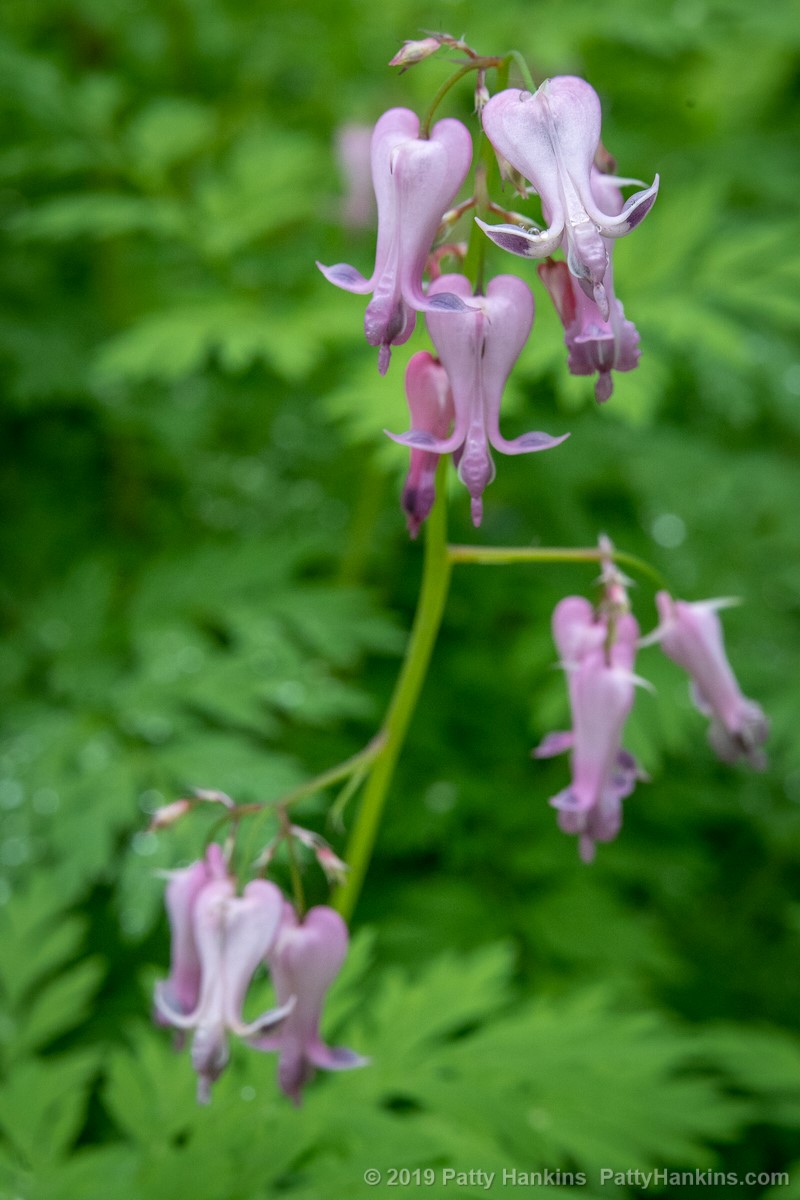
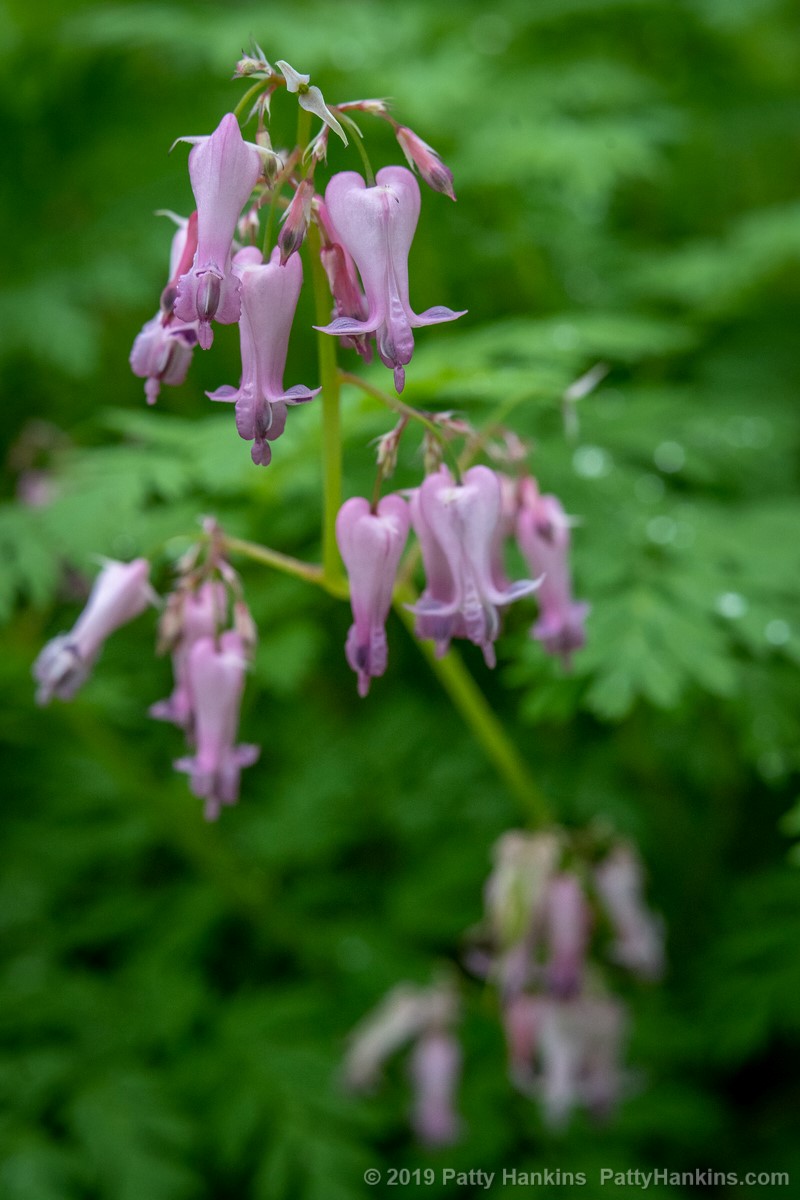
Dutchman’s Breeches (Dicentra cucullaria), Squirrel Corn (Dicentra canadensis) and Bleeding Hearts (Dicentra eximia) are three spring wildflowers I always look for in the woods. They are very delicate wildflowers – I’ve learned what their leaves look like – so I can spot them before the flowers bloom – and then come back when they are likely to be blooming.
A couple weeks ago, I spotted the largest patch of Bleeding Hearts leaves I’ve ever seen – there were still a few lingering blossoms so I’m sure that’s what they were. I’m already planning a trip for next spring in hopes of seeming them in bloom
C&O Canal

Dutchman’s Breeches – Dicentra Cucullaria © 2019 Patty Hankins

Dutchman’s Breeches – Dicentra Cucullaria © 2019 Patty Hankins

Dutchman’s Breeches – Dicentra Cucullaria © 2019 Patty Hankins
Longwood Gardens

Squirrel Corn – Dicentra Canadensis © 2019 Patty Hankins

Squirrel Corn – Dicentra Canadensis © 2019 Patty Hankins
Jenkins Arboretum

Dutchman’s Breeches – Dicentra Cucullaria © 2019 Patty Hankins

Dutchman’s Breeches – Dicentra Cucullaria © 2019 Patty Hankins

Dutchman’s Breeches – Dicentra Cucullaria © 2019 Patty Hankins
Mt Cuba Center

Bleeding Hearts – Dicentra eximia © 2019 Patty Hankins

Bleeding Hearts – Dicentra eximia © 2019 Patty Hankins

Bleeding Hearts – Dicentra eximia © 2019 Patty Hankins
by hankinslawrenceimages | Aug 23, 2019 | Uncategorized
I love attending photography conferences! It’s a chance to spend a day or a weekend focusing on learning new skills. In July, I attended the New England Camera Club Council Conference in Amherst, Massachusetts. Not only did I get a chance to hear some excellent speakers and meet other photographers who share my passion for photography, I also got to check out all the latest gear in the Vendor Hall.
For those of us in the Middle Atlantic region, the Nature Visions Photo Expo is a wonderful opportunity to learn from a variety of speakers, see excellent photography, connect with other photographers and of course – check out the vendors and exhibitors.
 Nature Visions Photography Expo is an annual event that is held at the Hylton Performing Arts Center in Manassas, VA and is the premier photography expo in the Mid-Atlantic region. It is composed of a juried exhibit of nature photography, lectures and classes on all aspects of photography, vendors, a Friday all-day seminar and our Saturday keynote address. This year’s keynote speakers are Ralph Lee Hopkins, National Geographic and Lindblad Expeditions photographer, Amy Gulick, nature photographer, and Cole Thompson, black and white photographer.
The conference will be held on November 1 – 3, 2019 in Manassas, Virginia.
I’m excited to share that this year I will be presenting at Nature Visions 2019!!!
On both Saturday and Sunday, I’ll be leading 2 hour Hands-On Flower Photography Workshops focusing on photographing flowers in the studio. Also on Saturday, I’ll be supervisiong three hour-long Orchid and Flower Photo Shoot session, where you’ll be able to photograph a variety of flowers in light boxes. Finally, on Sunday morning, I’ll be doing three portfolio reviews for photographers.
You can find more information about Nature Visions and the sessions I’ll be doing on their website at https://naturevisions.org/ (link to https://naturevisions.org/)
I hope to see you there!

by hankinslawrenceimages | Aug 21, 2019 | Liliaceae Family, Wildflowers
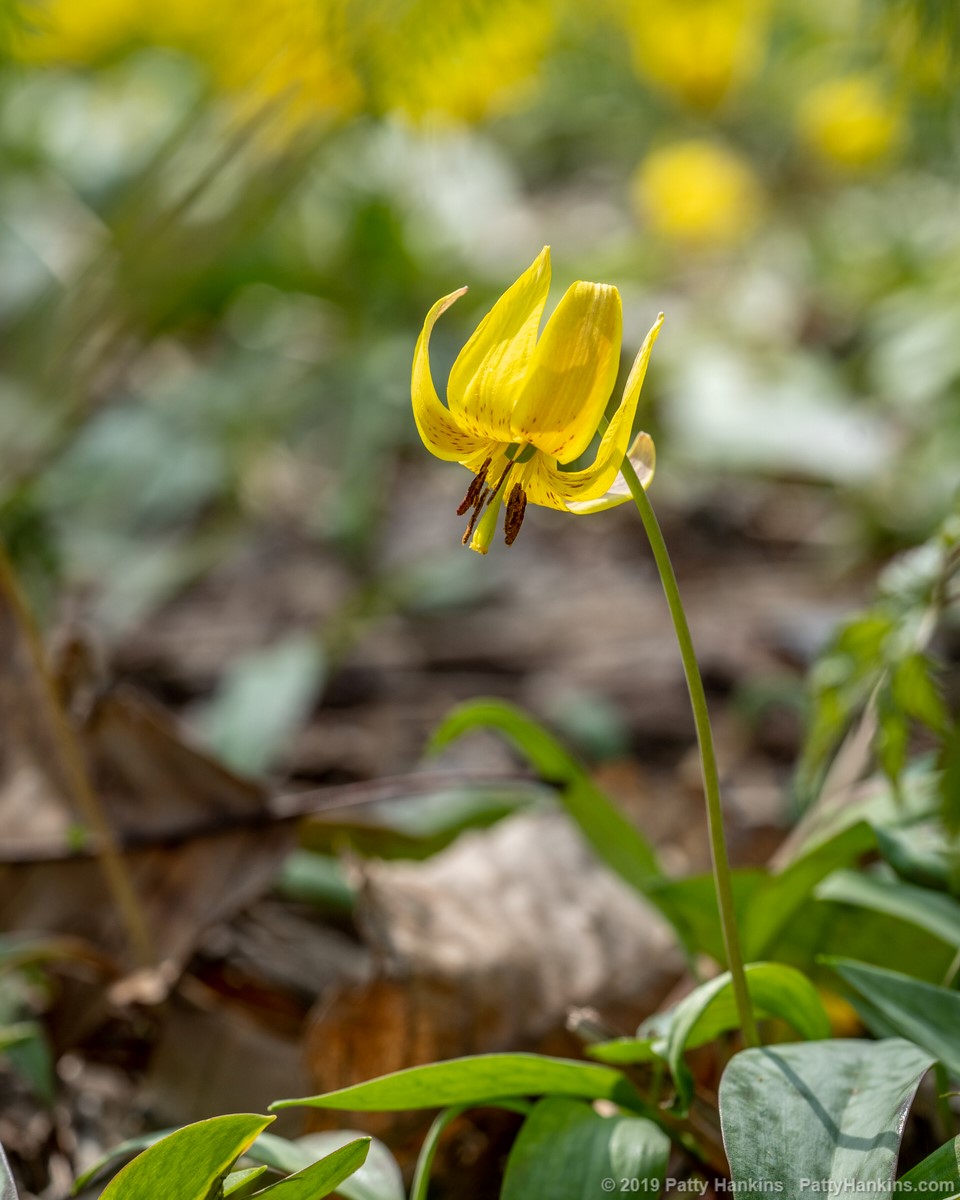
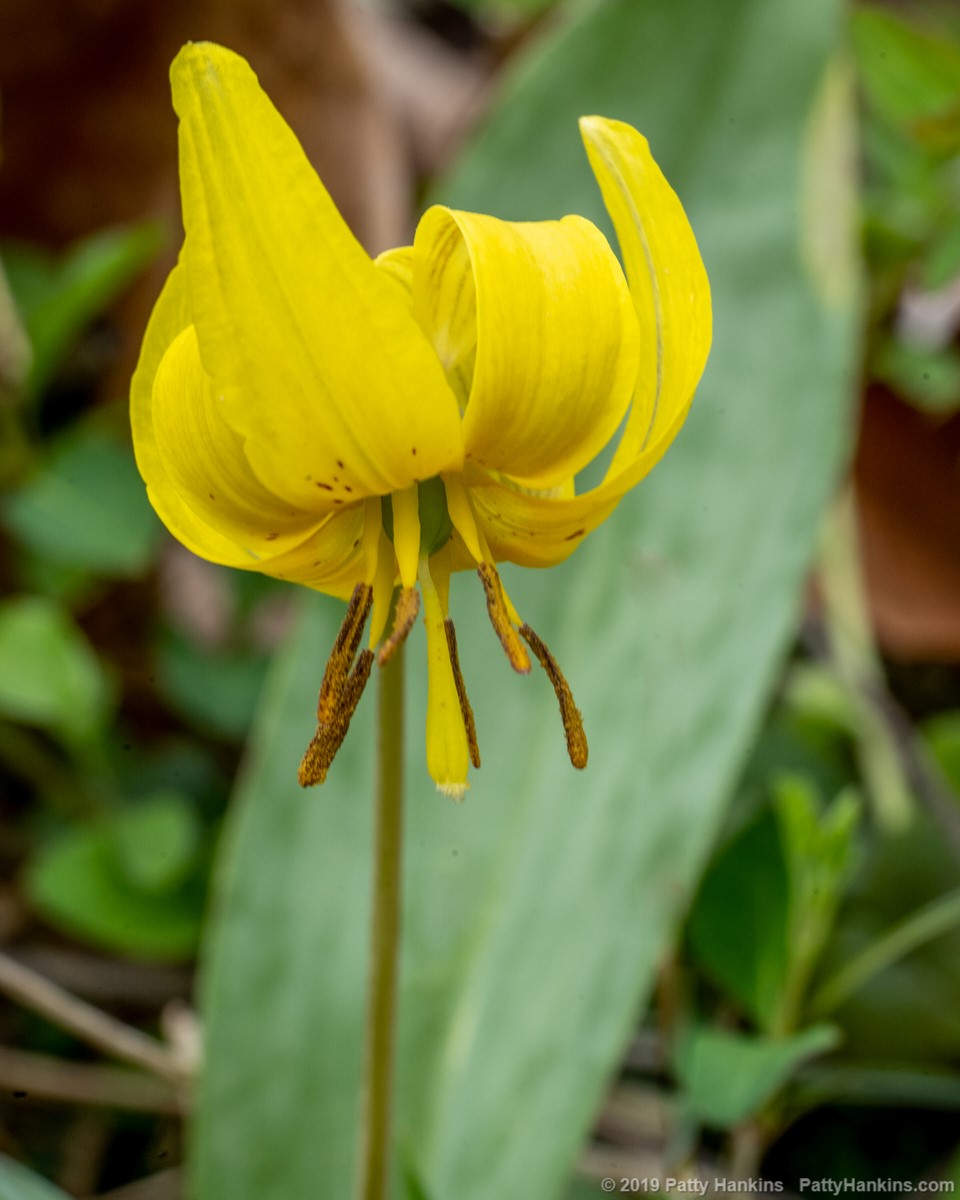
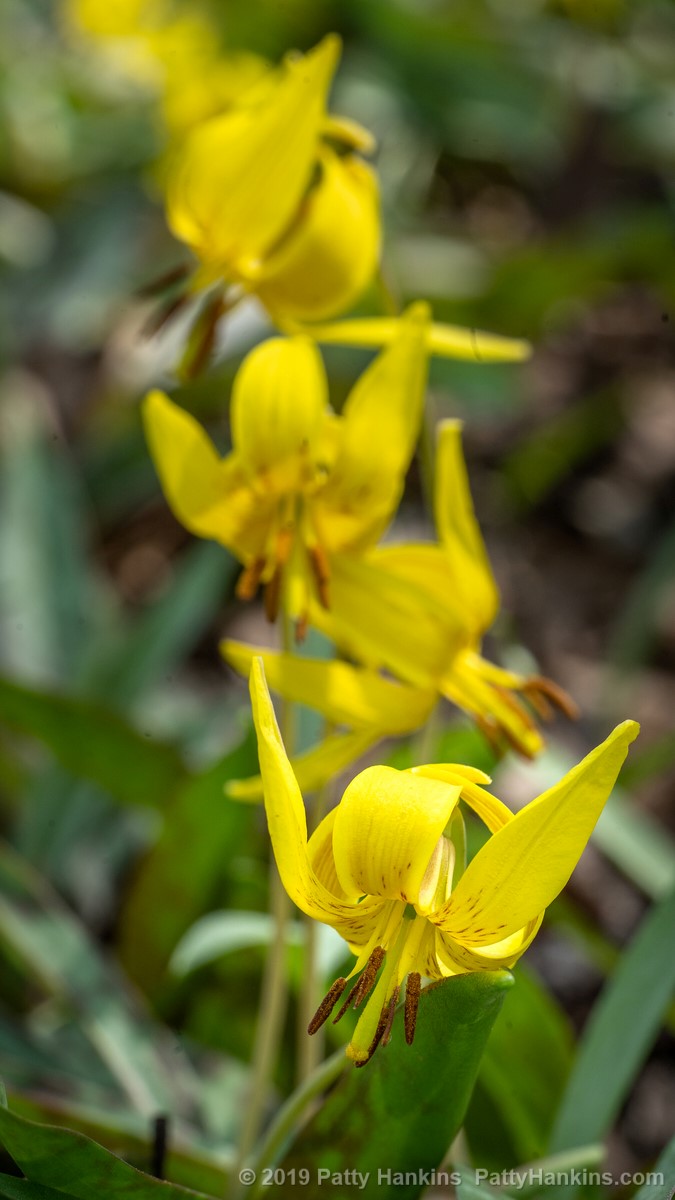
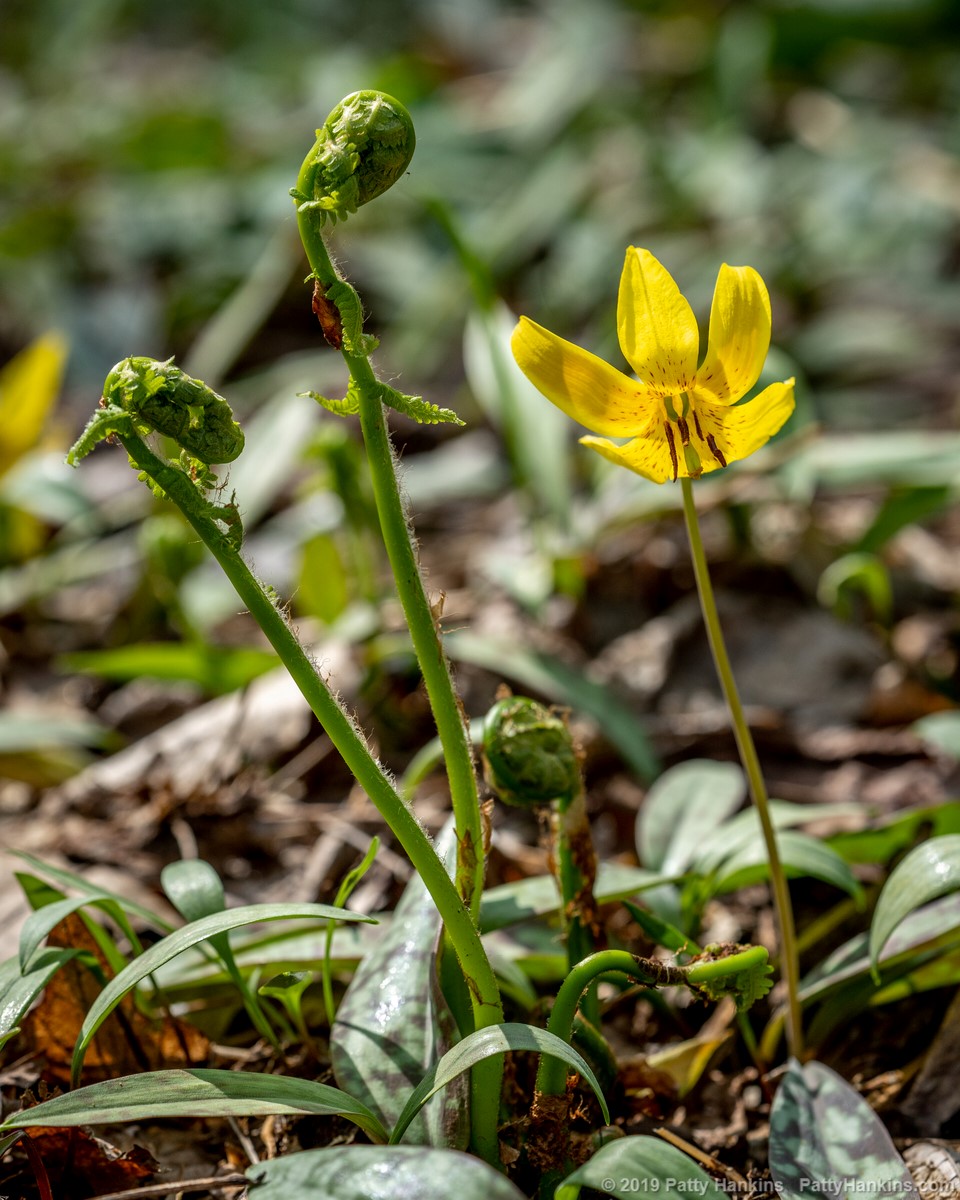
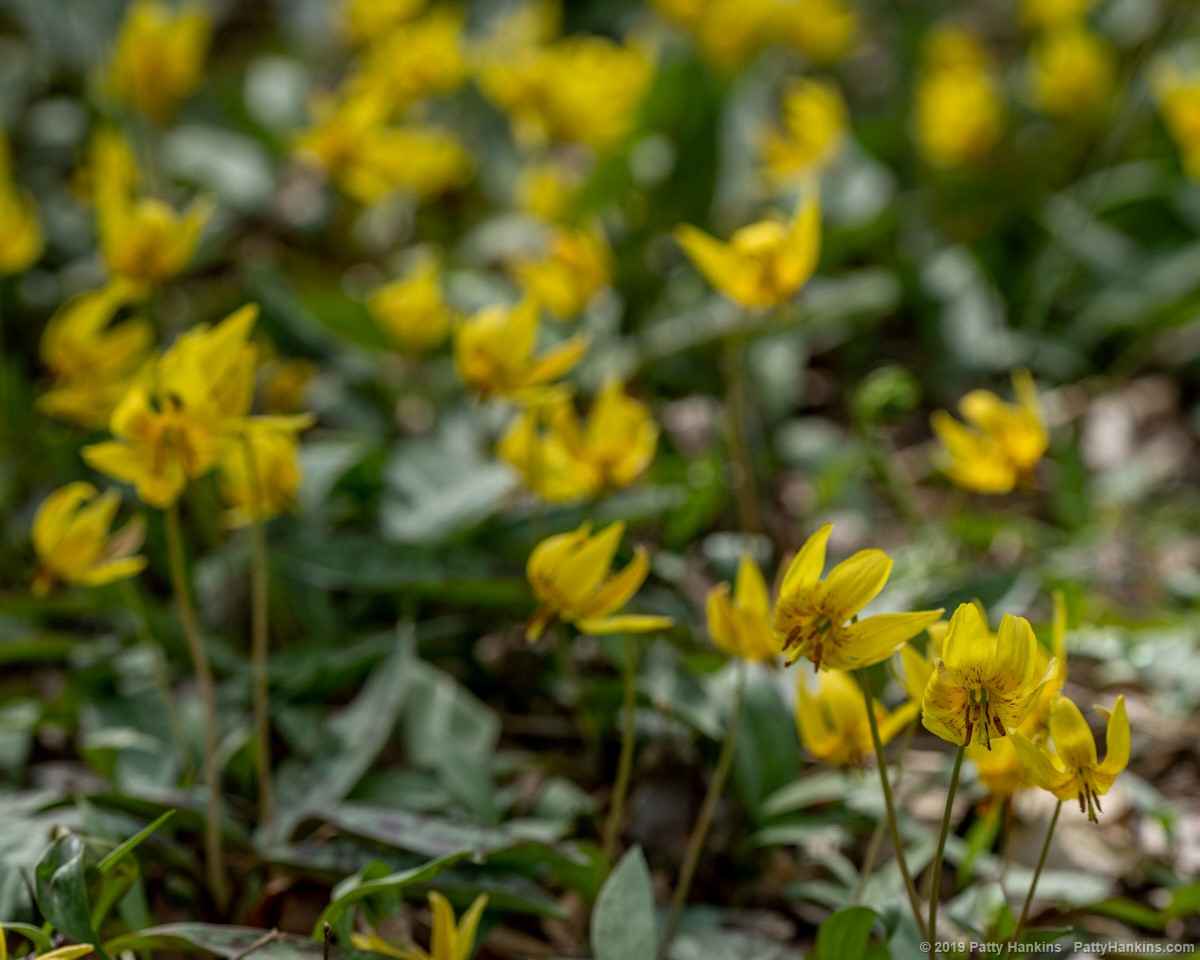
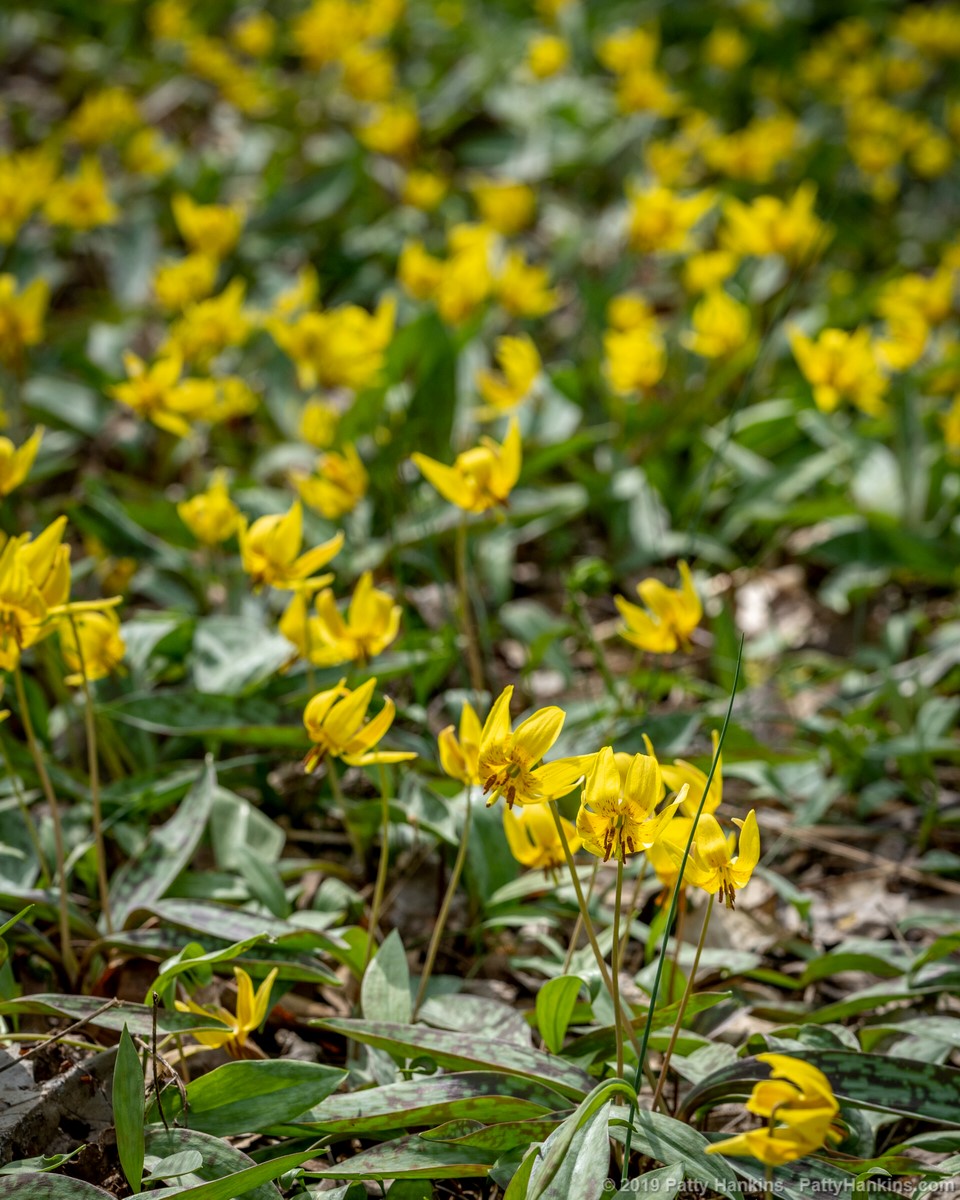
Trout Lilies are one of the wildflowers I look forward to seeing and photographing each years. Some years, I consider myself lucky if I find one or two to photograph. This year I found hundreds if not thousands of trout lilies to photograph, mainly at Jenkins Arboretum in Pennsylvania. I’ll definitely head back there next spring in search of more trout lilies
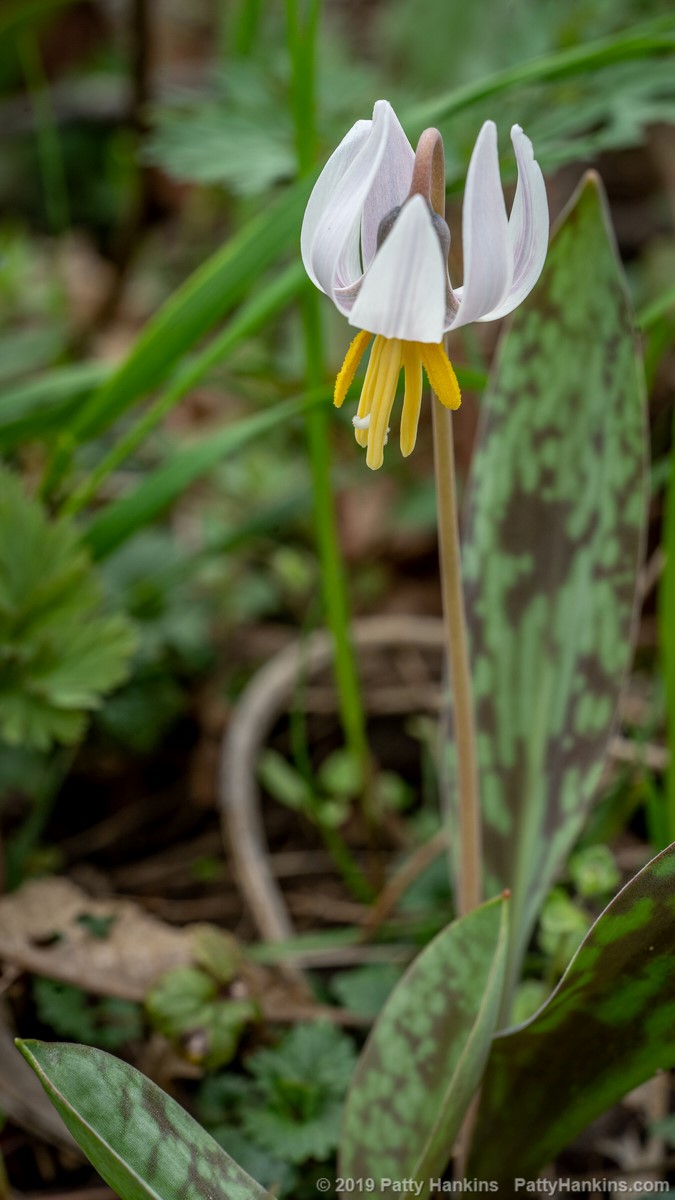
The yellow trout lilies (Erythornium americanum) are the more common ones to find here in the middle Atlantic area. The white trout lilies (Erytrhonium albidum) are much harder to find.
C&O Canal

Yellow Trout Lily – Erythronium americanum © 2019 Patty Hankins

White Trout Lily –
Erythronium albidum © 2019 Patty Hankins
Jenkins Arboretum

Yellow Trout Lily – Erythronium americanum © 2019 Patty Hankins

Yellow Trout Lily – Erythronium americanum © 2019 Patty Hankins

Yellow Trout Lily – Erythronium americanum © 2019 Patty Hankins

Yellow Trout Lily – Erythronium americanum © 2019 Patty Hankins

Yellow Trout Lily – Erythronium americanum © 2019 Patty Hankins
