A few months ago, I bought a new lens for my camera – a Lensbaby Velvet 56 and to my surprise I’ve fallen totally in love with the lens and the photos I’m taking with it.The Lensbaby Velvets are known for being a soft focus lens. Over the years, I’ve seen so many out of focus poorly exposed photos taken with the Lensbaby lenses that I just figured the lenses weren’t for me. And then I tried one. And discovered that once I took the time to learn how the lens worked, and how it worked with my style of photography – my Lensbaby Velvet has become one of my go-to lenses!
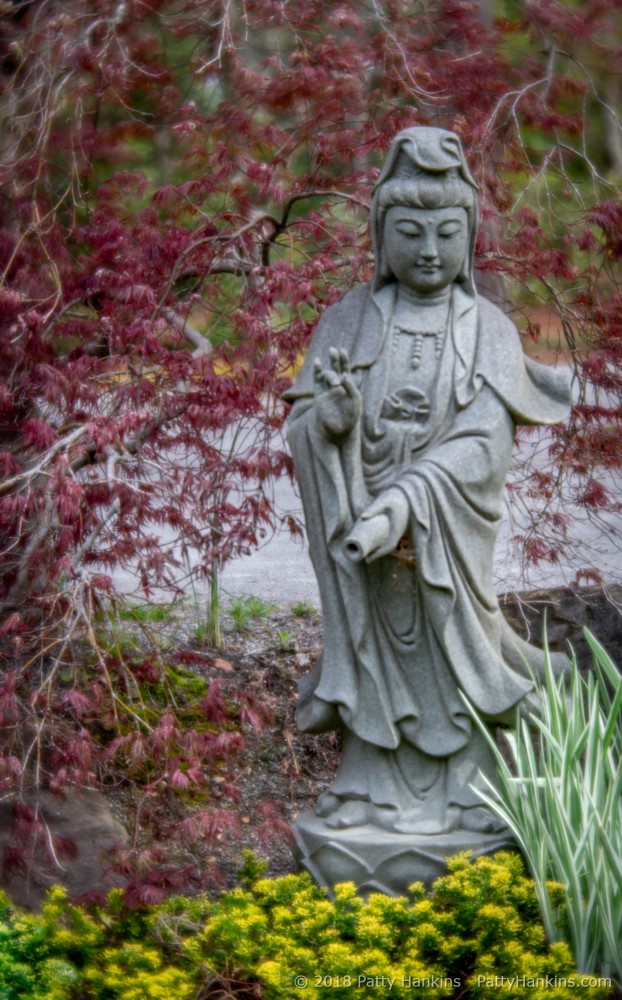
In the Japanese Garden, Gibbs Gardens, Ball Ground, GA © 2018 Patty Hankins
Lensbaby Velvets are a fully manual lens. On my Sony camera, it seems to work best in Aperture Priority mode. I choose the aperture, my camera selects the appropriate shutter speed based on lighting and my ISO – and then I need to focus the lens. The widest aperture on the Lensbaby is f 1.6. Photos taken at f 1.6 will have a shallow depth of field (or a very small front/back area in sharp focus). The rest of the photo tends to be out of sharp focus and often referred to as having a “dreamy” quality. It seems that many of the photos I’d seen that I didn’t like were taken at f 1.6 and it’s just not a look I like.

Lavender & Books Still Life © 2018 Patty Hankins
I’ve found somewhere about f 4 or f 5.6 on the Lensbaby Velvet to be my favorite apertures so far. Photos taken at those apertures have enough depth of field that I can get enough of my subject in sharp focus that I can clearly share what I’m photographing. They also have a shallow enough depth of field that I get the wonderful soft background I’m looking for.
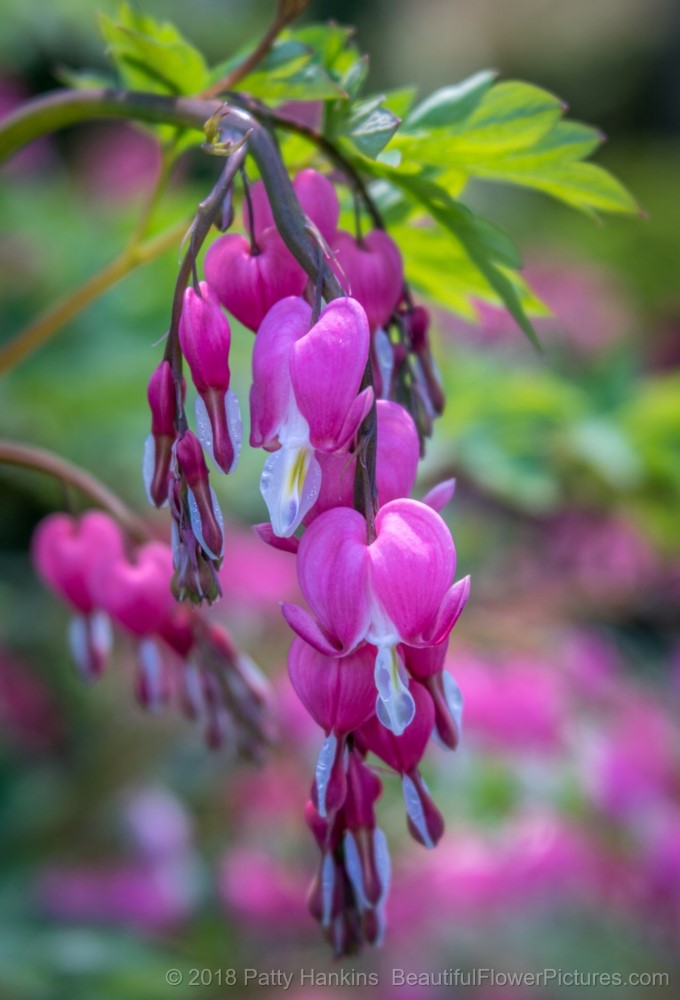
Bleeding Hearts © 2018 Patty Hankins
I figured out which were the “right” apertures for me by spending some time getting to know the lens. When I took it out for practice sessions, I set up my tripod and then took a photo at every f stop the lens has – f 1.6, f 2., f 2.8, f 4, f 5.6, f 8, f11, and f16. Then I’d take a look at the photos to see what I’d gotten – and what I liked. Once I’d reviewed the photos, I moved my camera and tripod closer to the subject – and took another series of photos. And then I moved my camera and tripod further away from the subject – and took yet another set of photos
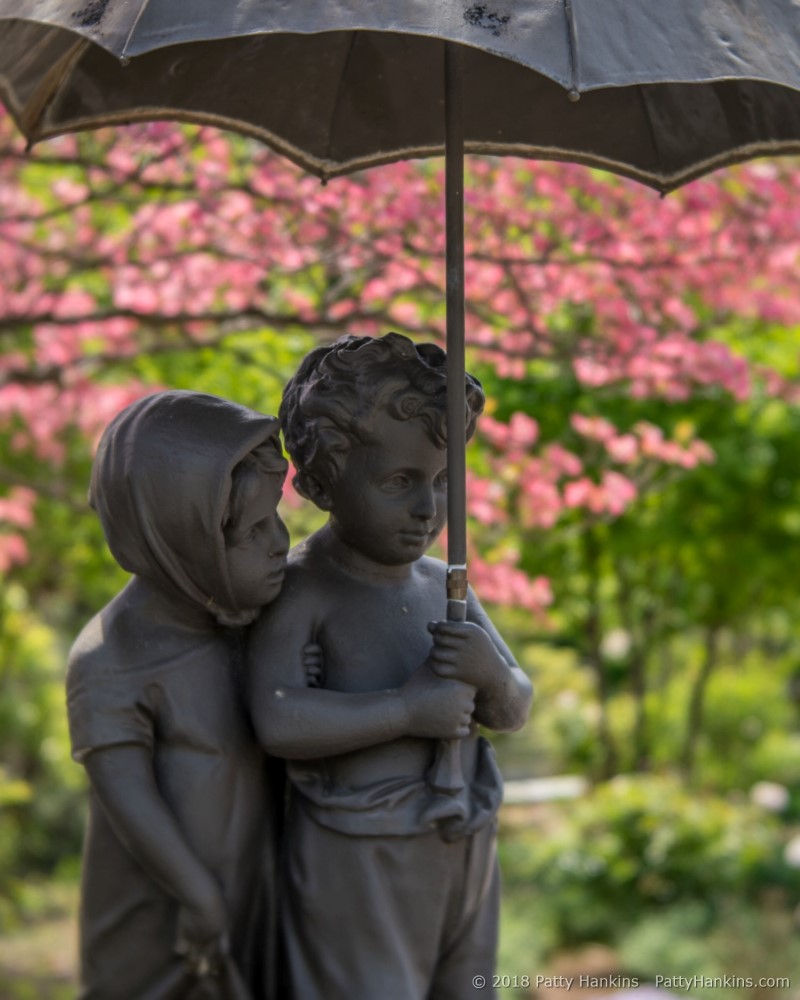
Sculpture with Pink Dogwood, Oakland Cemetery in Atlanta, Georgia © 2018 Patty Hankins
And then I’d find another subject and take several more serieses of photos at all the f stops. After doing this a few times, I got the sense of how the lens worked at various types of subjects and at different distances from the subject. That’s when i figured out which f stops were right for me.
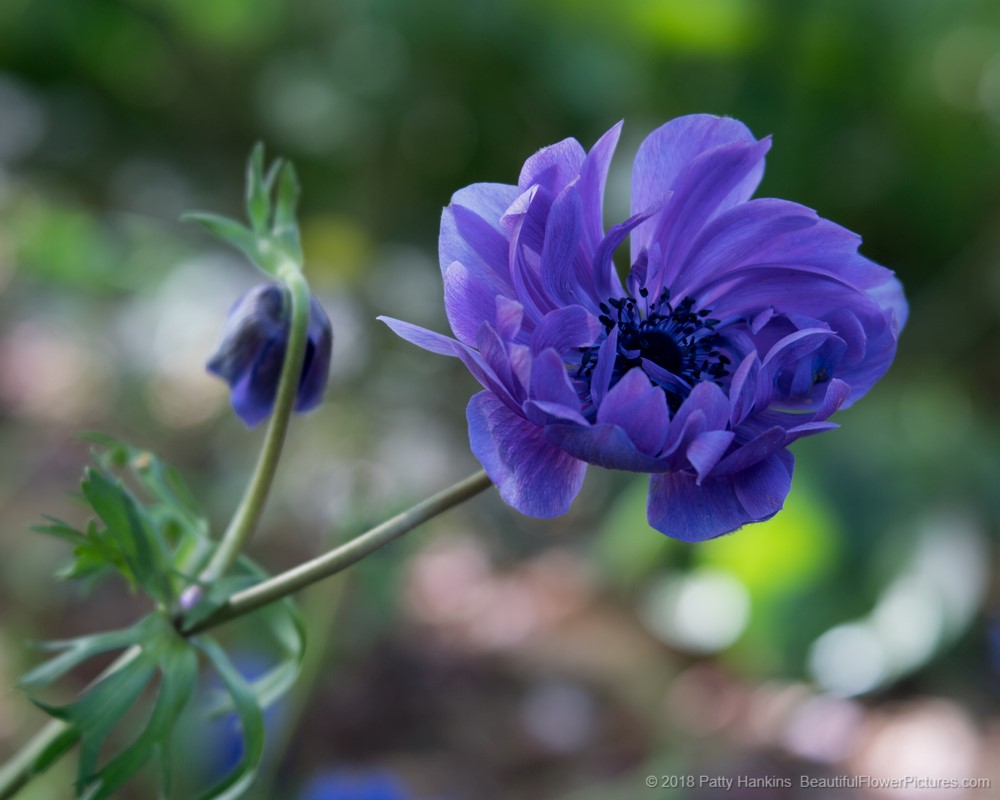
Poppy Anemone © 2018 Patty Hankins
When you get a new lens, it can be a challenge to figure out how to best use it with your style of photography. I’ve recommended to several students that they do what I did with my Lensbaby Velvet – take it out and practice at all the different f stops, at different distances from the subject – and if you are working with a zoom lens – at different focal lenths. That way, you’ll get to know how your gear works with your style of photography and which lens to grab from your pack in a given situation.
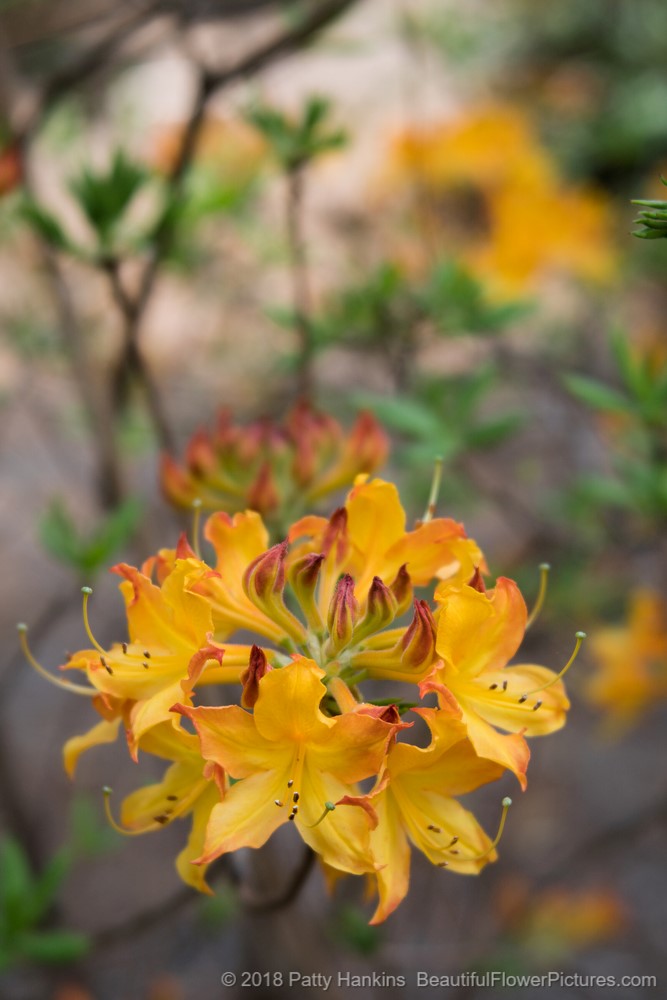
Azaleas at Callaway Gardens, Pink Mountain, GA © 2018 Patty Hankins
Helping students to get comfortable with their gear is something we work on in my field workshops. My next garden workshop is my Morning at Brookside Gardens workshop on July 26. The workshop is limited to 6 students to make sure I’m able to give you the individualized help you need. More information about the workshop is on my website at https://beautifulflowerpictures.com/morning-at-brookside-gardens-july-26-2018/
