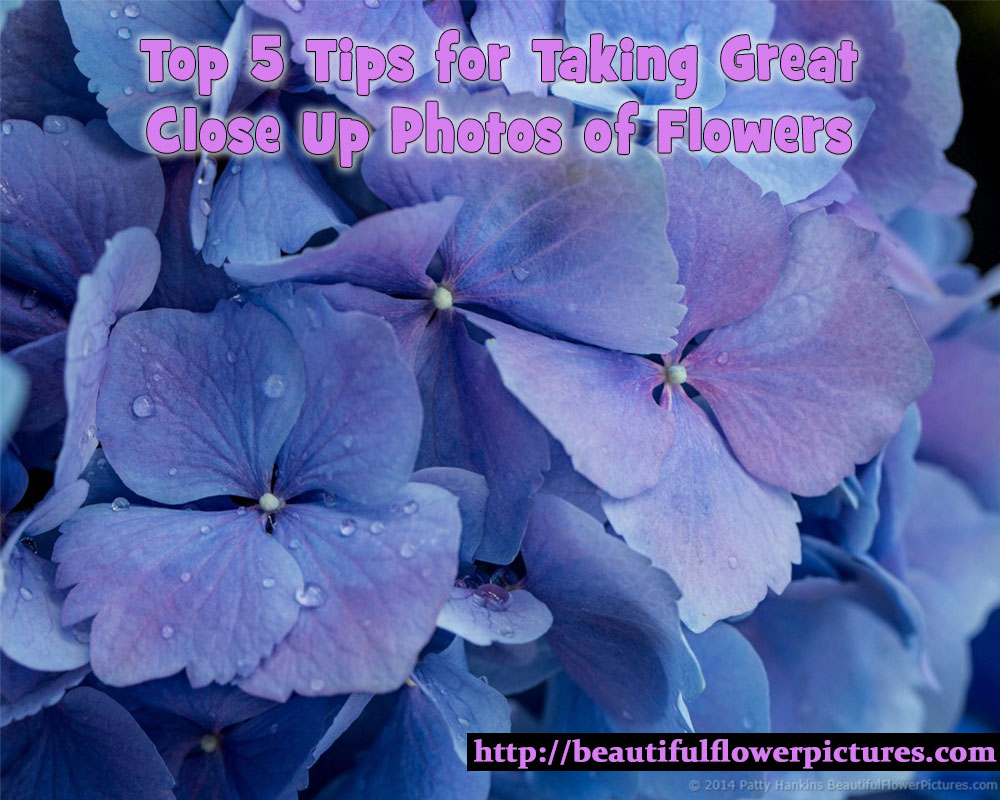
Spring flowers are finally blooming here in the DC area. Enough cherry blossoms survived last week’s winter weather to bloom beautifully at the Tidal Basin. Wildflowers are starting to bloom at local parks. And it won’t be long until the tulips are blooming at local gardens.
Since for many photographers, spring means it’s time to get the camera out after spending the winter on a shelf, I thought I’d share an article from last year with you today about taking close up photos of flowers.
Spring is in full bloom here in the Washington DC area – even if we are having a bit of a cold spell this week. I can still see a few cherry blossoms on the tree in my front yard, the Virginia Bluebells are blooming at local parks and tulips are blooming at local gardens. As I’m photographing flowers on almost a daily basis, I’m noticing that I’m taking many more close up photos of flowers than I have in the past – especially when I’m in my studio. Many of the photos show only part of a flower — not even a whole blossom. The close up photos have gotten a great response from people who have seen them — and lots of questions about how I take them. So I thought I’d share a few tips on taking great close up photos of flower with you today.
1. Think about What Caught Your Eye: Before you click the shutter, think about what it is about the flower that caught your eye and made you want to photograph it. Was it the color, the shape, the dewdrops or the way light is striking the flower? Now compose your photos to highlight what caught your eye.
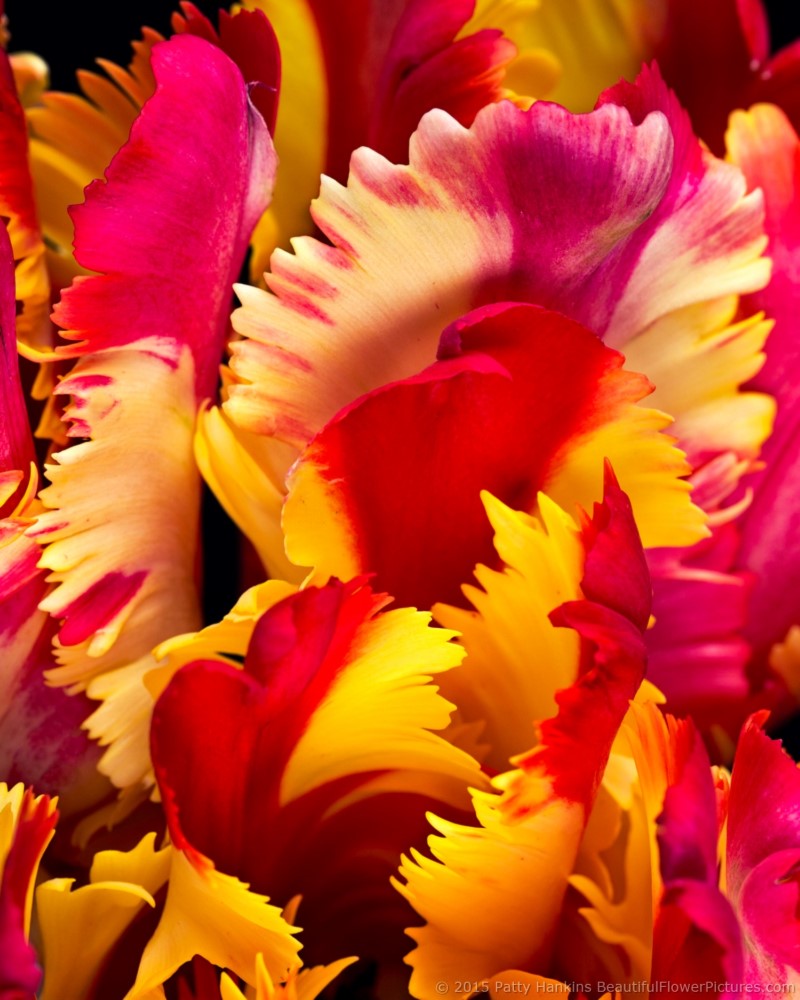
Petals of a Flaming Parrot Tulip © 2015 Patty Hankins
2. Use a Macro Lens (or Macro Setting on Your Camera) For close up photos you want to be able to get as close to your subject as possible. Macro lenses or the Macro Setting on your camera (often symbolized by a little flower) allow you to get much closer to a subject and still have it in focus than using either a non-macro lens or setting
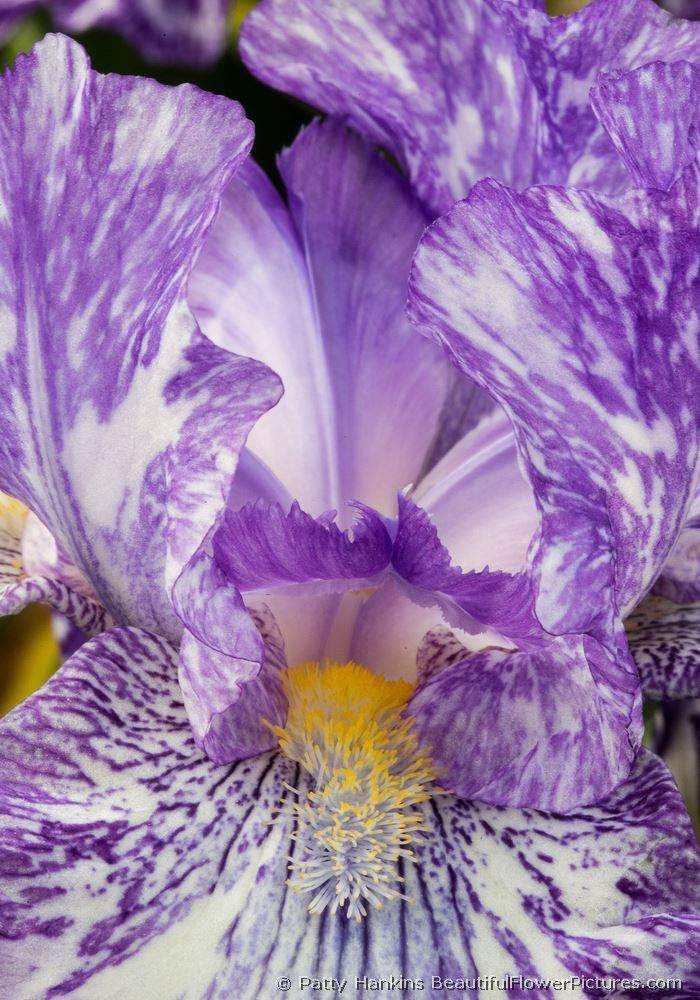
Purple Streaker Iris © 2013 Patty Hankins
3. Use a Tripod.I know — we live in an age of image stabilization/vibration reduction cameras and lenses, to say nothing of high ISO cameras so we can get faster shutter speeds — so a lot of the time we can get away with not using a tripod. But when it comes to close up photos I really recommend using one. When you are focused in on a very small area, the slightest motion of the camera (including that caused by clicking the shutter button) can introduce motion blur and lack of clarity in your focus. So if you want to take really crisp clear close up photos — use a tripod
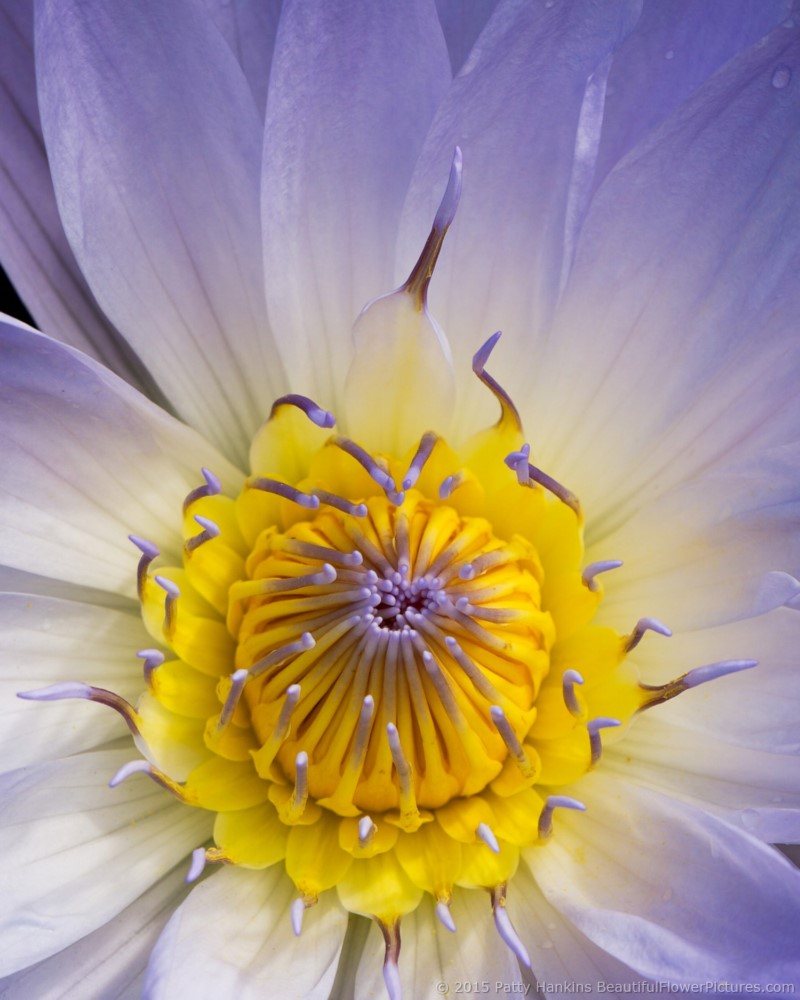
Bob Trickett Water Lily © 2015 Patty Hankins
4. Try Different CompositionsDon’t photograph the flower from just one angle. Move around and see what else you see. Try taking photos of the center of the flower, or the petals, or just one specific detail. If you’re photographing with a digital camera there is basicly no additional cost to taking more than one photo of a scene. So go ahead — try different compositions. Who knows — you may discover you like the petals of the flower better than the center!
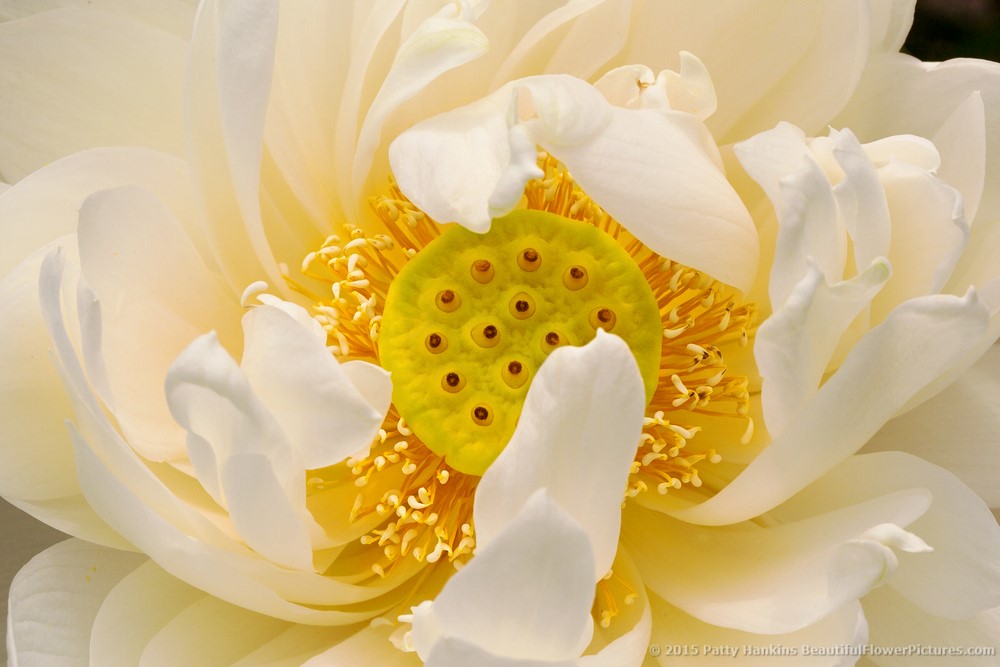
White Lotus © 2015 Patty Hankins
5. Try Different AperturesIf you are photographing in Aperture priority, try changing the aperture (f-stop) you’re using and see what this does to your photo. You may be surprised to find that sometimes a narrow depth of field gives you the look you want — and at other times, a larger depth of field is perfect for what you’re trying to show in the photo
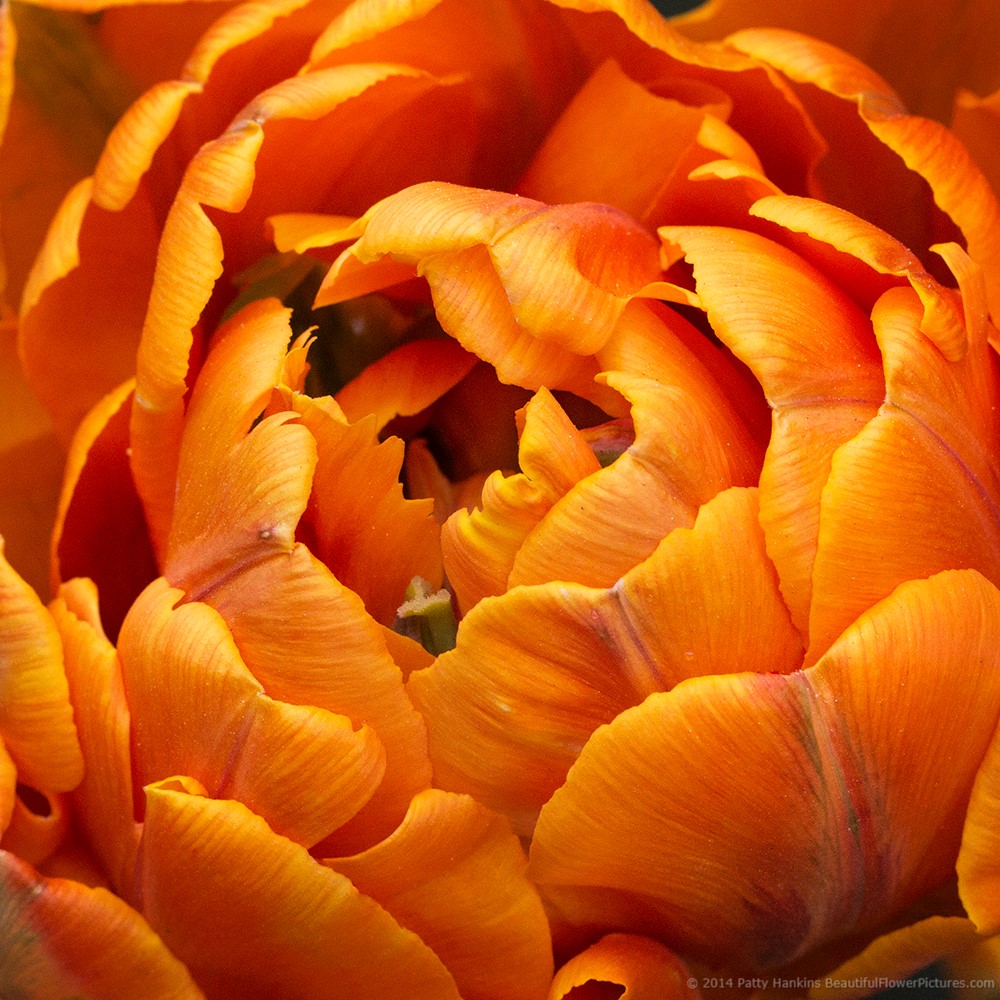
Orange Princess Tulip © 2014 Patty Hankins
Bonus Tip: Have Fun! Have fun while you’re photographing. Don’t forget to slow down and take few moments to appreciate the beauty of nature around you.
If you found these tips helpful – consider joining me for either of my spring flower photography workshops. Early Bird Registration for my May workshop ends today
May 15 – 20 – Photographing the Gardens of Philadelphia: http://beautifulflowerpictures.com/photographing-gardens-philadelphia/
June 9 – 11 – Photographing Flowers (Without Swearing at Your Camera) in the DC area: http://beautifulflowerpictures.com/photographing-flowers-without-swearing-2017/
If you have any questions about either workshop, just drop me a note and we’ll find a time to talk.
