by hankinslawrenceimages | Mar 23, 2018 | Photoshop, Software, Workshops
I often get asked how much and what do I do when I edit my photos. My answer is always – I do what I need to in Lightroom and Photoshop to show you in my final photo what I saw and felt.
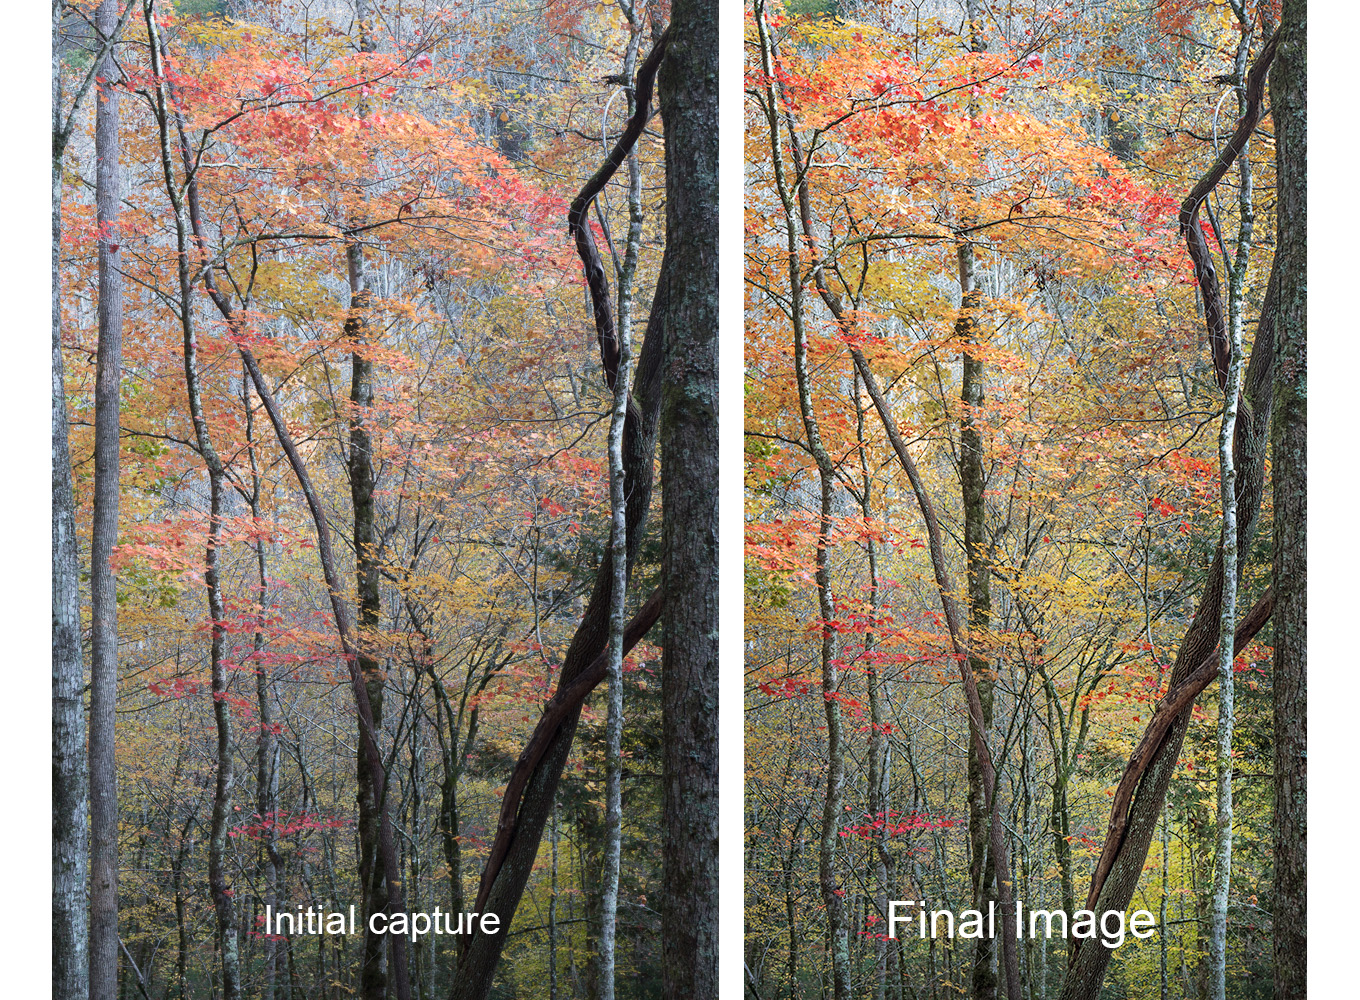
Today, I thought I’d take you through my editing process and show you how I’ve edited one of my fall color photos from last fall’s trip to the Smokies from start to finish.
I was photographing fall color along River Road in the Great Smoky Mountains National Park. All week, the lighting conditions had been a little challenging – clouds, then bright sun, then lots of contrast, then less contrast – so I just set my camera on auto bracket to capture three exposures of each image in case I needed to merge multiple images to properly capture the scene.
What caught my eye in this scene was the light coming down through the leaves highlighting the beautiful reds, oranges and yellows.
So I took my camera out of my backpack and set up my tripod. I captured three images – at ISO 100, f 11 – one photo at the normal exposure, one photo a full stop down and one photo a full stop up.
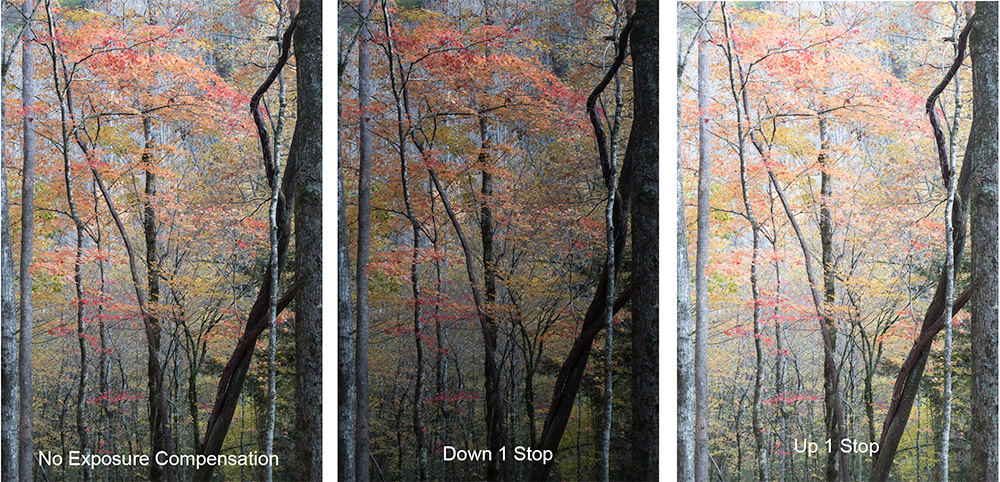
Looking at the three images, I decided to merge them using Lightroom’s HDR merge function to give me one image with a greater dynamic range than any of the three individual photos.
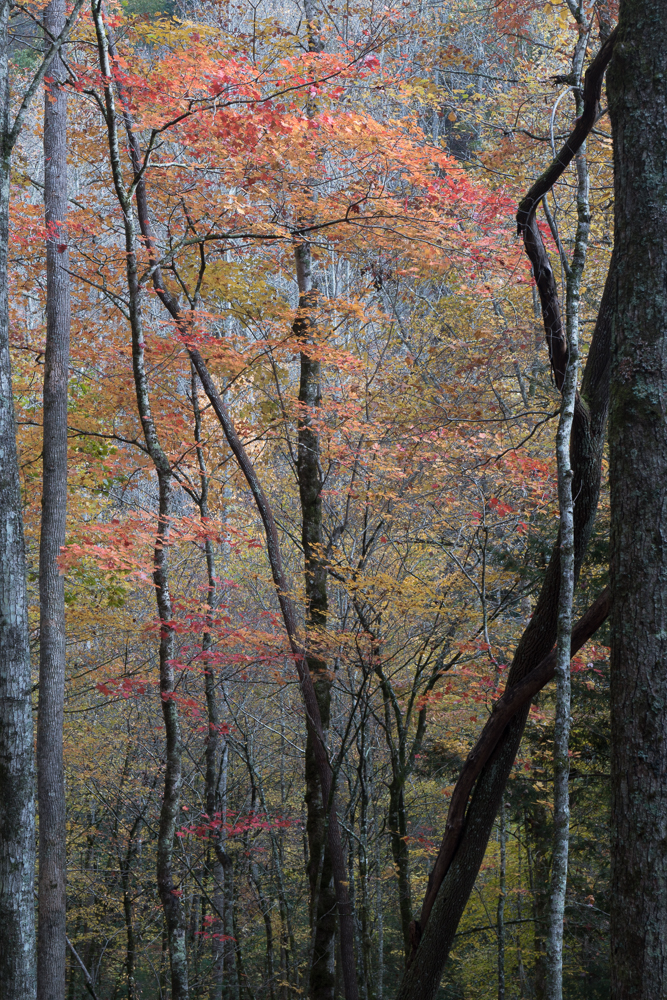
Then in Lightroom I did some initial edits – cropped the photo to a 16X9 aspect ratio and made some changes in the Basic Panel of the Develop module adjusting Highlights, Shadows, Blacks, Whites and Clarity (mid-tone contrast). My goal was to have a well-exposed file to take into Photoshop.
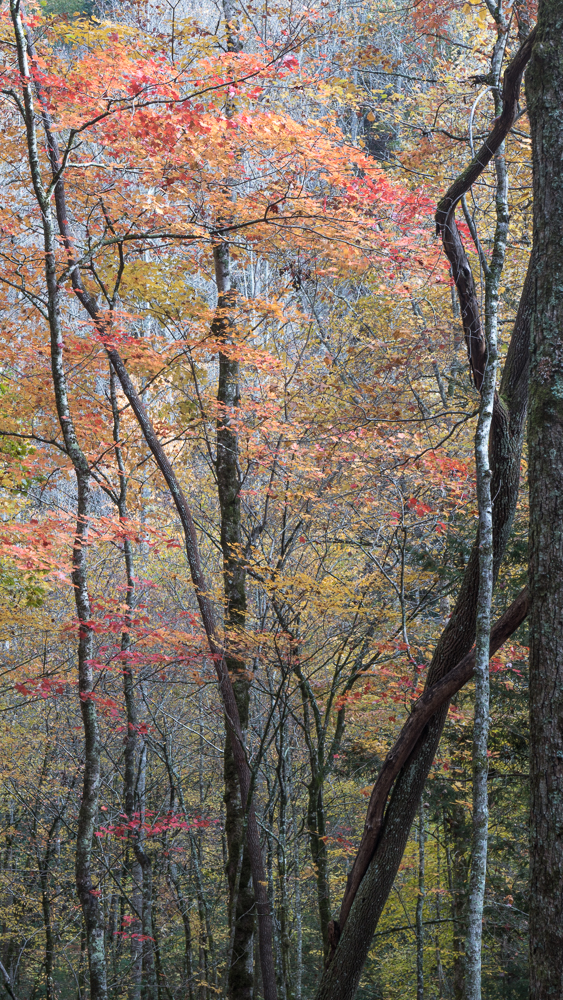
Once in Photoshop, I made my next set up of edits. I opened up the shadows on the lower third and right hand side of the photo to lighten the trees and woods in the foreground. I then took some blues out of the entire photo to warm it up – photo felt cool to me and I wanted to share the warm colors I saw in the woods. And then finally I added a little bit of saturation to the red and yellows leaves to make them stand out a bit more.
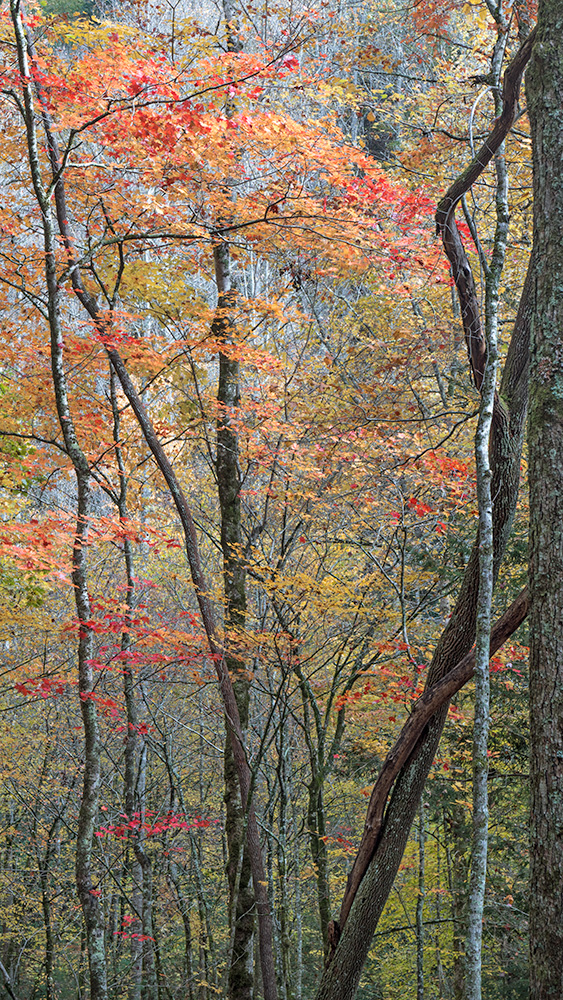
Now that I’d completed my first set of edits, I printed a copy and Bill and I took a look at it. I’ve found it really helps to have someone else review my prints as I’m working on a photo. Bill often sees things that I don’t see – since I took the photo and know what I want it to look like – whereas he is looking at it with fresh eyes.
As Bill and I looked at the photo, we realized that it looked flat and didn’t reflect the light coming through the trees that had caught my eye in the woods. So I brightened the leaves and woods from the upper left corner of the photo down towards the lower right corner to draw your eye into the photo and into the woods. I also brightened up the white and gray bark on the narrow tree along the left side of the photo to bring your eye that direction. Finally, I added a vignette to the photo to draw your eyes away from the edges and towards the center of the image.
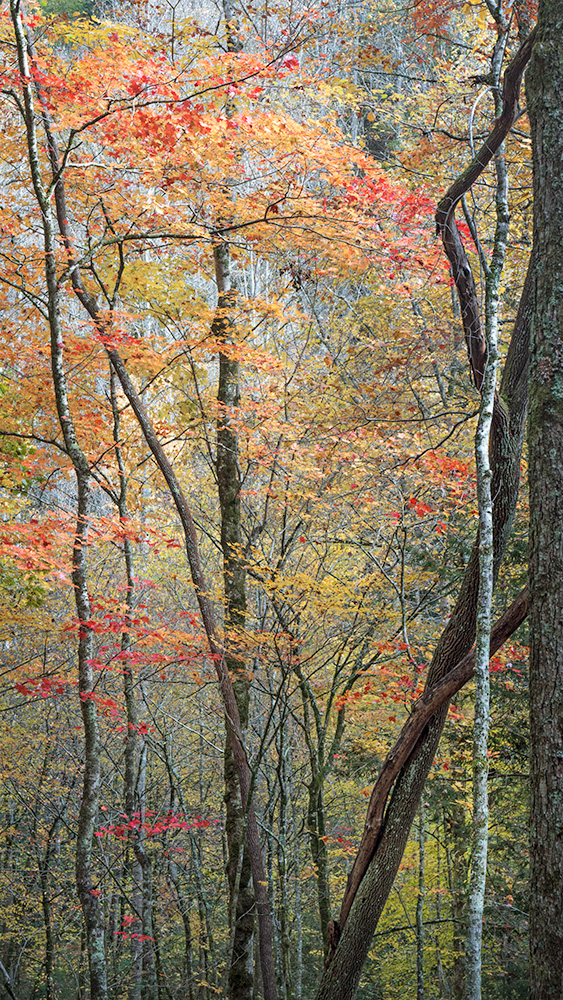
So I ran another print and thought the photo looked really good. And then I left it sitting on the printer for a few days, knowing that sometimes we’ll see something else that needs done once we’ve walked away from the photo and then come back for another look.
When Bill and I went back and took another look – we realized that the lighter greens in the lower right corner of the photo were still a little flat. So I brightened up those yellows and greens just a bit with a curves layer. And ran another print.
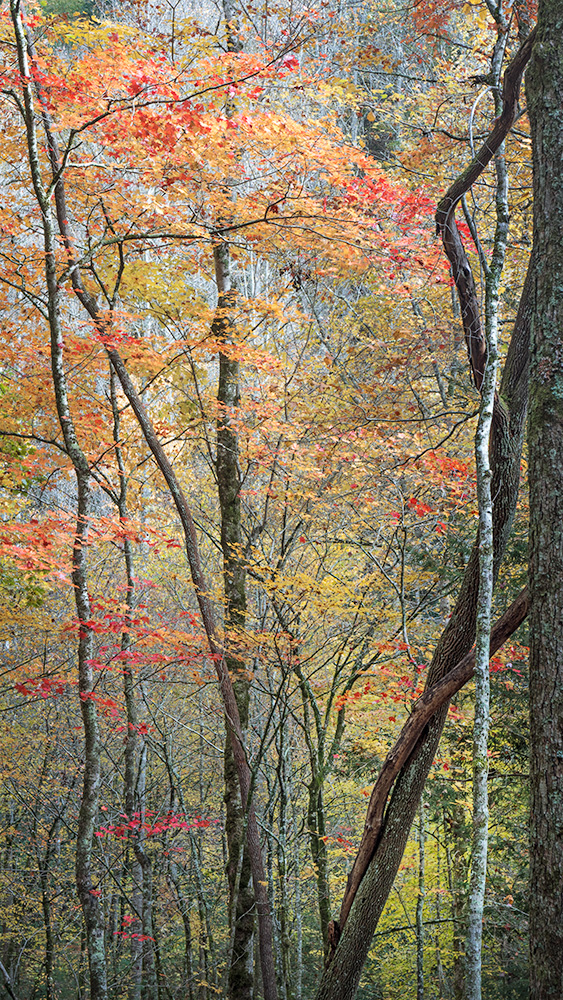
And this time, we decided the photo was done . . . unless I decide to make some more edits at a later date.
Here are the initial capture and final image side by side.

My hope is that the final image shares the beauty I saw in the woods last fall with you.
If you’d to learn more about how Bill and I approach editing our photos, join us for our Making Your Photos Look The Way You Want Them To Look Workshop on April 14. We’ll share more details about our editing workflow and help you develop an approach to editing your photos that works for you. You can read more about the workshop at https://beautifulflowerpictures.com/making-photos-look-way-want-look/
And if you have any questions about my approach to editing,leave a note in the comments below and I’ll try to answer them in a future newsletter.
by hankinslawrenceimages | Mar 20, 2018 | Workshops
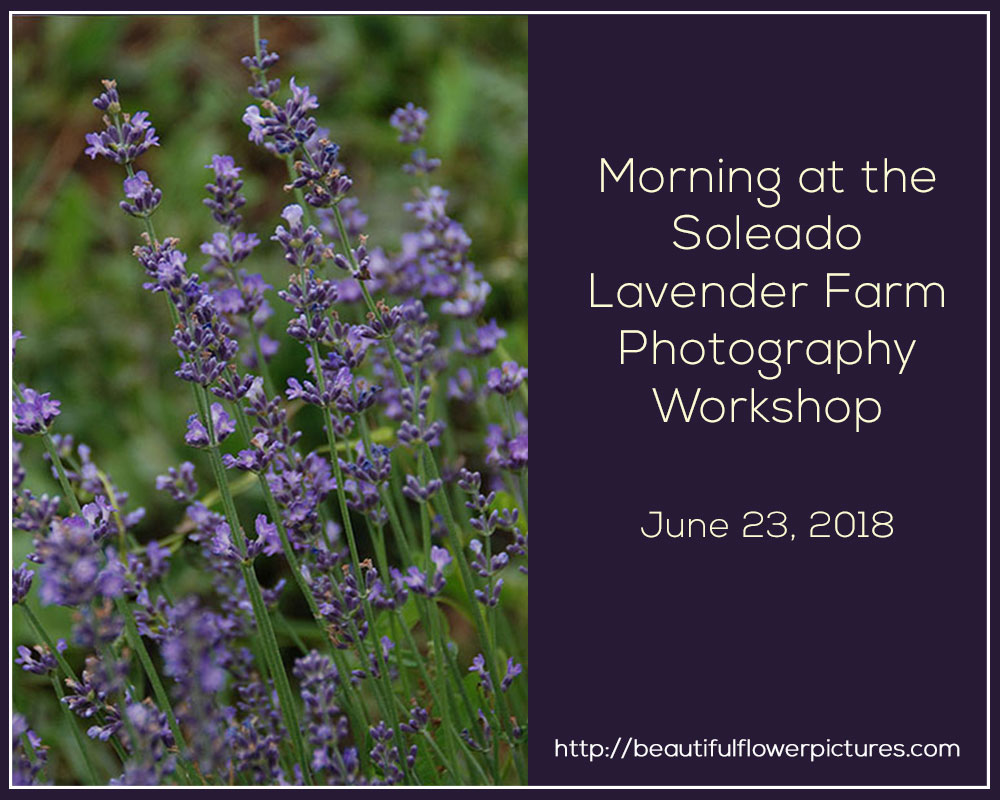
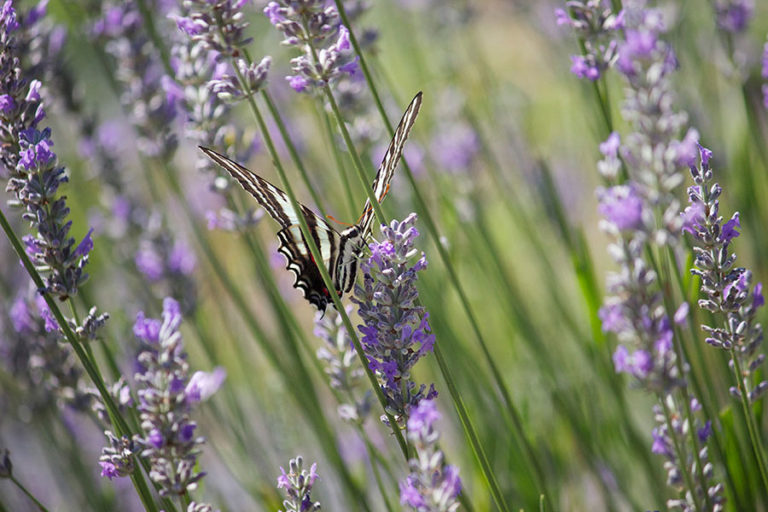
Imagine spending a morning photographing and spending time with other flower lovers on the largest lavender farm in Maryland!
Imagine yourself photographing among rows of lavender plants in full bloom. Smelling the wonderful aromas. Hearing the songbirds in the woods. Learning how to take better photographs from a professional flower photographer. Shopping for handmade luxury bath products created with lavender from the farm and for beautiful flower photographs.
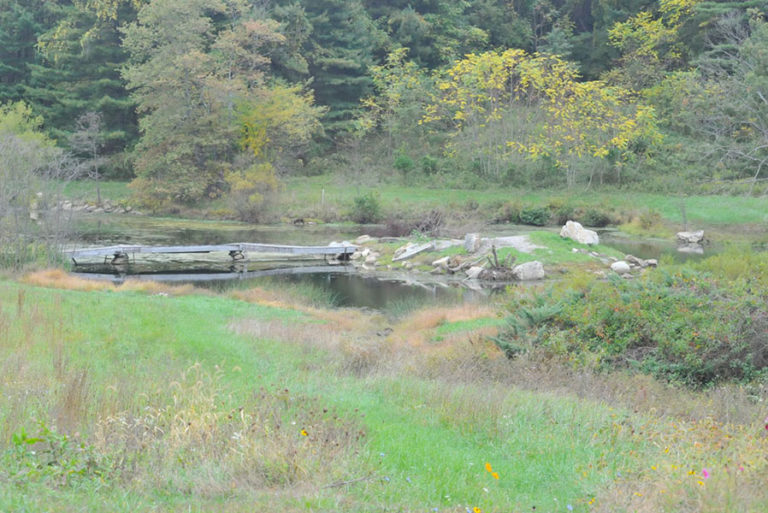
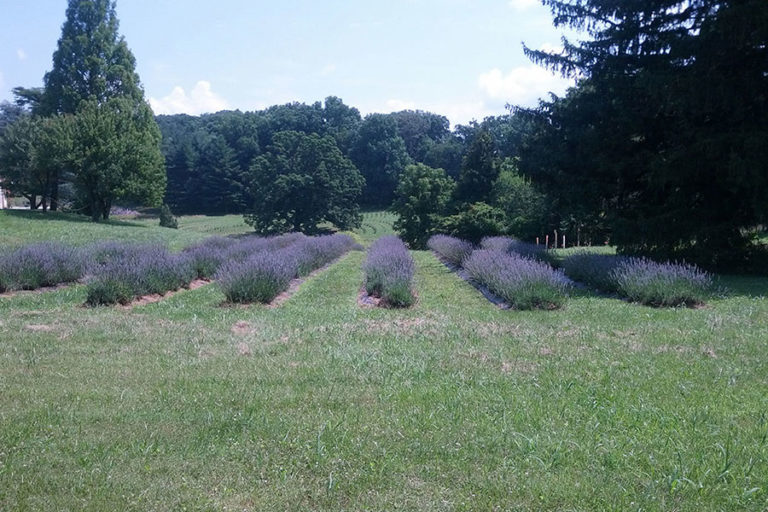
You can do all this — and more – by joining me for one of my morning photography workshops at Soleado Lavender Farm in Dickerson, Maryland (less than an hour from DC).
The workshop will run from 7 – 10 AM. During that time, we’ll have a brief discussion of flower photography and then head into the lavender fields to photograph. I’ll be with you in the field all morning helping you create wonderful photographs.
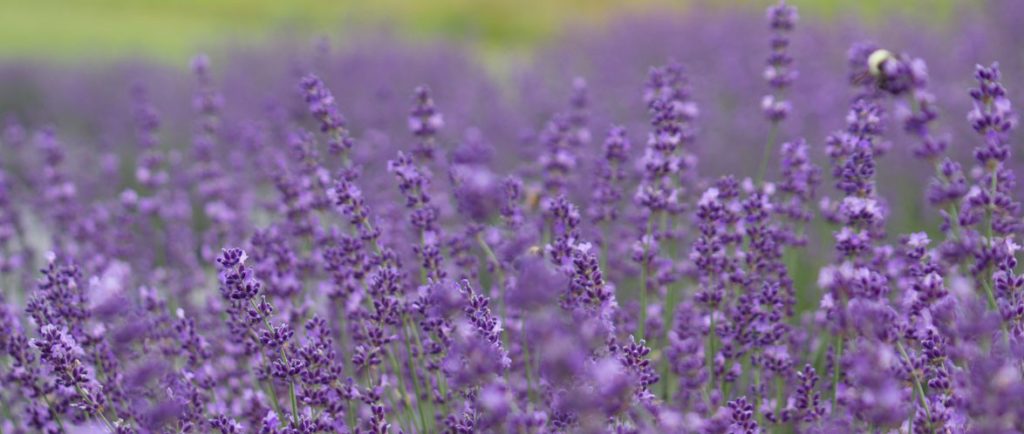
You can use any camera from a simple point-and-shoot camera to the latest DSLR or mirrorless camera. If you have a macro lens and/or a tripod – bring them along. You may find them helpful for photographing during the workshop. But if you don’t have them, please DO NOT go out and purchase them just for this workshop
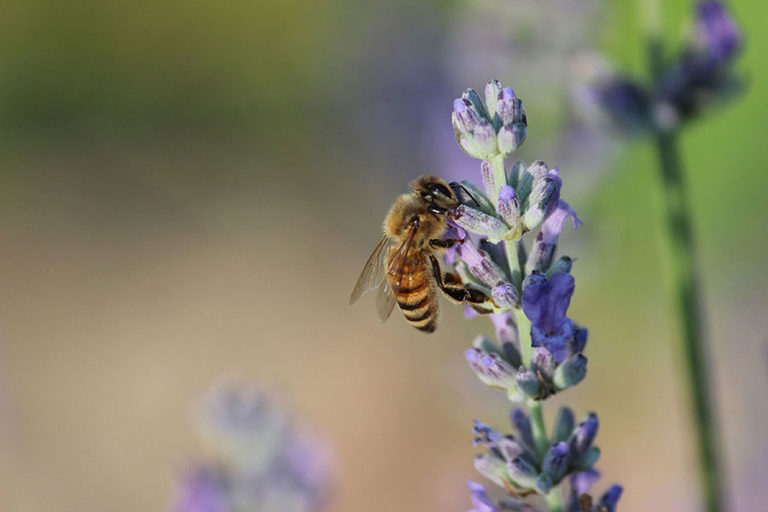
Not sure if this workshop is right for you? Drop me an email and we can find a time to talk.
Registration for the workshops is $ 75.00. Workshop is limited to 15 students, so I can make sure I can give you the personalized attention you need. Purchase a ticket for the workshop on the Soleado Lavender Farm website at http://soleadolavender.com/event/morning-lavender-farm-photography-workshop/
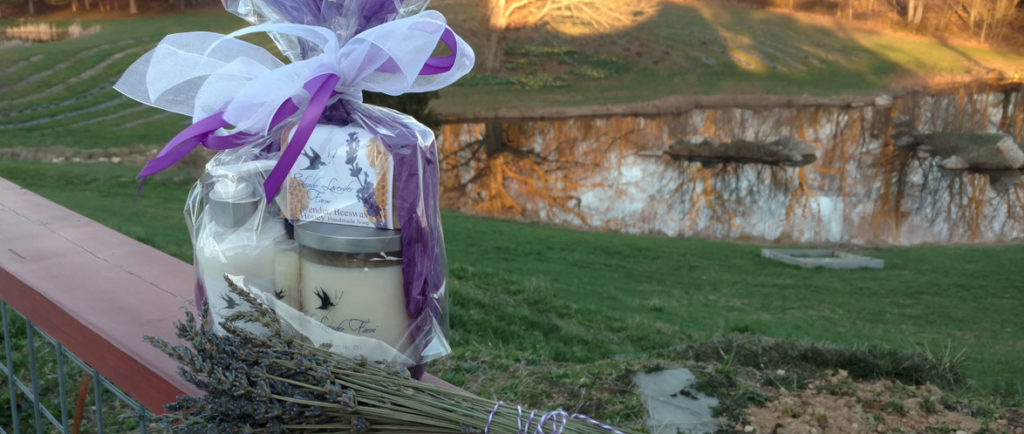
Included in your workshop registration is
- A three-hour photography workshop at Soleado Lavender Farm with instruction provided by Patty Hankins of BeautifulFlowerPictures.com
- A copy of Patty’s ebook Wildflower Meditations: A Gift for the Spirit that features 90 of her wildflower photographs and 90 inspirational quotations
- A 10% off coupon for purchases at the Soleado Lavender Farm store
- A 10% off coupon for purchases of photographs, books and notecards from Patty Hankins
- An invitation to join a private Facebook Group for Patty Hankins’ workshop participants
I’d love to have you join me for a morning photographing at the Soleado Lavender Farm. If you have any questions about the workshop, drop me an email and we can find a time to talk.
All photographs courtesy of Soleado Lavender Farm
by hankinslawrenceimages | Dec 29, 2017 | Workshops
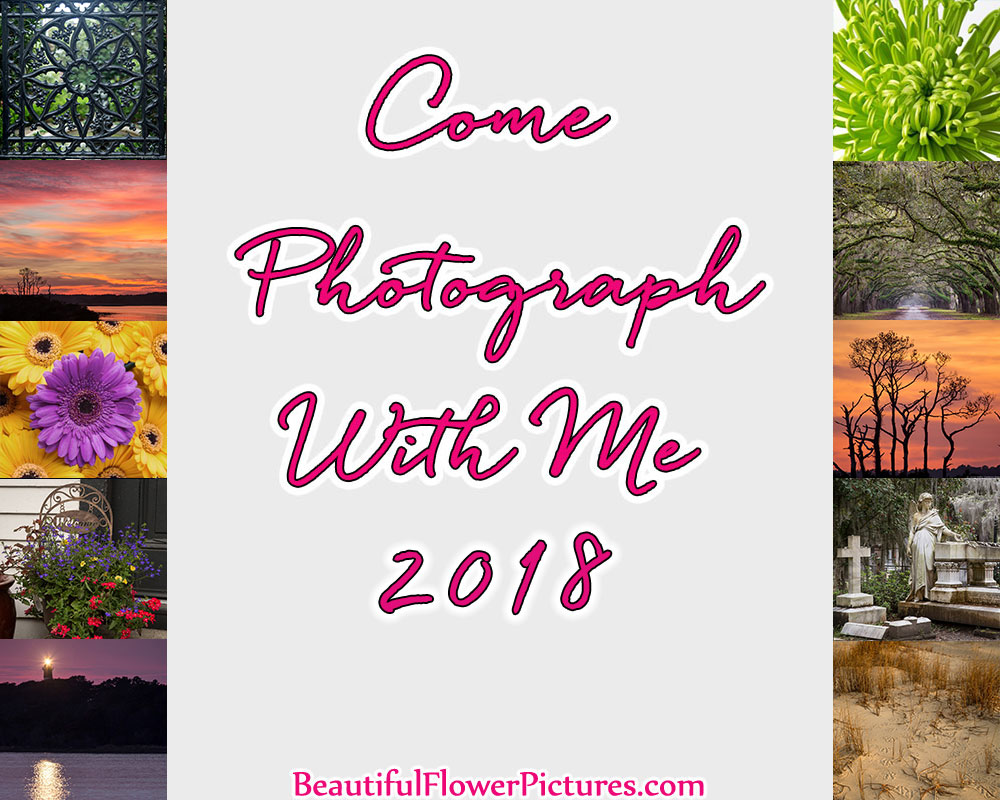
As 2017 comes to a close, I’m busy planning for 2018. Not only am I getting ready for my Petals show in February, but I’m also getting everything set for the workshops Bill and I will be teaching in the spring. I’ll be leading two location-based workshops and Bill and I will be teaching three workshops at our home in Bethesda.

From February 18-23, I’ll be leading my New Orleans Photo Tour. We’ll be photographing in the French Quarter, some historic cemeteries, a plantation and more. We’ll also take time to enjoy the incredible music and food the city has to offer. The photo tour is limited to six participants and there is just one space remaining. Early Bird Registration Fee of $ 1500 ends on December 31.
All the details including registration information for the photo tour are on my website at https://beautifulflowerpictures.com/new-orleans-photo-tour/

On March 17, Bill and I will be teaching our Photographing Flowers in the Studio workshop at our home in Bethesda. Limited to four participants, we’ll cover the basics of studio lighting (both continuous lighting and strobes) and you’ll have the chance to photograph flower under both types of lights. Early Bird Registration Fee of $ $ 199 ends on February 15.
All the details including registration information for this workshop are on my website at https://beautifulflowerpictures.com/photographing-flowers-studio-workshop-2018/

On April 14, Bill and I will be teaching a new workshop – Making Your Photos Look the Way You Want Them To Look Workshop at our home in Bethesda. Rather than a how-to use a specific piece of editing software, we’ll be sharing how we edit our photos, and give you hands-on practice on both our photos and yours to help you develop the editing workflow that works for your photos. This workshop is limited to four participants. Early Bird Registration of $ 249 ends on March 1.
All the details including registration information for this workshop are on my website at https://beautifulflowerpictures.com/making-photos-look-way-want-look/

From May 6 – 11, I’ll be leading my Photographing the Gardens of Philadelphia workshop. With 30 gardens within 30 miles of the city, Philadelphia is a flower lover’s paradise in the spring. We’ll be photographing at the gardens with the best displays all week. This workshop is limited to six participants. Early Bird Registration of $1000 ends of April 1.
All the details including registration information for this workshop are on my website at https://beautifulflowerpictures.com/photographing-gardens-philadelphia-2018/

On June 9-10, Bill and I will be teaching our Introduction to Lightroom workshop at our home in Bethesda. We’ll be teaching you the basics of the photo editing software Lightroom Classic from Adobe. By the end of the weekend, you’ll know how to import, organize, and edit your photos, as well as export them for use on the web or in print, even if you’ve never used Lightroom before. This workshop is limited to four participants. Early Bird Registration of $ 349 ends on May 1
All the details including registration information for this workshop are on my website at https://beautifulflowerpictures.com/introduction-to-lightroom/
And with all this talk of workshops, if you’re wondering if I’m going to be attending any workshops in 2018. Yes I am! I’ll be taking an Abstract photography workshop with one of my favorite photographers – Art Wolfe – in early April.
If you have any questions about any of my workshops, just drop me a note and we’ll find a time to talk.
by hankinslawrenceimages | Sep 15, 2017 | Workshops
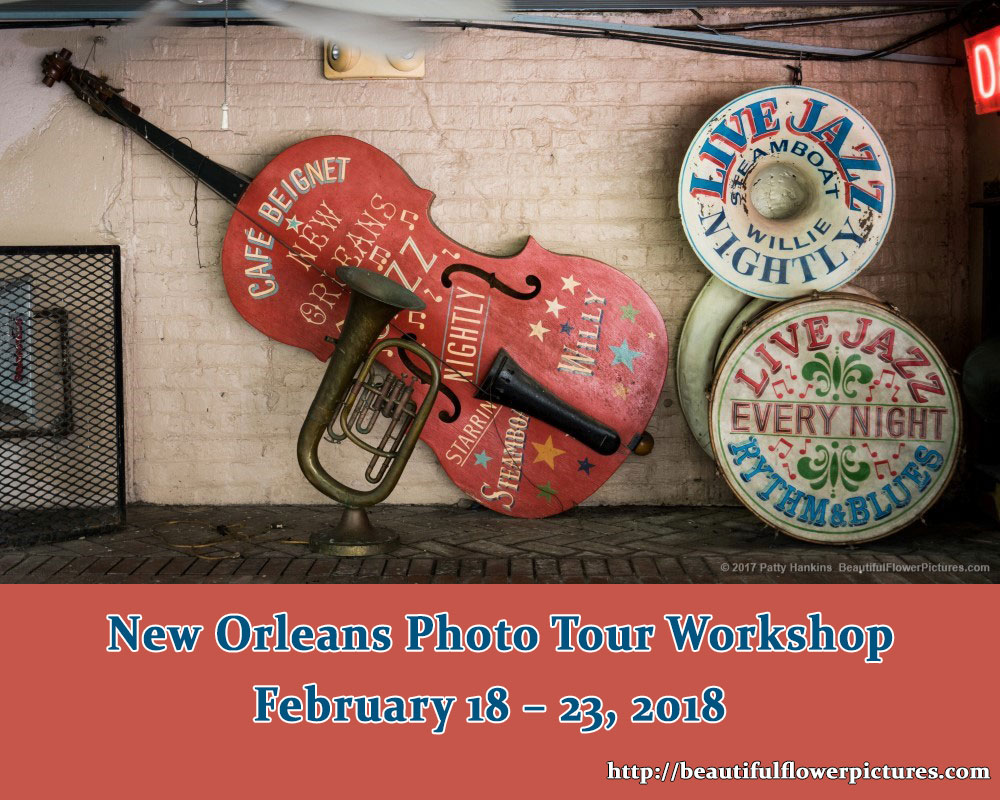
Here’s the news I’ve been wanting to share with you all summer as I worked out all the details. I will be leading my first photo tour to New Orleans from February 18 – 23 – and I would love to have you join me!
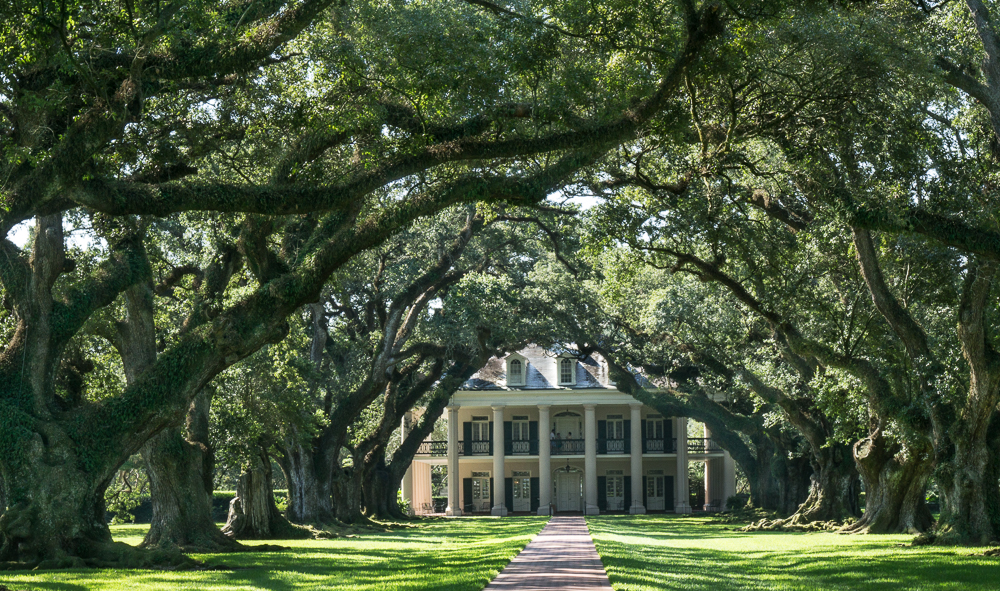
Oak Alley Plantation, New Orleans © 2017 Patty Hankins
When you think about New Orleans, you think about Mardi Gras, Cajun and Creole Food, Historic Plantations, The French Quarter, Jazz Music, Beignets at Cafe du Monde and more. Now imagine spending 6 days experiencing and photographing all the charm New Orleans has to offer.
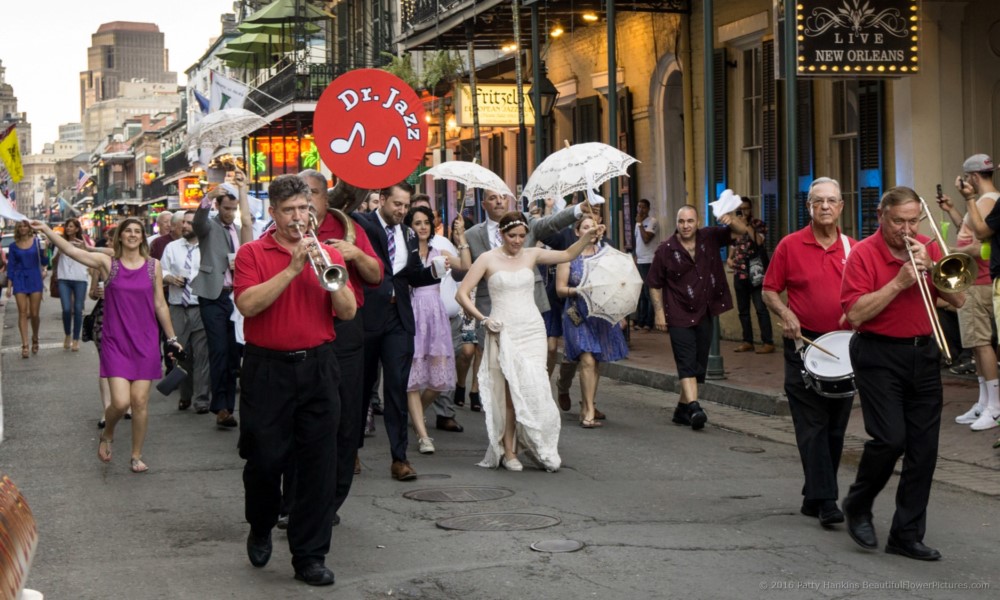
Second Line, New Orleans © 2017 Patty Hankins
Join me for my 2018 New Orleans photo tour, where we’ll do all this and more. In addition to photographing every day, we’ll spend time exploring this historic city, eating amazing food and listening to wonderful music.
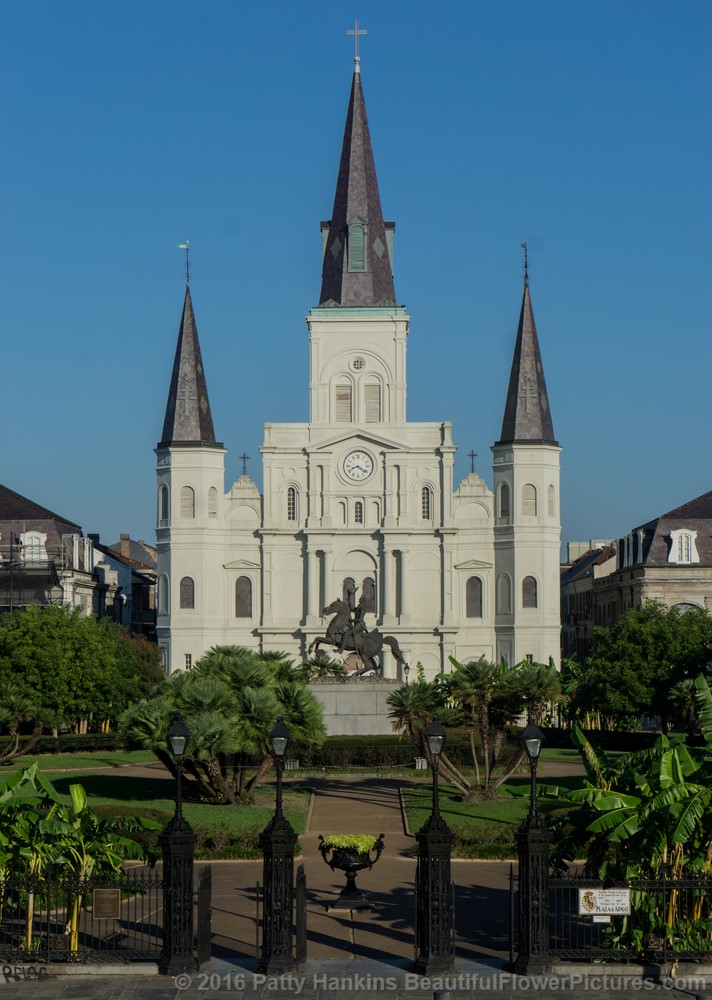
Jackson Square, New Orleans © 2016 Patty Hankins
We’ll be based out of the Bourbon Orleans Hotel in the heart of the French Quarter. Each day we’ll head to explore places like the French Quarter, the Garden District, Mardi Gras World, St. Louis Cemetery, and Oak Alley Plantation. We’ll join experienced guides and tour leaders to learn about the city as we photograph.
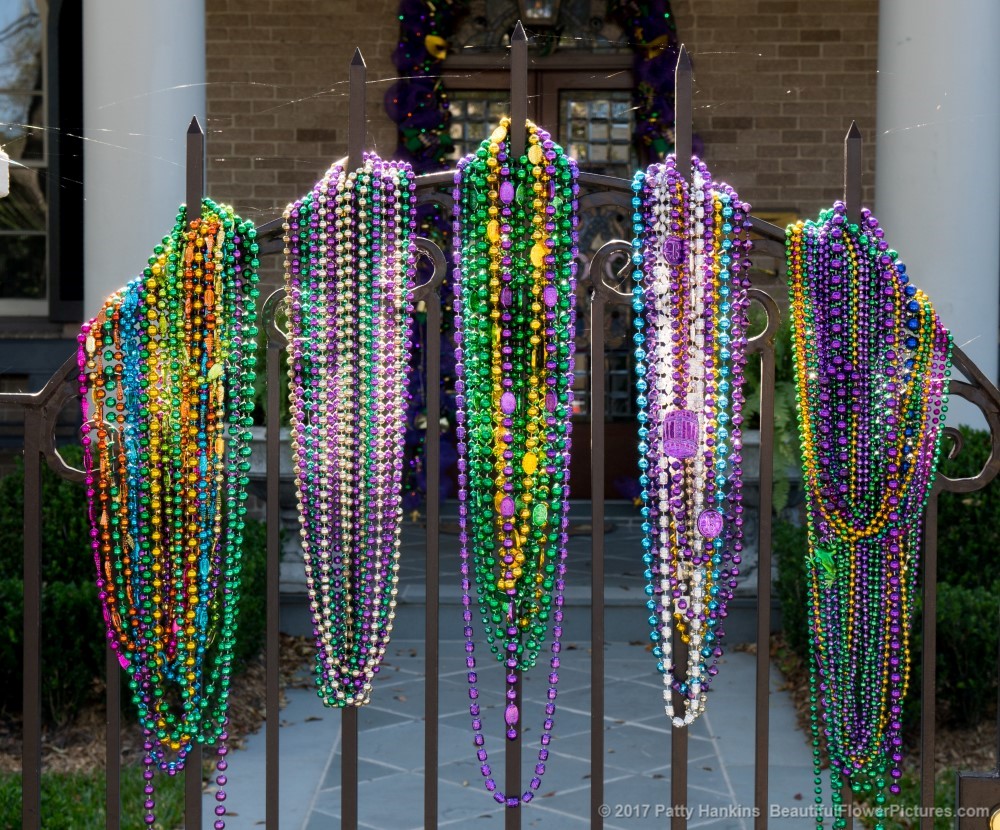
Mardi Gras Beads © 2017 Patty Hankins
You can learn more about the photo tour, including everything that is included with your registration fee at http://beautifulflowerpictures.com/new-orleans-photo-tour/

Metarie Cemetery, New Orleans © 2017 Patty Hankins
If you have any questions about my New Orleans photo tour, drop me a note and we’ll find time to talk.
by hankinslawrenceimages | Jul 28, 2017 | Workshops
I wanted to let you know about the workshops Bill and I will be teaching this fall.
We’ll be teaching our Introduction to Lightroom: From RAW and JPG to Masterpieces in a Weekend on September 16-17 and again on November 18-19. By the end of the workshop, you’ll know how to import, organize, and edit your photos, as well as export them for use on the web or in print, even if you’ve never used Lightroom before.This workshop is designed for people who are ready to start editing their photos – or are ready to use a program with more options than Picasa or PicMonkey.
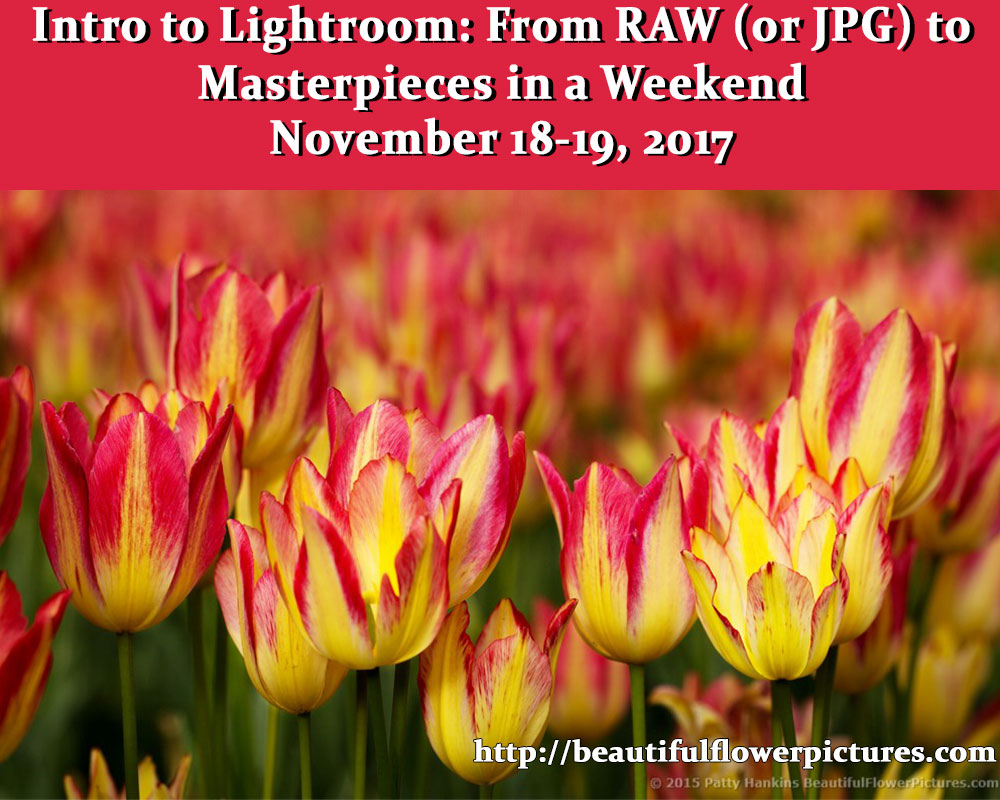
The September workshop is full but there is still space in the November workshop. The Lightroom workshops are limited to 4 students so we can make sure you receive any individualized help you need. You can learn more about it at http://beautifulflowerpictures.com/intro-lightroom-raw-jpg-masterpieces-weekend-november-2017/
On October 7-8, Bill and I will be teaching our Editing Your Photos with Photoshop’s Layers and Masks. The workshop is designed to help you think about what your vision for a photo is – and how to edit it so that you can share your vision with others. We’ll focus on specific Photoshop tools used for cleaning up your image and adjusting contrast and color. Photoshop layers and masks are powerful tools for both global and local changes to your photo. These tools allow you to establish a workflow that helps you create images that share your vision. We’ll cover a number of tools including curves, levels, hue/saturation, shadow/highlights, cloning, patching, healing and content-aware fill.This workshop is designed for both people who do their entire editing workflow in Photoshop, or those who use Lightroom for some edits but need more powerful tools to complete their workflow.
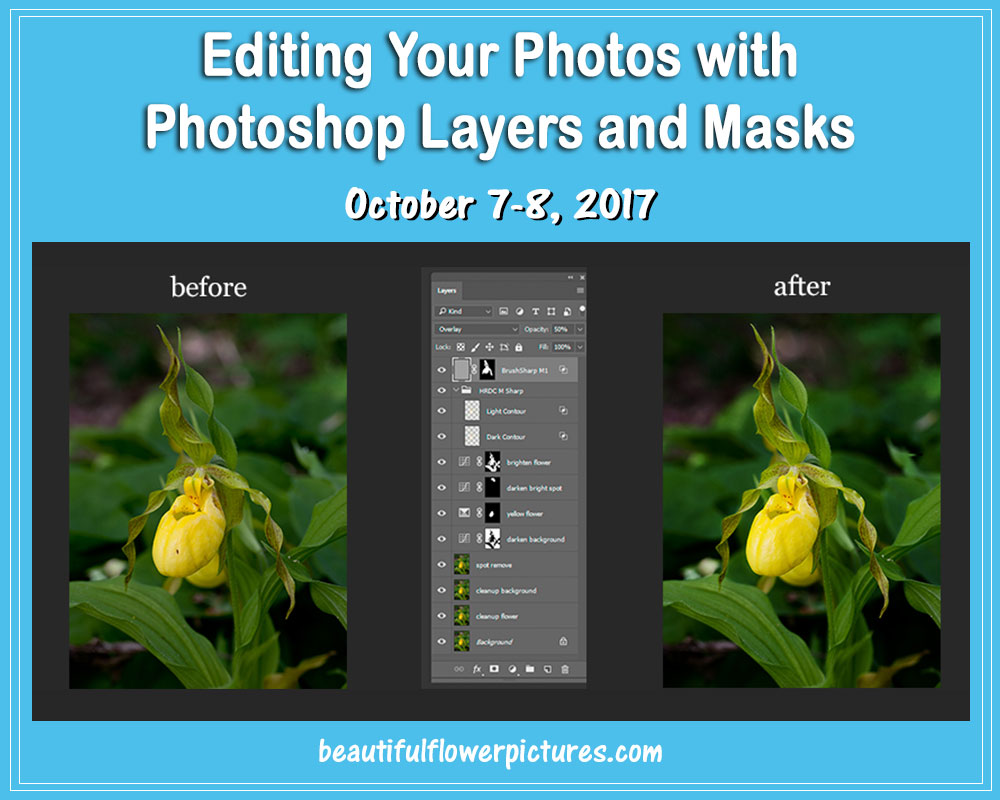
My Photoshop Layers and Masks workshop is limited to 4 students so we can make sure you receive any individualized help you need. You can learn more about our workshop at http://beautifulflowerpictures.com/photoshop-layers-masks-workshop-2017/
And finally on October 14, Bill and I will be teaching our Autumn Morning on the Soleado Lavender Farm workshop. Similar to the workshops we taught earlier this summer at the Soleado Lavender Farm, this workshop gives you a chance to spend a morning photographing with a pair of professional photographers there to answer your questions. We’re happy to help with questions about your gear, about composing your photographs, helpful tools and other photography issues.You can use any type camera from a simple point-and-shoot camera to the latest DSLR or mirrorless camera for this workshop. Our goal for this workshop is to help you take better photographs with the gear you already have. We’ll have a copy of your camera manual with us so we can help you with your gear.
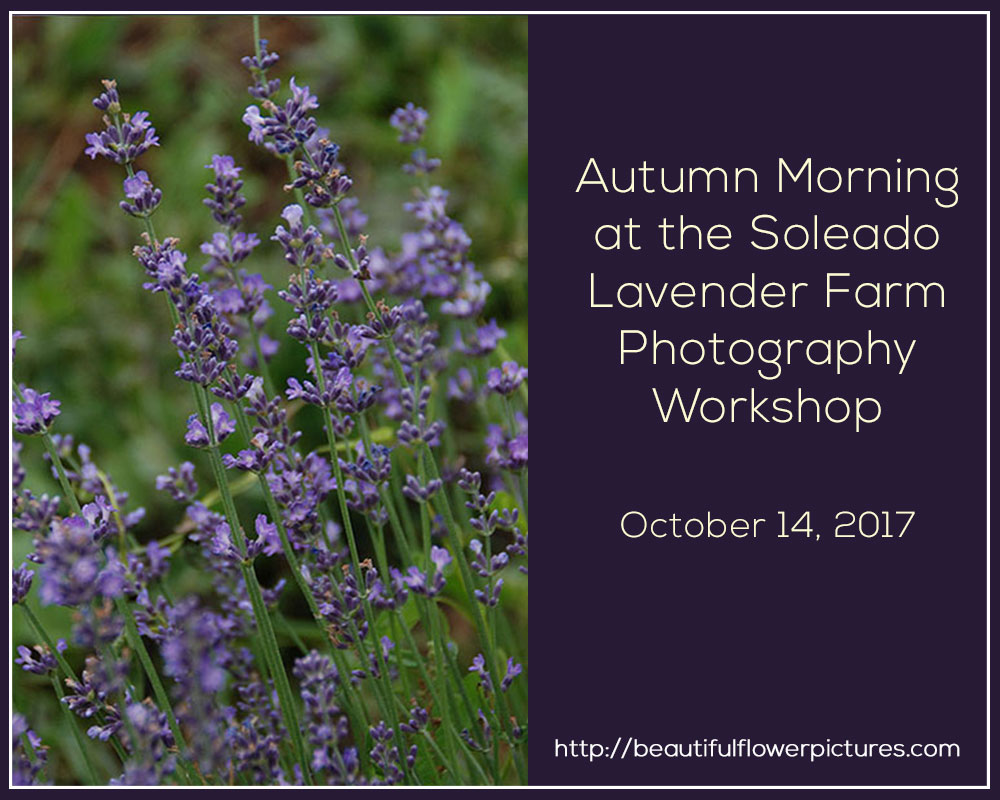
The Autumn Morning on the Soleado Lavender Farm workshop is limited to 10 students so we can make sure we can help you with what you need help with. Your can learn more about the workshop at http://beautifulflowerpictures.com/autumn-morning-soleado-lavender-farm-photography-workshop/
I’d love to have you join me for one of my fall workshops. Space is limited so register soon if you know you want to join me.
If you have any questions about any of the workshops, drop me a note and we’ll find a time to talk.
by hankinslawrenceimages | Jul 7, 2017 | Alternative Proceses, Cyanotypes, Workshops
For the past couple of years, Bill and I have been experimenting with some historic photographic printing techniques. So far my favorites are cyanotypes and kallitypes. For both processes, you apply a mix of chemicals to paper, put a negative over the paper, expose them with UV light and then develop them in either water or a chemical mixture.
Cyanotyping is the process developed in the 1840s that results in photographs in shades of blue. Sir John Hershel discovered the process in 1842 as a way to duplicate notes and diagrams. For decades, architects used the process Hershel developed to print blueprints. Within a year of Hershel discovery of the process, Anna Atkins created the first photograms by laying plants over sheets of treated paper. She published the first book of photographs, Photographs of British Algae: Cyanotype Impressions in 1843. Once 19th-century photographers started using large format negatives, it became fairly easy to print multiple copies of photographs as cyanotypes. These days, photographers can transform and print their images as digital negatives to make cyanotypes.
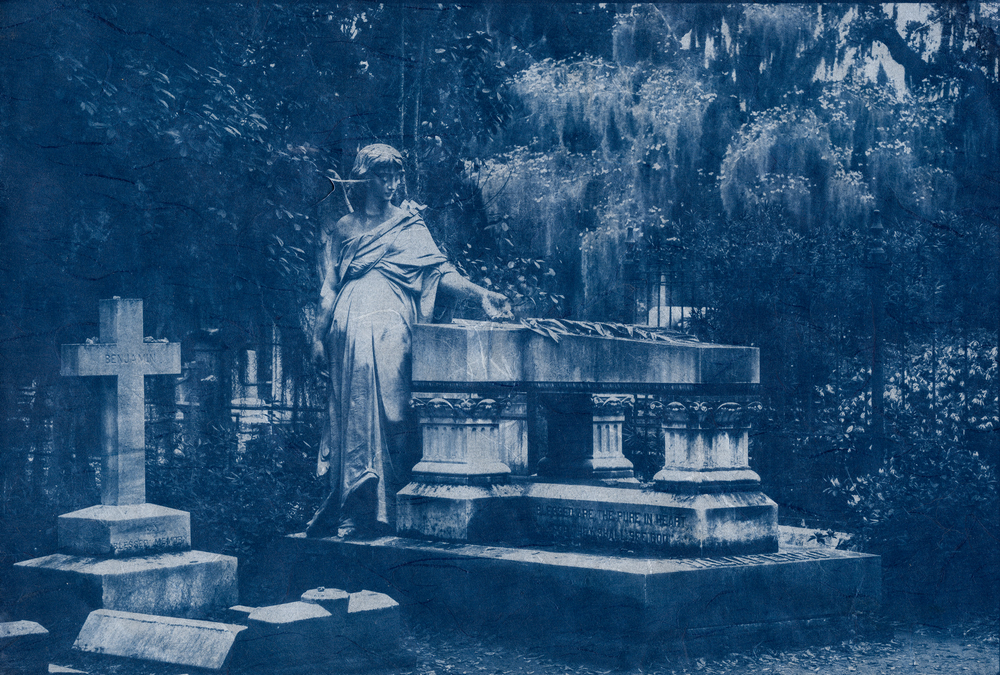
Here are a few of my photographs printed as cyanotypes. Some of my favorite photographs to print as cyanotypes are ones I’ve taken in cemeteries.
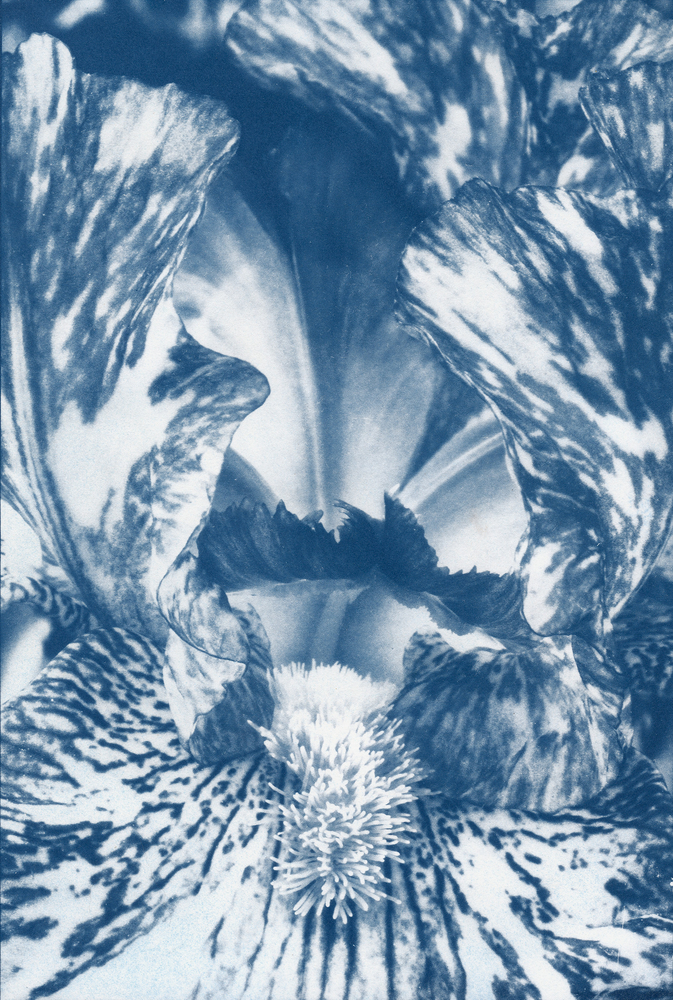
Purple Streaker Iris Cyanotype © 2017 Patty Hankins

Graveyard Angel Cyanotype © 2017 Patty Hankins

In the Cemetery Cyanotype © 2017 Patty Hankins
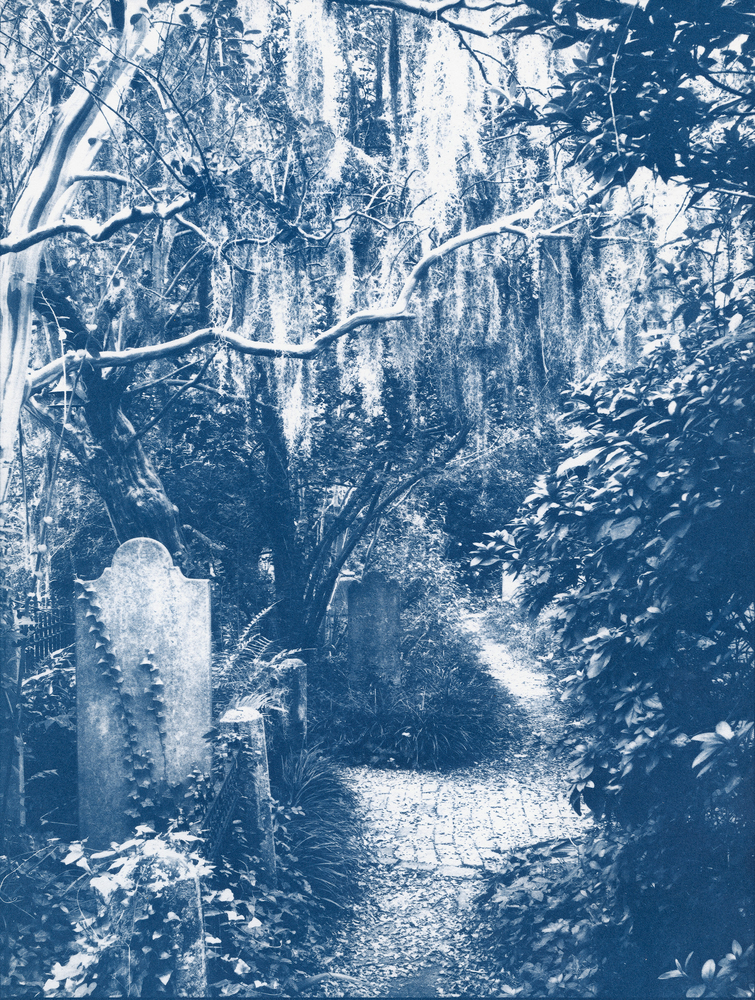
In the Cemetery Cyanotype © 2017 Patty Hankins
I’m also experimenting with creating graphic designs that I can print as cyanotypes. Here’s an image that started as a label on a wine bottled that I manipulated in Photoshop and then printed as a cyanotype.
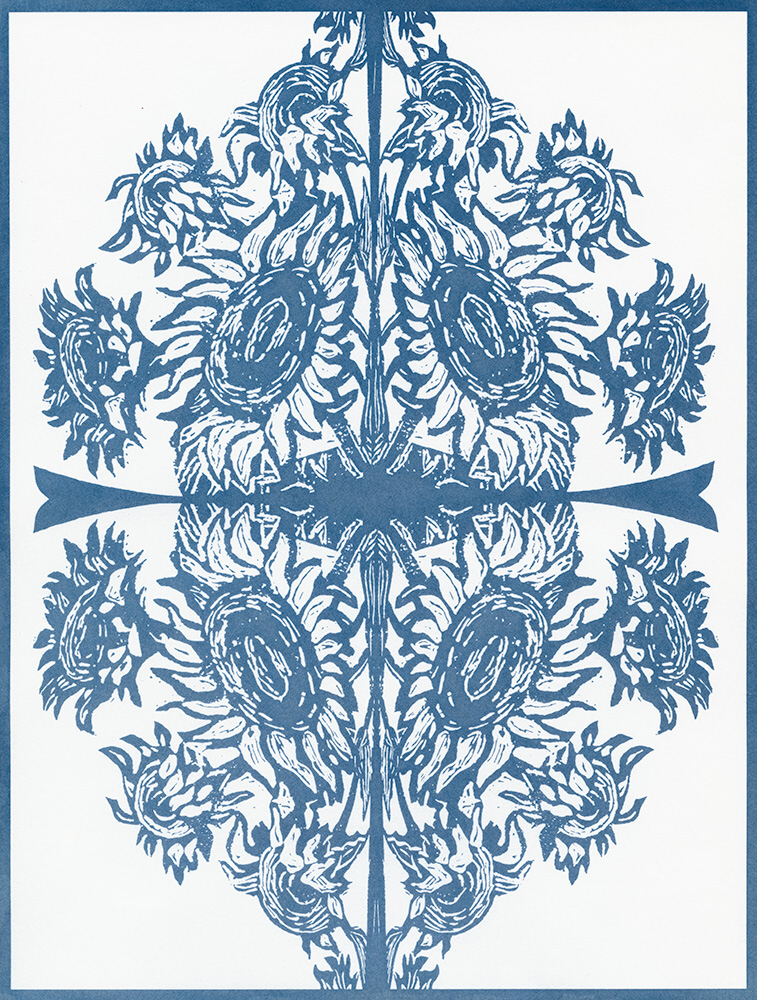
Sunflower Graphic Cyanotype © 2017 Patty Hankins
Cyanotyping is one of the easiest historic photographic printing processes to learn. The chemicals (ammonium iron(III) citrate and potassium ferricyanide) used to treat the paper are very safe to use. And you literally develop cyanotypes in water.
If you’d like to learn more about cyanotyping, Bill and I will be teaching an Introduction to Cyanotyping on August 26. We’ll provide all the supplies and tools you need, all you’ll need to bring is a couple of digital image files and a sense of fun.
You can learn more about our Introduction to Cyanotyping workshop on my website at http://beautifulflowerpictures.com/introduction-to-cyanotyping/
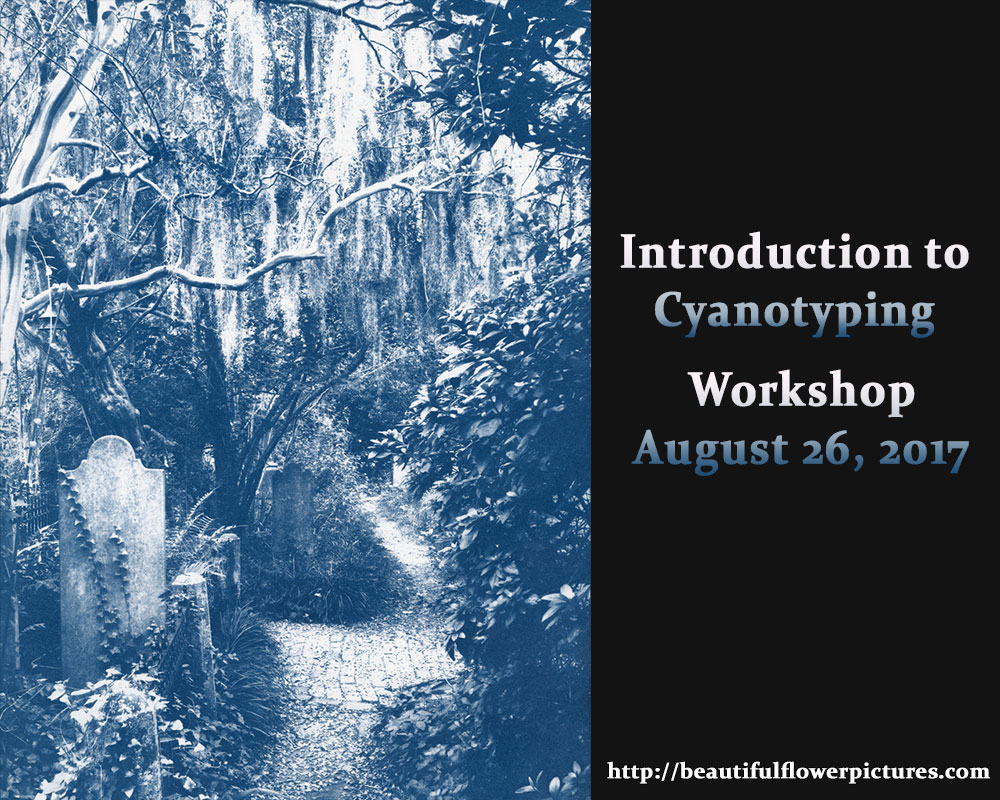
We’d love to have you join us for the workshop.


